Fermenting Bread Naturally Without Relying on Commercial Yeast
If you’ve ever wondered how people baked bread before commercial yeast packets lined supermarket shelves, you’re not alone. The secret? Wild yeast. And here’s the good news: you can make delicious, airy, flavourful bread using no yeast at all—just flour, water, time, and a bit of know-how.
This approach to wild yeast fermentation is more than a culinary trend; it’s a return to age-old traditions of natural bread making. Fermenting your bread without commercial yeast not only enhances flavour but also supports better digestion and deeper connection to your food. And it’s surprisingly doable at home, even if you’re new to the world of sourdough.
In this comprehensive guide, you’ll discover exactly how to start from scratch, nurture your own wild yeast culture, and craft a loaf that’s truly alive—crispy on the outside, chewy on the inside, and entirely made with patience and purpose. Let’s dive into the beautifully simple art of no-yeast bread making.
What Is Wild Yeast Bread?
Natural Leavening Defined
Wild yeast is everywhere—in the air, on flour, even on your skin. When given the right conditions, it thrives. A sourdough starter captures these wild yeasts and beneficial bacteria, which together:
- Ferment sugars in flour
- Release gases to make dough rise
- Add a complex, tangy flavour to your bread
In contrast to instant yeast, wild yeast fermentation takes longer but offers superior depth and digestibility.
Benefits of No Yeast Bread
- Better for digestion: Long fermentation breaks down gluten and phytic acid
- More flavour: Tangy, nutty, and rich
- Fewer additives: 100% natural process
- Longer shelf life: Naturally preserved
“Making bread with wild yeast felt like I was tapping into an ancient rhythm. It’s slower, yes, but deeply satisfying.” — Sarah, home baker

Getting Started with a Sourdough Starter
What You’ll Need
- Wholegrain flour (rye or whole wheat is best to start)
- Filtered or dechlorinated water
- A clean glass jar
- Patience and consistency
Step-by-Step: Create Your Starter
Day 1:
- Mix 50g flour and 50ml water in a jar
- Stir until smooth, cover loosely
- Leave at room temperature
Day 2–7:
- Discard half the mixture daily
- Feed with 50g flour + 50ml water
- Stir and cover again
Signs of Readiness:
- Bubbly surface
- Sour smell (pleasant, like yoghurt or beer)
- Doubles in size within 6–8 hours of feeding
Once active, your starter is ready for natural bread making.
Need more on building your starter? Visit how to make a sourdough starter from scratch.
The Wild Yeast Bread Recipe (Step-by-Step)
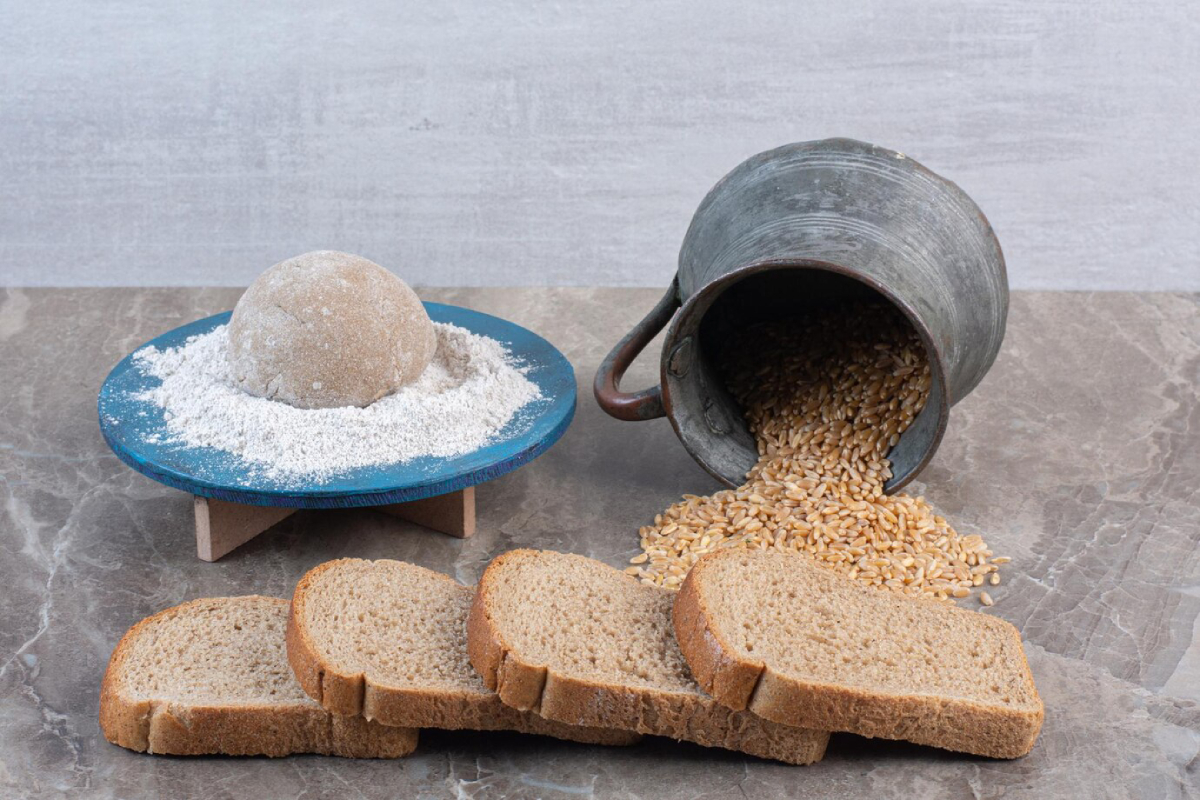
Ingredients (For 1 medium loaf):
- 500g strong bread flour (or mix with wholegrain)
- 100g active sourdough starter
- 325ml water (adjust for flour type)
- 10g salt
Method Overview
1. Autolyse (30 mins)
- Mix flour and water (no salt/starter yet)
- Let rest to improve hydration and gluten structure
2. Add Starter and Salt
- Mix in sourdough starter and salt
- Stir to combine
3. Stretch & Fold (Over 4 Hours)
- Every 30–45 mins, stretch and fold dough
- Builds gluten strength
4. Bulk Fermentation (Room Temp or Overnight in Fridge)
- Let dough rise until it grows by about 50%
- Slow fridge ferment adds flavour and control
5. Shape & Proof
- Shape into round or oval loaf
- Place in banneton or bowl with floured towel
- Final rise (2–4 hrs at room temp or overnight in fridge)
6. Score & Bake
- Preheat oven to 230°C with a Dutch oven inside
- Score top with sharp blade
- Bake covered (20 mins), then uncovered (20 mins)
- Cool fully before slicing
Tools That Make It Easier
- Digital kitchen scale
- Bench scraper
- Dutch oven (or baking steel + tray for steam)
- Banneton basket or linen-lined bowl
- Lame or sharp blade for scoring
Looking for gear ideas? Explore must-have tools for home fermentation.
Troubleshooting Common Issues
Flat Loaf?
- Underproofed or weak starter
- Try warmer rise temperatures
Dense Crumb?
- Not enough stretch/folds
- Overproofed before baking
Sour Taste Too Strong?
- Shorten fermentation time
- Use starter that’s been fed recently
Dough Too Sticky?
- Hydration too high for flour type
- Use wet hands when handling
Real-Life Success Stories
“I started baking with wild yeast during lockdown, and never looked back. My loaves might not win beauty contests, but they taste incredible and digest so easily.” – Aiden, London
“It took a few flops, but once I figured out my timing, it became part of my weekly rhythm. I even named my starter!” – Priya, Birmingham
Enhancing Your Bread With Add-Ins
Once you master the basics, try mixing in:
- Sunflower or pumpkin seeds
- Dried fruits (figs, raisins, apricots)
- Olives and rosemary
- Crushed walnuts and cinnamon
Use no more than 20–30% of the dough weight in additions to maintain structure.
The Science Behind the Magic
How Wild Yeast Works
Wild yeast ferments flour by breaking down starch into sugars. The lactic acid bacteria:
- Lower the pH (safe from spoilage)
- Produce flavour compounds
- Help break down gluten
Why It’s Healthier
- Lower phytic acid: Better mineral absorption
- Pre-digested gluten: Gentler on the gut
- Stable blood sugar: Slower digestion of carbs
Making It a Weekly Habit
Your Weekly Routine
Sunday: Feed starter
Monday: Mix dough + bulk ferment
Tuesday: Bake fresh bread in the morning
Storing Wild Yeast Bread
- Store whole loaves in paper or linen at room temp
- Freeze sliced loaf in airtight bag
- Avoid plastic bags (trap moisture, causes soggy crust)
No-Knead Option for Busy Bakers
Short on time? Try this variation:
- Mix all ingredients
- Ferment overnight (12–16 hrs)
- Shape in morning, proof 1 hr
- Bake as usual
It may be rustic, but still deeply flavourful and easy.
From Starter to Slice, Naturally
Baking bread without commercial yeast isn’t just about technique—it’s about slowing down, tuning in, and enjoying a ritual that connects us to nature, history, and health. With patience, you can nurture a bubbly, active starter and turn it into rustic loaves that feed both body and soul.
From the joy of shaping dough to the crackle of a cooling crust, wild yeast fermentation rewards you at every step. It might seem daunting at first, but remember: every baker starts with a single jar of flour and water. The rest is transformation.
Are you ready to ditch the yeast packets and go wild? Share your first loaf with us, tag your starter’s name, and subscribe for more hands-on fermentation tutorials.
