Creating a Sourdough Starter Using Wild Yeast for Perfect Bread
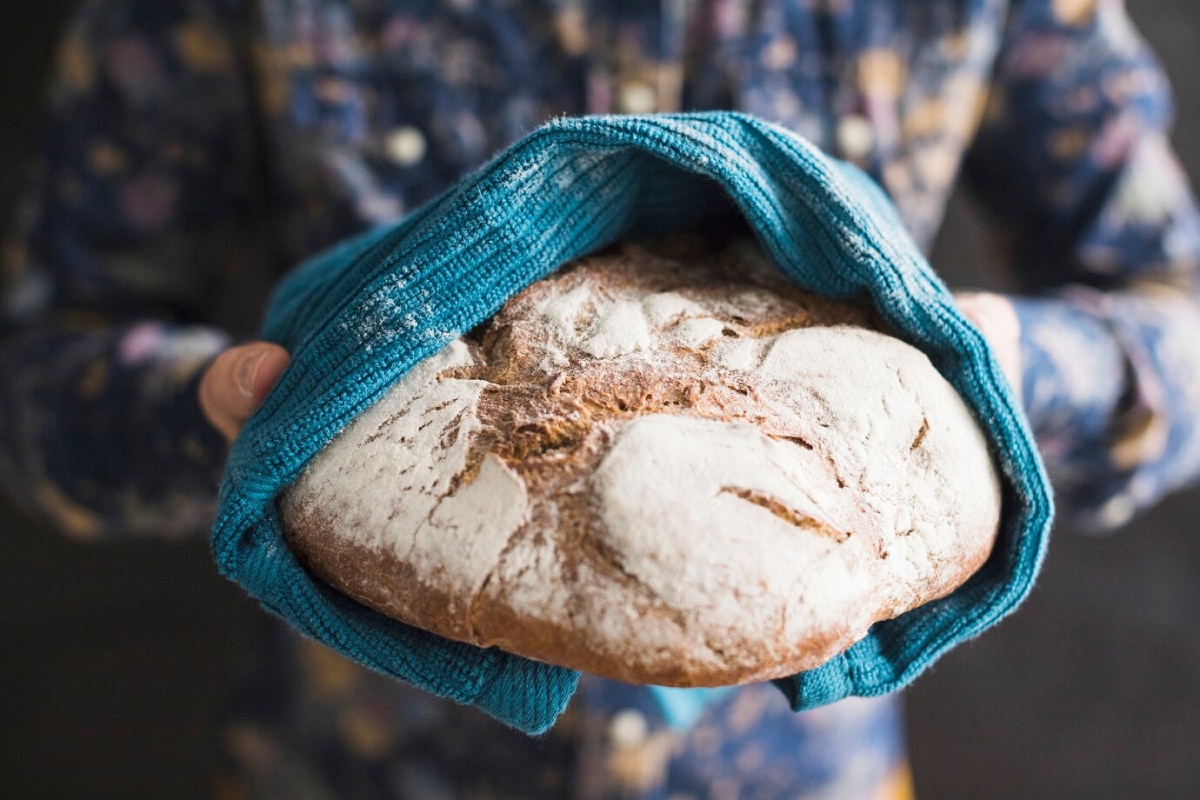
There’s something deeply satisfying about biting into a warm, crusty slice of sourdough bread—especially when you know you made it from scratch. But the journey begins long before kneading and baking. It starts with a sourdough starter, a living culture teeming with natural, wild yeast.
If the idea of growing wild yeast sounds intimidating, rest assured: creating a DIY sourdough culture is both simple and magical. With nothing more than flour, water, and patience, you can capture the wild yeasts in your environment to bake real, naturally leavened bread that rivals your favourite artisan bakery.
In this guide, you’ll learn the step-by-step method to cultivate a healthy, thriving natural bread starter, understand the microbiology behind wild fermentation, troubleshoot common issues, and explore stories from home bakers who’ve turned flour and water into flavour-packed loaves.
What Is a Sourdough Starter?
A sourdough starter is a mixture of flour and water that captures wild yeast and beneficial bacteria from your environment. These microbes create gases and acids through fermentation, giving sourdough bread its rise, flavour, and extended shelf life.
Unlike commercial yeast, which contains a single strain (typically Saccharomyces cerevisiae), wild yeast sourdough involves a complex ecosystem of wild yeasts and lactic acid bacteria (LAB) such as Lactobacillus.
This living culture becomes the foundation for all naturally leavened sourdough baking.
Why Use Wild Yeast Instead of Commercial Yeast?
1. Flavour Depth
Wild yeast ferments more slowly than commercial yeast, allowing time for acids and aromatics to develop. The result? A richer, tangier taste.
2. Digestibility
Lactic acid bacteria pre-digest some of the gluten and phytic acid in flour, making sourdough easier on the gut.
3. No Additives Required
Wild yeast bread doesn’t need sugar, preservatives, or industrial enzymes to rise or stay fresh.
4. Satisfying Skill Building
Caring for a starter and baking from it can feel meditative, creative, and empowering.
Want to learn more about the science behind fermentation? See The Science Behind Fermented Probiotics
How Wild Yeast Works
Where Does the Yeast Come From?
Wild yeast is everywhere—on grains, in the air, and on your hands. When you mix flour and water and leave it exposed to air, these microorganisms find their way into the mixture and start to feed on the carbohydrates.
The Microbial Partnership
The success of your sourdough culture relies on a symbiotic relationship between wild yeast and LAB:
- Wild yeast produces carbon dioxide (to raise the dough) and alcohol
- LAB produces lactic and acetic acids (to flavour and preserve the dough)
This natural partnership makes sourdough unique in both texture and taste.
Getting Started: Equipment & Ingredients
Ingredients:
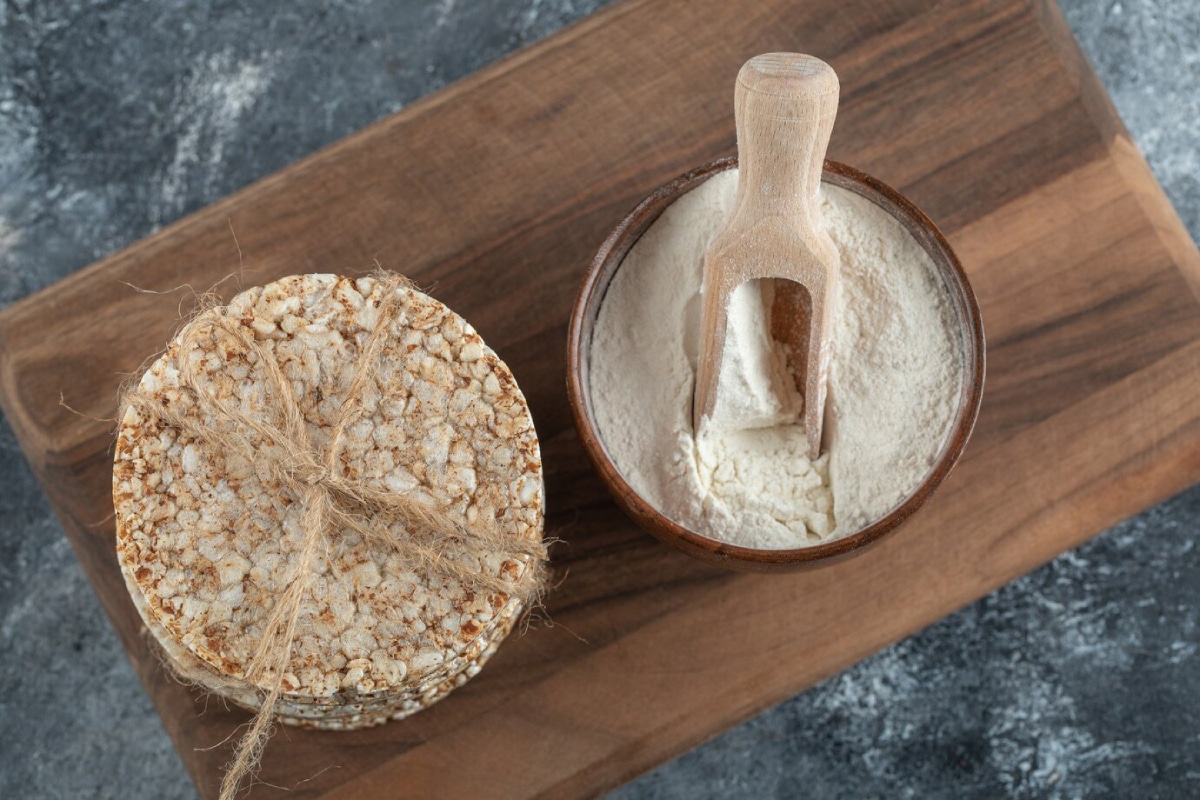
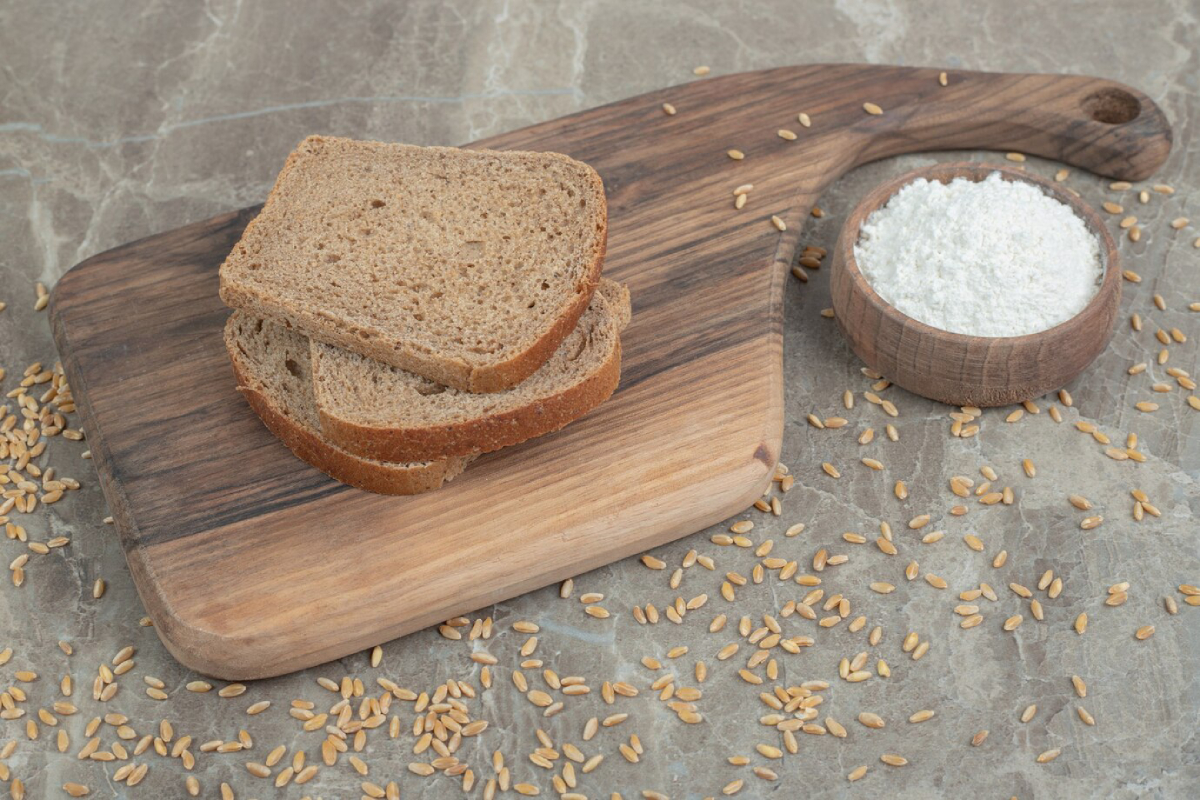
- Wholemeal or rye flour (helps kickstart activity)
- Filtered or dechlorinated water (chlorine inhibits yeast)
Equipment:
- A clean glass or ceramic jar (500 ml capacity)
- A spoon or spatula
- A kitchen scale (recommended for accuracy)
- A cloth or loose lid
- Label or marker (for dates)
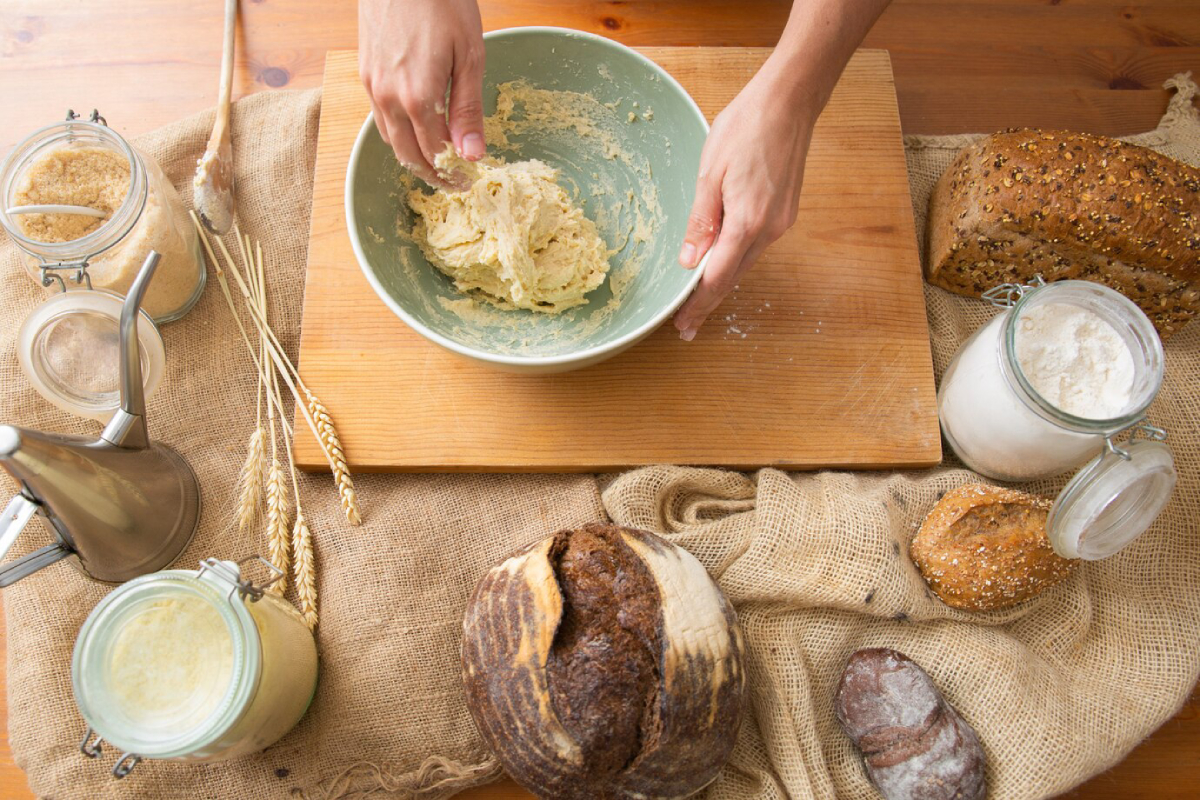
Creating Your Sourdough Starter
Day 1:
Combine:
- 50g wholemeal flour
- 50g filtered water
Stir until smooth. Scrape down the sides. Cover loosely and leave at room temperature (20–24°C).
Day 2:
You might see bubbles or smell something fruity or acidic.
- Discard half the mixture.
- Feed with 50g flour + 50g water.
Days 3–5:
Continue discarding half and feeding daily. By day 3, activity should increase.
- Look for bubbles, a tangy smell, and slight rise.
Day 6–7:
Your starter should double in volume, smell pleasantly sour, and pass the float test (a spoonful floats in water).
Congratulations—you have a live sourdough starter!
Label it with a name (everyone does) and start baking.
Maintain Your Sourdough Starter
Feeding Schedule:
Room temperature (daily use): Feed every 12–24 hours.
Refrigerated (occasional use): Feed once a week.
Typical feeding ratio: 1:1:1 (starter:flour:water by weight)
Reviving a Tired Starter:
If your starter has been neglected:
- Discard most of it
- Feed it twice daily for 2–3 days
Signs of revival: bubbling, rising, pleasant aroma.
Using Your Starter: The Basics
Once your starter is active and bubbly, you can use it to bake:
- Sourdough bread (classic, wholemeal, rye)
- Sourdough pancakes or waffles
- Pizza dough
- Flatbreads and crackers
Sample Recipe: Beginner Sourdough Bread
Ingredients:
- 500g strong bread flour
- 375g water
- 100g active starter
- 10g salt
Basic Steps:
- Mix flour, water, and starter. Rest 1 hour.
- Add salt. Knead or stretch and fold.
- Bulk ferment (4–6 hours).
- Shape and cold proof overnight.
- Bake in a hot oven with steam (e.g., Dutch oven)
Troubleshooting Common Problems
No Bubbles or Rise
- Use warmer water or move to a warmer spot
- Switch to wholegrain or rye flour
Foul Smell
- Toss and start fresh. Bad bacteria may have taken over.
Pink or Orange Discolouration
- Contamination! Discard immediately.
Too Runny or Too Thick
- Adjust flour-to-water ratio. You want a thick, pancake-batter consistency.
Real-Life Stories from Home Bakers
“It felt like magic” “The first time my starter doubled in size overnight, I felt like a proud parent. Now I bake twice a week, and my kids prefer my bread over store-bought.” — Helen, 38, Bristol
“Therapy in a jar” “Caring for my sourdough starter became a calming ritual during stressful times. It gave me structure and a creative outlet.” — Arjun, 44, Edinburgh
“From Fail to Flourish” “My first starter went mouldy. I almost gave up. But my second try worked—and now I run a micro-bakery from home!” — Sasha, 29, Brighton
Top Tips for Wild Yeast Success
- Stick to a schedule—consistency helps your culture thrive.
- Name your starter—you’ll be more inclined to care for it.
- Use a glass jar—easier to observe rise and bubbles.
- Try rye flour for faster fermentation—LAB love rye.
- Don’t overthink it—yeast have been doing this long before you started.
Your Natural Bread Journey Starts Here
Creating a wild yeast sourdough starter is like bottling a piece of nature and inviting it into your kitchen. It’s more than a means to rise bread—it’s a ritual, a relationship, and a return to ancient food wisdom.
From your first bubbly jar to the scent of sourdough in the oven, you’ll experience the joy of transformation and the confidence that comes from making something wonderful with your own hands.
So why wait? Mix some flour and water today, and join a community of fermenters who’ve embraced the art and science of slow, meaningful food.
If you found this guide helpful, leave a comment, share it with a fellow foodie, or subscribe to our fermentation newsletter for weekly recipes and tips.
Learn about fermentation without a starter at Fermenting Vegetables Without a Starter
