How to Set Up a Home Fermentation Station
Fermenting at home is a rewarding way to explore new flavours, preserve food, and promote gut health. Having a dedicated home fermentation setup makes the process easier, more organised, and enjoyable.
This guide walks you through how to design a DIY ferment kitchen, offers practical ideas to organise your beginner fermenter space, and gives expert tips to set you up for fermentation success.
Pro Tip: A tidy, dedicated fermentation station will make your fermenting hobby more enjoyable and efficient.
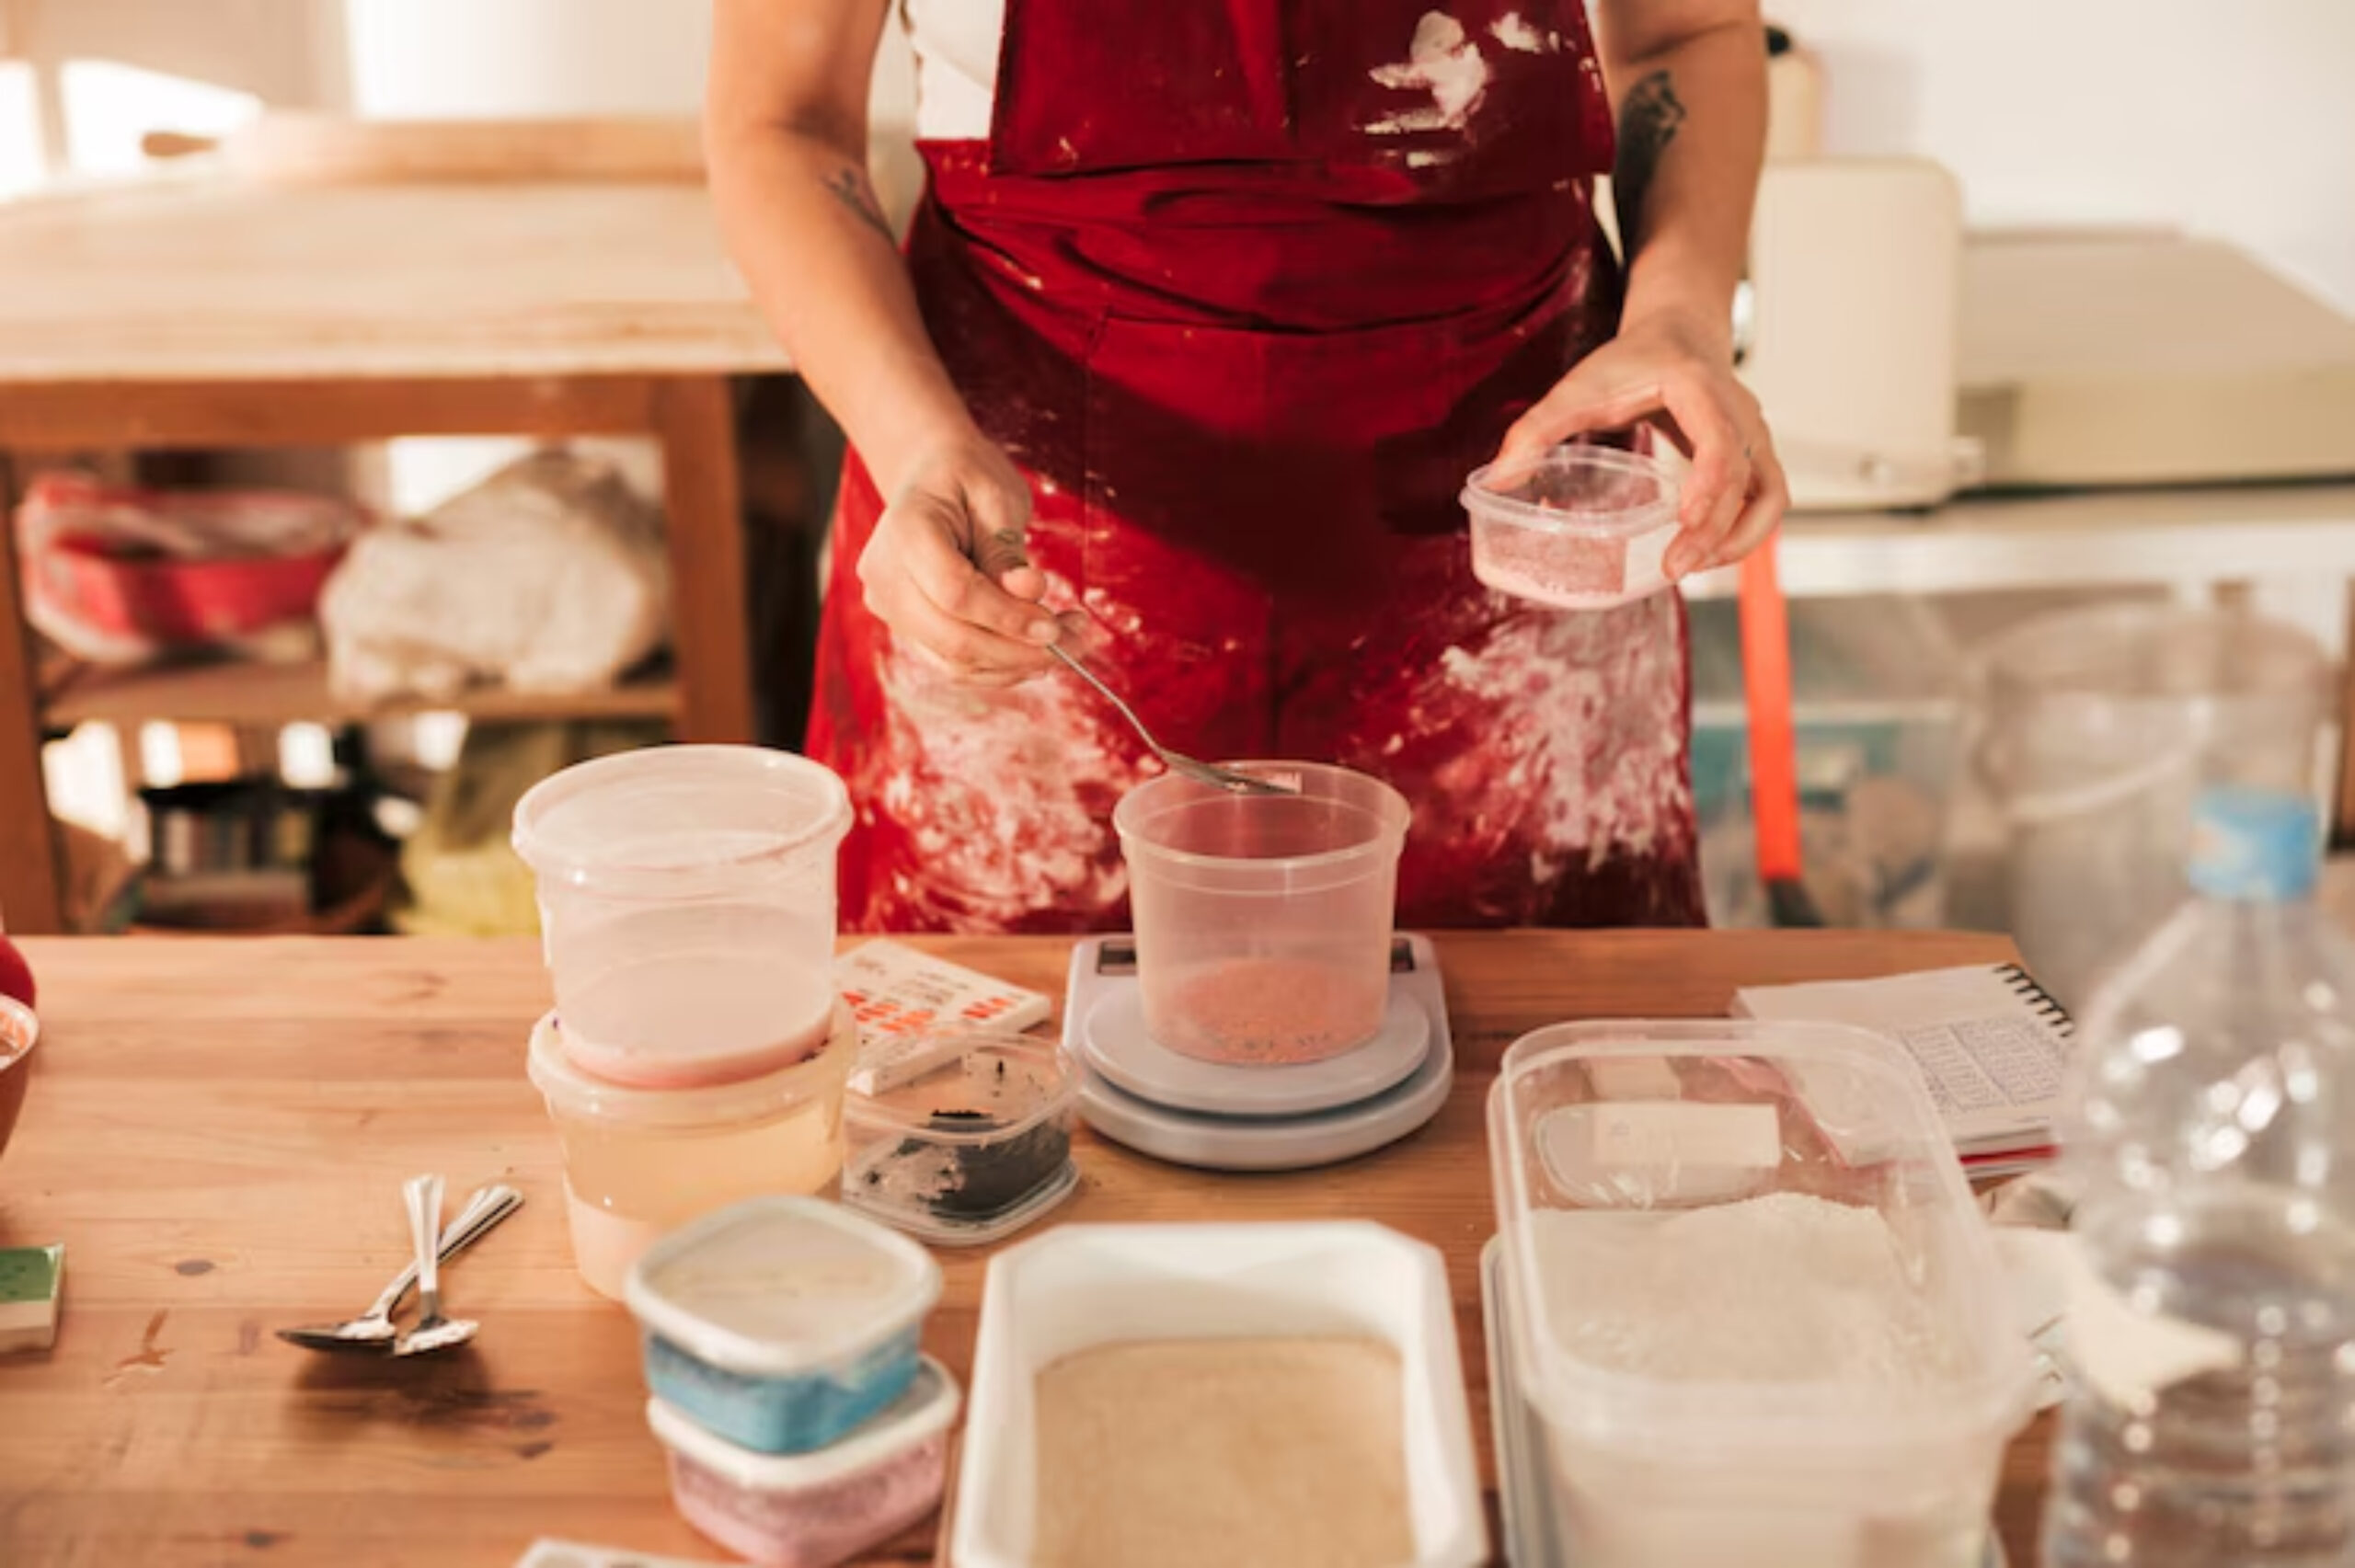
Quick Guide: Why Create a Fermentation Station?
- Keeps your kitchen organised and clutter-free
- Makes daily ferment checks easier
- Reduces risk of contamination
- Saves time by keeping tools and ingredients together
- Encourages regular fermentation experimentation
Important: You don’t need a large space—just a well-planned corner or shelf.
Step-by-Step: How to Set Up Your Home Fermentation Space
Step 1: Choose the Right Location
The best fermentation space is:
- Away from direct sunlight
- At stable room temperature (18°C–22°C)
- Free from excessive moisture or drafts
- Near your main food prep area for convenience
Popular locations:
| Location | Pros |
| Kitchen counter | Easy access and daily checks |
| Pantry shelf | Dark and temperature stable |
| Utility room | Quiet and low-traffic |
| Spare cupboard | Space-saving option for small homes |
Quick Tip: Avoid spots near ovens, dishwashers, or windows where temperatures fluctuate.
Step 2: Gather Essential Fermentation Equipment
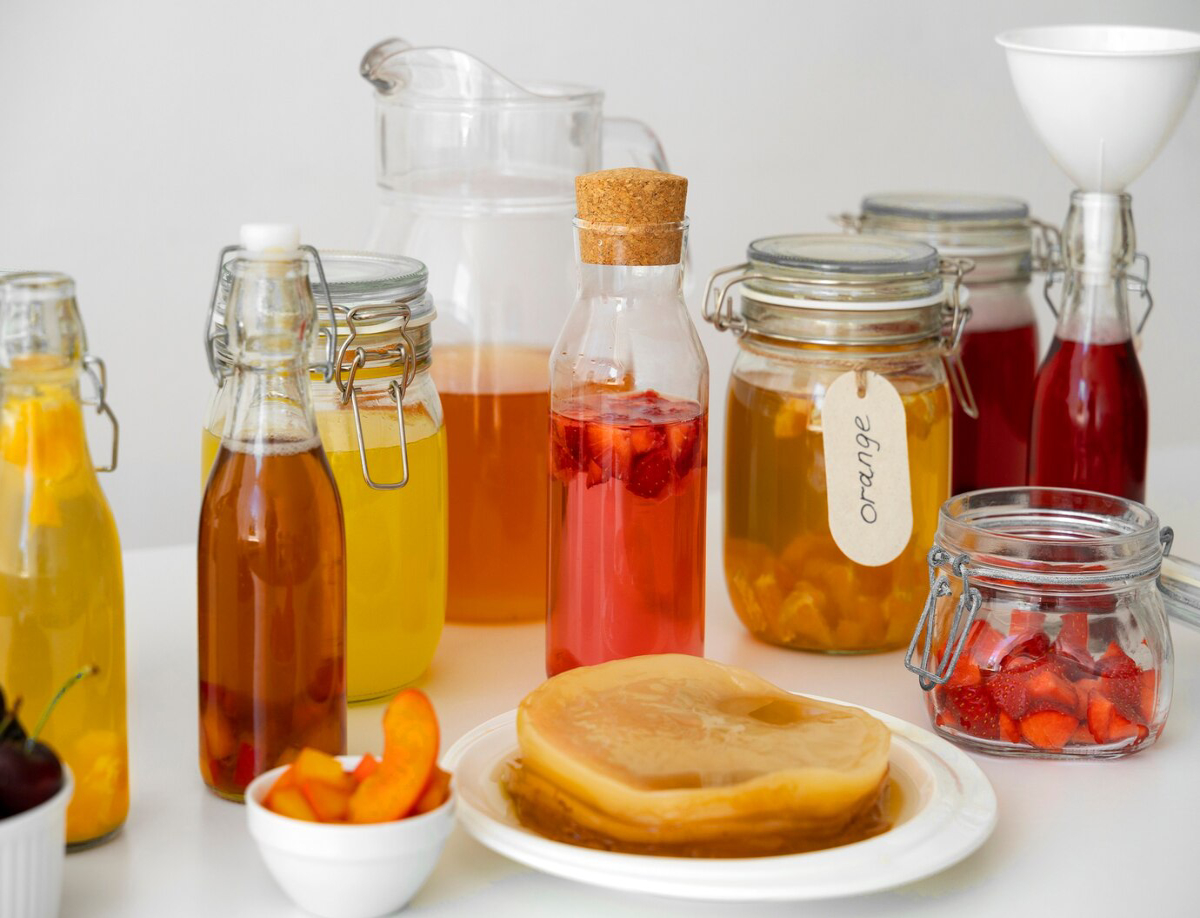
Your fermentation station should include:
| Tool | Purpose |
| Glass jars or ceramic crocks | Main fermentation vessels |
| Weights | Keep vegetables submerged in brine |
| Fermentation lids or breathable cloth | Allow gases to escape safely |
| Wooden or silicone spoons | Stirring without damaging microbes |
| Funnels and strainers | Clean pouring and draining |
| Labels and pens | Keep track of dates and contents |
| Large mixing bowls | For prepping ingredients |
Pro Tip: Store all equipment within arm’s reach for efficiency.
For gear tips, check out must-have tools for home fermentation.
Step 3: Organise Storage for Ingredients and Supplies
Designate areas for:
- Sea salt, sugar, spices, and teas
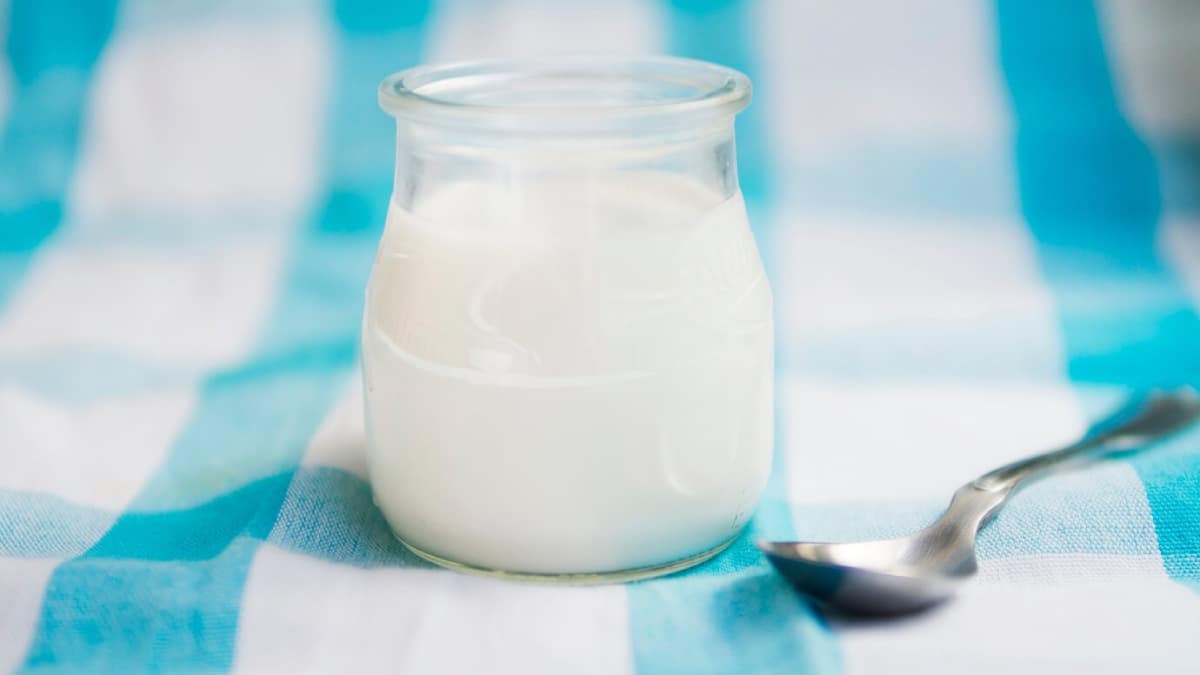
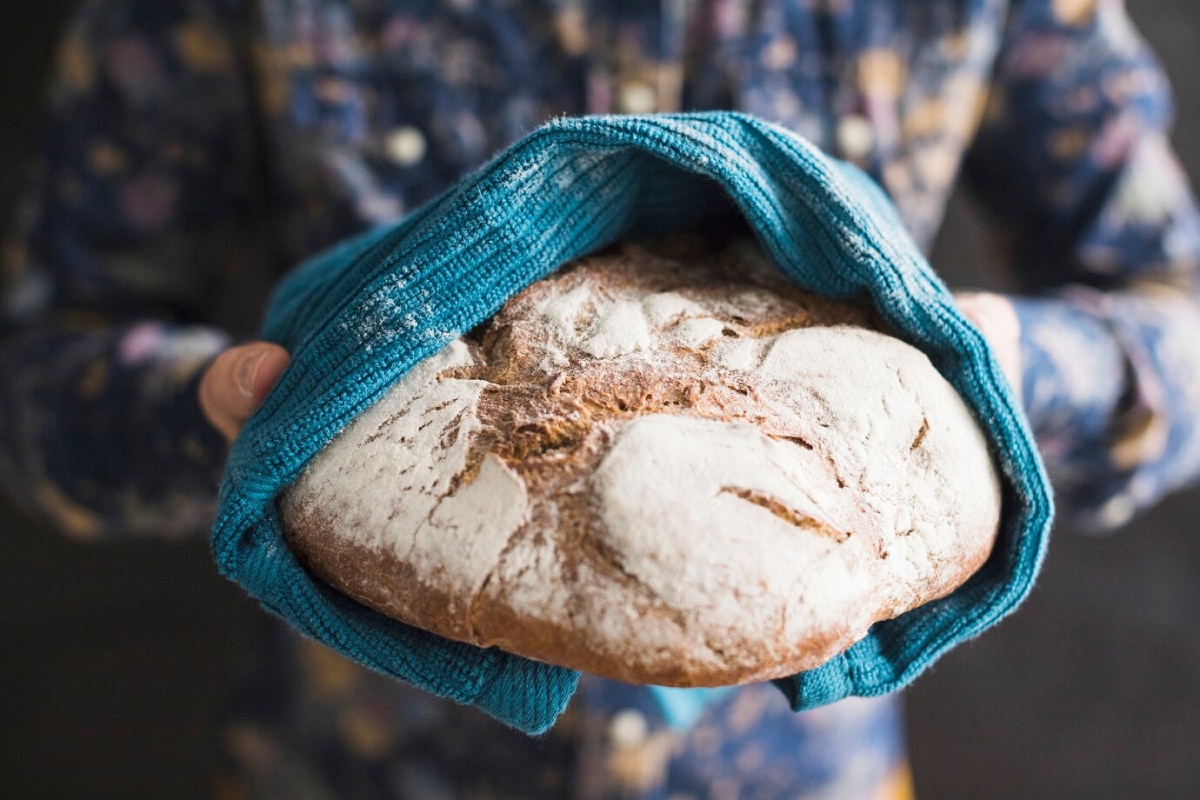
- SCOBYs (for kombucha) or starters (for yoghurt, sourdough)
- Spare jars and lids
- Clean cloths and towels
- Measuring scales
Sustainability Note: Reuse jars and containers to reduce waste and costs.
Step 4: Create a Workflow-Friendly Layout
Think about the steps you take when fermenting:
- Prep ingredients →
- Mix and pack jars →
- Label and store jars →
- Clean up and maintain your station
Arrange your space to match this order for maximum efficiency.
Quick Tip: Keep heavy jars at waist level to prevent spills or accidents.
Step 5: Maintain Cleanliness at All Times
Cleanliness is the number one rule for safe fermentation.
- Always wash your hands before handling food
- Sterilise jars before use
- Wipe down surfaces with vinegar or warm soapy water
- Avoid metal tools once fermentation begins
Pro Tip: Set a regular deep-clean schedule for your fermentation space.
Step 6: Monitor Temperature and Humidity
Invest in a small thermometer to ensure your fermenting area stays within 18°C–22°C.
| Temperature | Effect on Ferment |
| Below 16°C | Fermentation slows down |
| 18°C–22°C | Ideal range |
| Above 25°C | Risk of unwanted bacteria or yeast growth |
Quick Tip: Use a hygrometer for monitoring humidity if fermenting sourdough or kefir.
Beginner Fermenter Space Checklist
| Item | Essential? |
| Jars and lids | Yes |
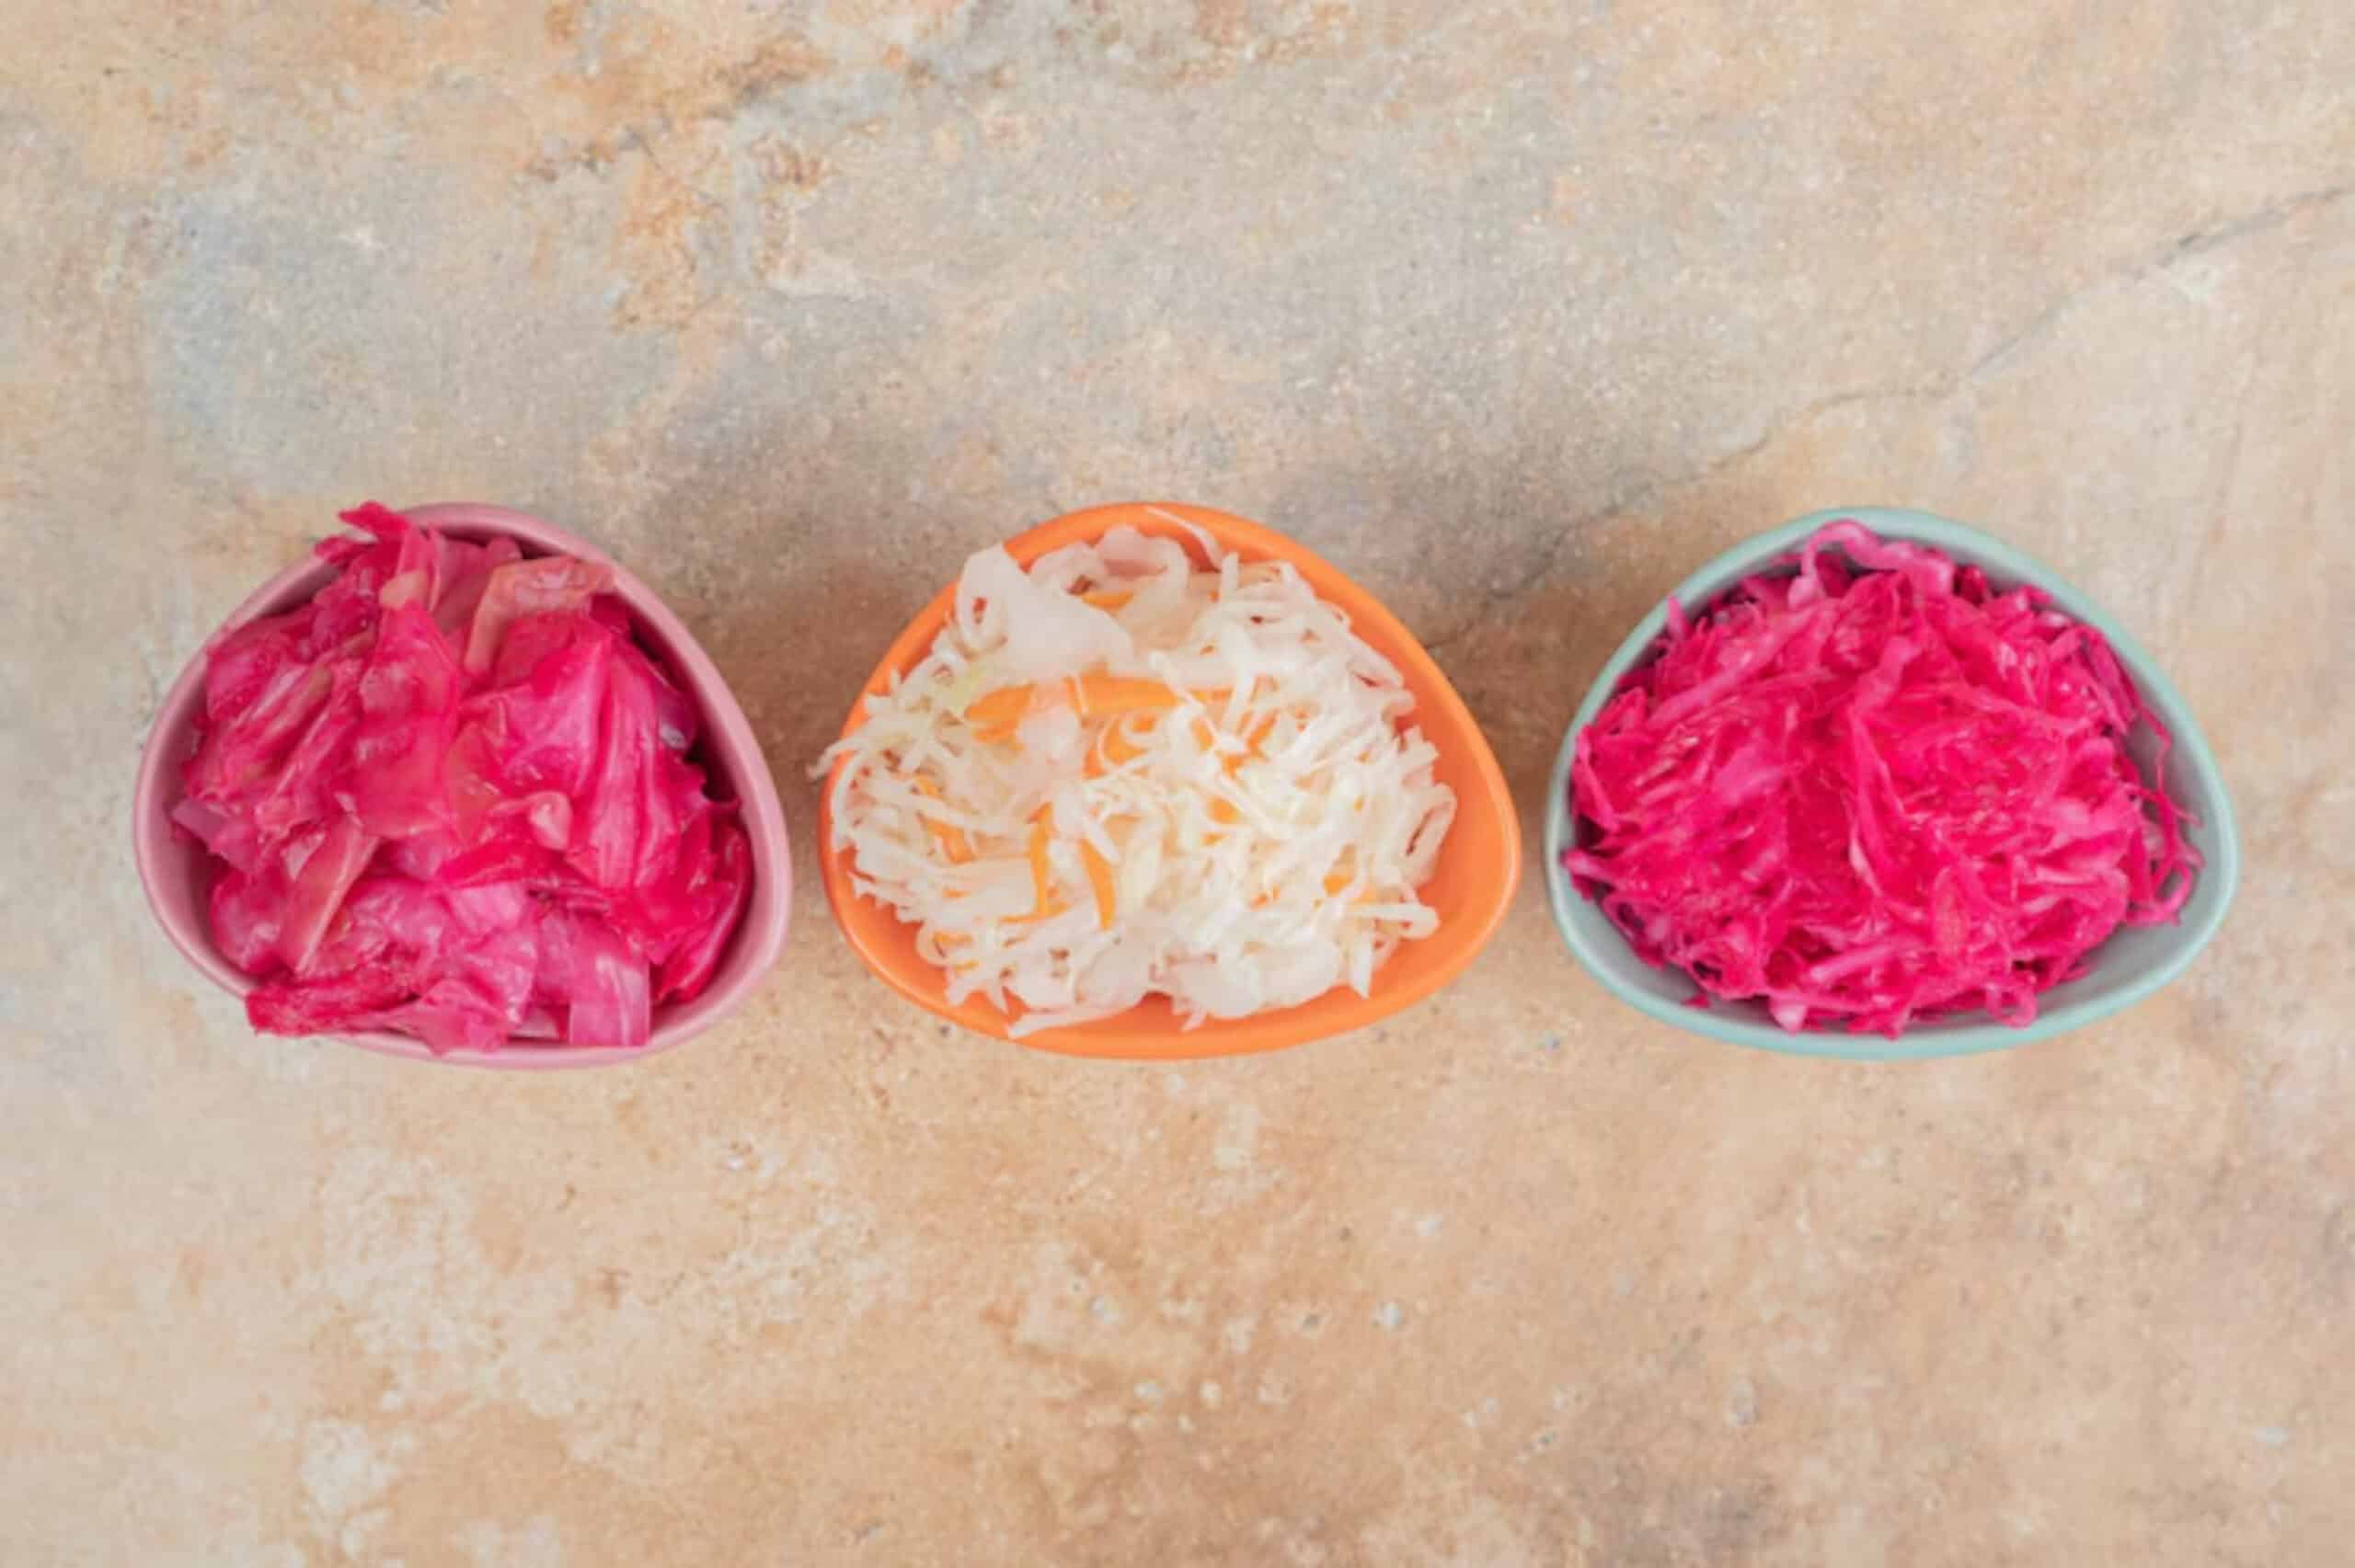
| Weights or cabbage leaves | Yes |
| Cloths or special fermentation lids | Yes |
| Measuring scales | Yes |
| Wooden spoons | Yes |
| Notebook or journal | Optional but helpful |
| Extra storage baskets or trays | Optional but useful |
Pro Tip: Keep a fermentation journal to track recipes, timings, and results.
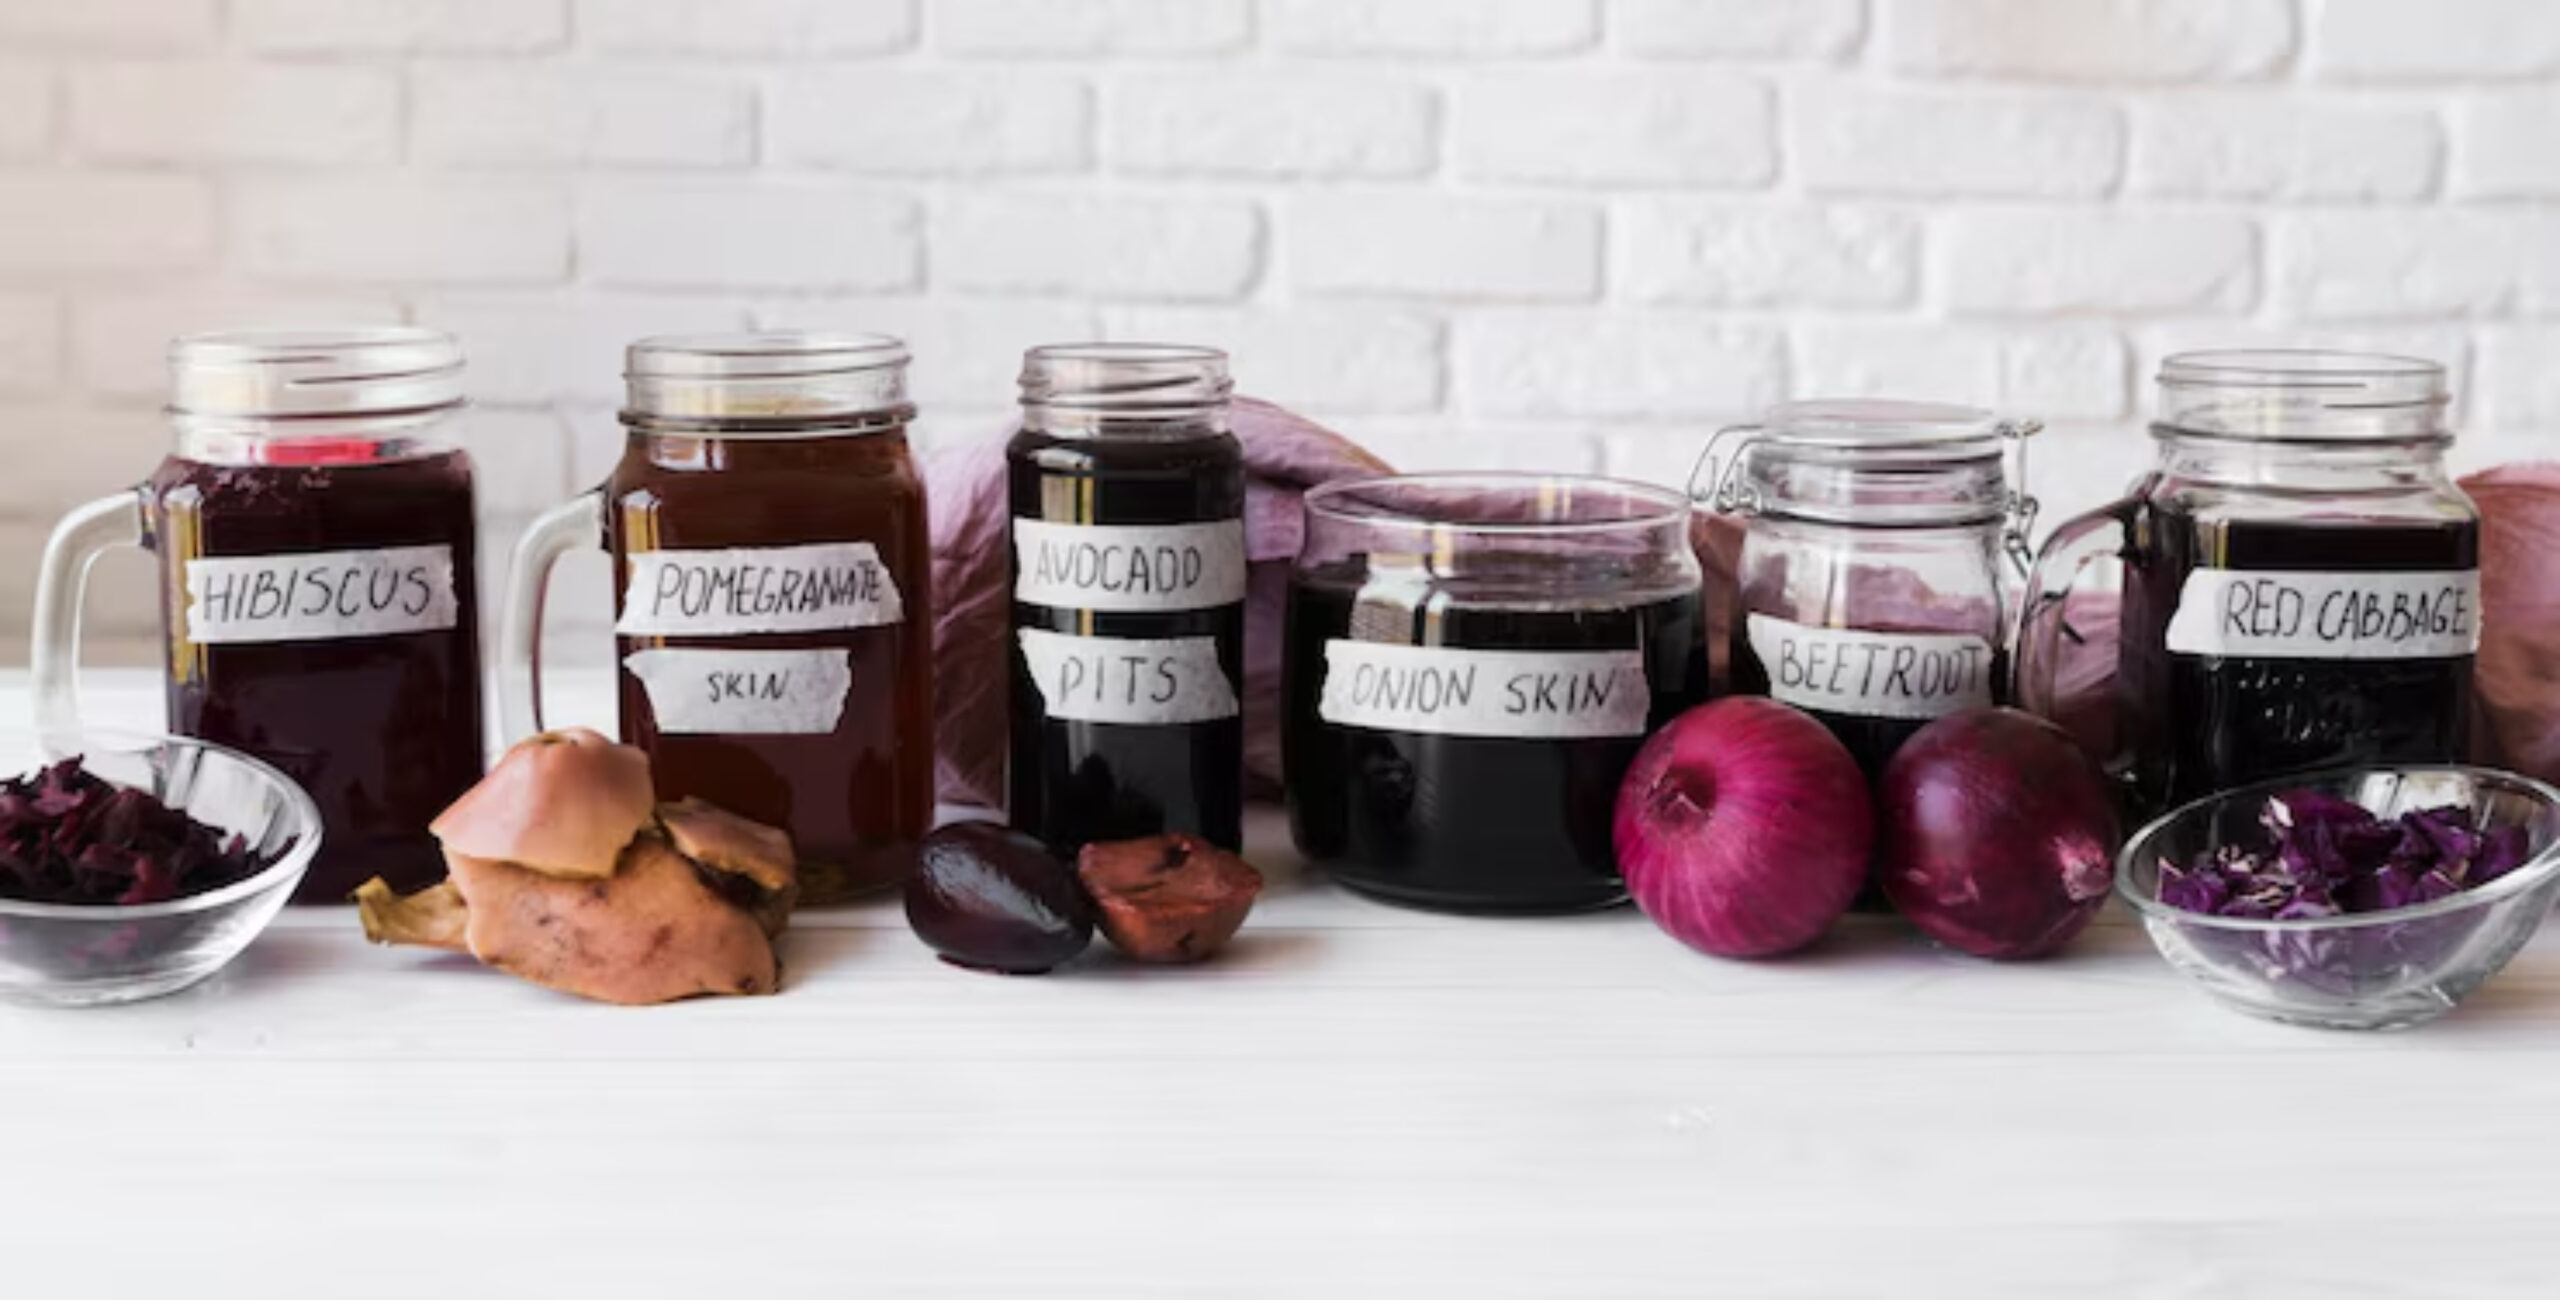
Ideas to Customise Your Fermentation Station
- Add small hooks for hanging spoons and towels
- Use stacking shelves to maximise small spaces
- Label shelves or jars for quick identification
- Install a small chalkboard for notes or reminders
- Display your favourite fermenting books for inspiration
Quick Tip: Even a single cupboard or shelf can become an efficient fermenting hub with a little planning.
Common Mistakes to Avoid
| Mistake | Solution |
| Using metal containers for fermentation | Always use glass, ceramic, or food-grade plastic |
| Overcrowding jars too close together | Leave space for airflow |
| Storing near heat sources | Keep away from ovens and appliances |
| Skipping daily checks | Check each ferment to ensure everything is submerged |
| Forgetting to label jars | Always date and label contents clearly |
Frequently Asked Questions
Do I need special equipment to ferment at home?
No. Basic tools like glass jars, salt, and cloths are enough to start.
How big does my fermentation station need to be?
A small shelf, cupboard, or corner of your kitchen is plenty.
Can I ferment multiple foods at once?
Yes, as long as jars are sealed and you maintain clean practices.
What if my kitchen is too hot?
Choose the coolest, darkest part of your home and avoid heat-producing appliances.
How often should I clean my fermentation station?
Wipe down after every use and deep-clean at least once a month.
Create a Space for Fermentation Success
A well-organised home fermentation setup makes fermenting fun, stress-free, and safe. By planning your DIY ferment kitchen and setting up a tidy, efficient beginner fermenter space, you’ll have everything ready to explore the exciting world of homemade ferments.
Stay organised. Stay clean. Enjoy the art of fermentation at home.
Want to experiment with shelf-stable meals? Explore refrigerator fermentation for time savers.
