How to Keep Your Ferments Mould-Free
Fermenting at home is fun, rewarding, and surprisingly easy. But nothing is more frustrating than spotting mould on your carefully prepared vegetables or drinks.
The good news? With a few simple steps, you can confidently avoid mould fermentation disasters. This guide offers essential safe fermenting practices and expert-approved clean fermentation tips to help your ferments thrive.
Pro Tip: Most common fermentation issues can be prevented with cleanliness, consistency, and patience.
Quick Guide: Why Mould Is a Problem
- Mould can spoil your entire ferment
- It may release toxins harmful to health
- Even small spots mean you should discard the batch
- Mould often looks fuzzy, white, blue, black, or pink
Important: Cloudiness, bubbles, and brine residue are normal signs of fermentation—not mould.
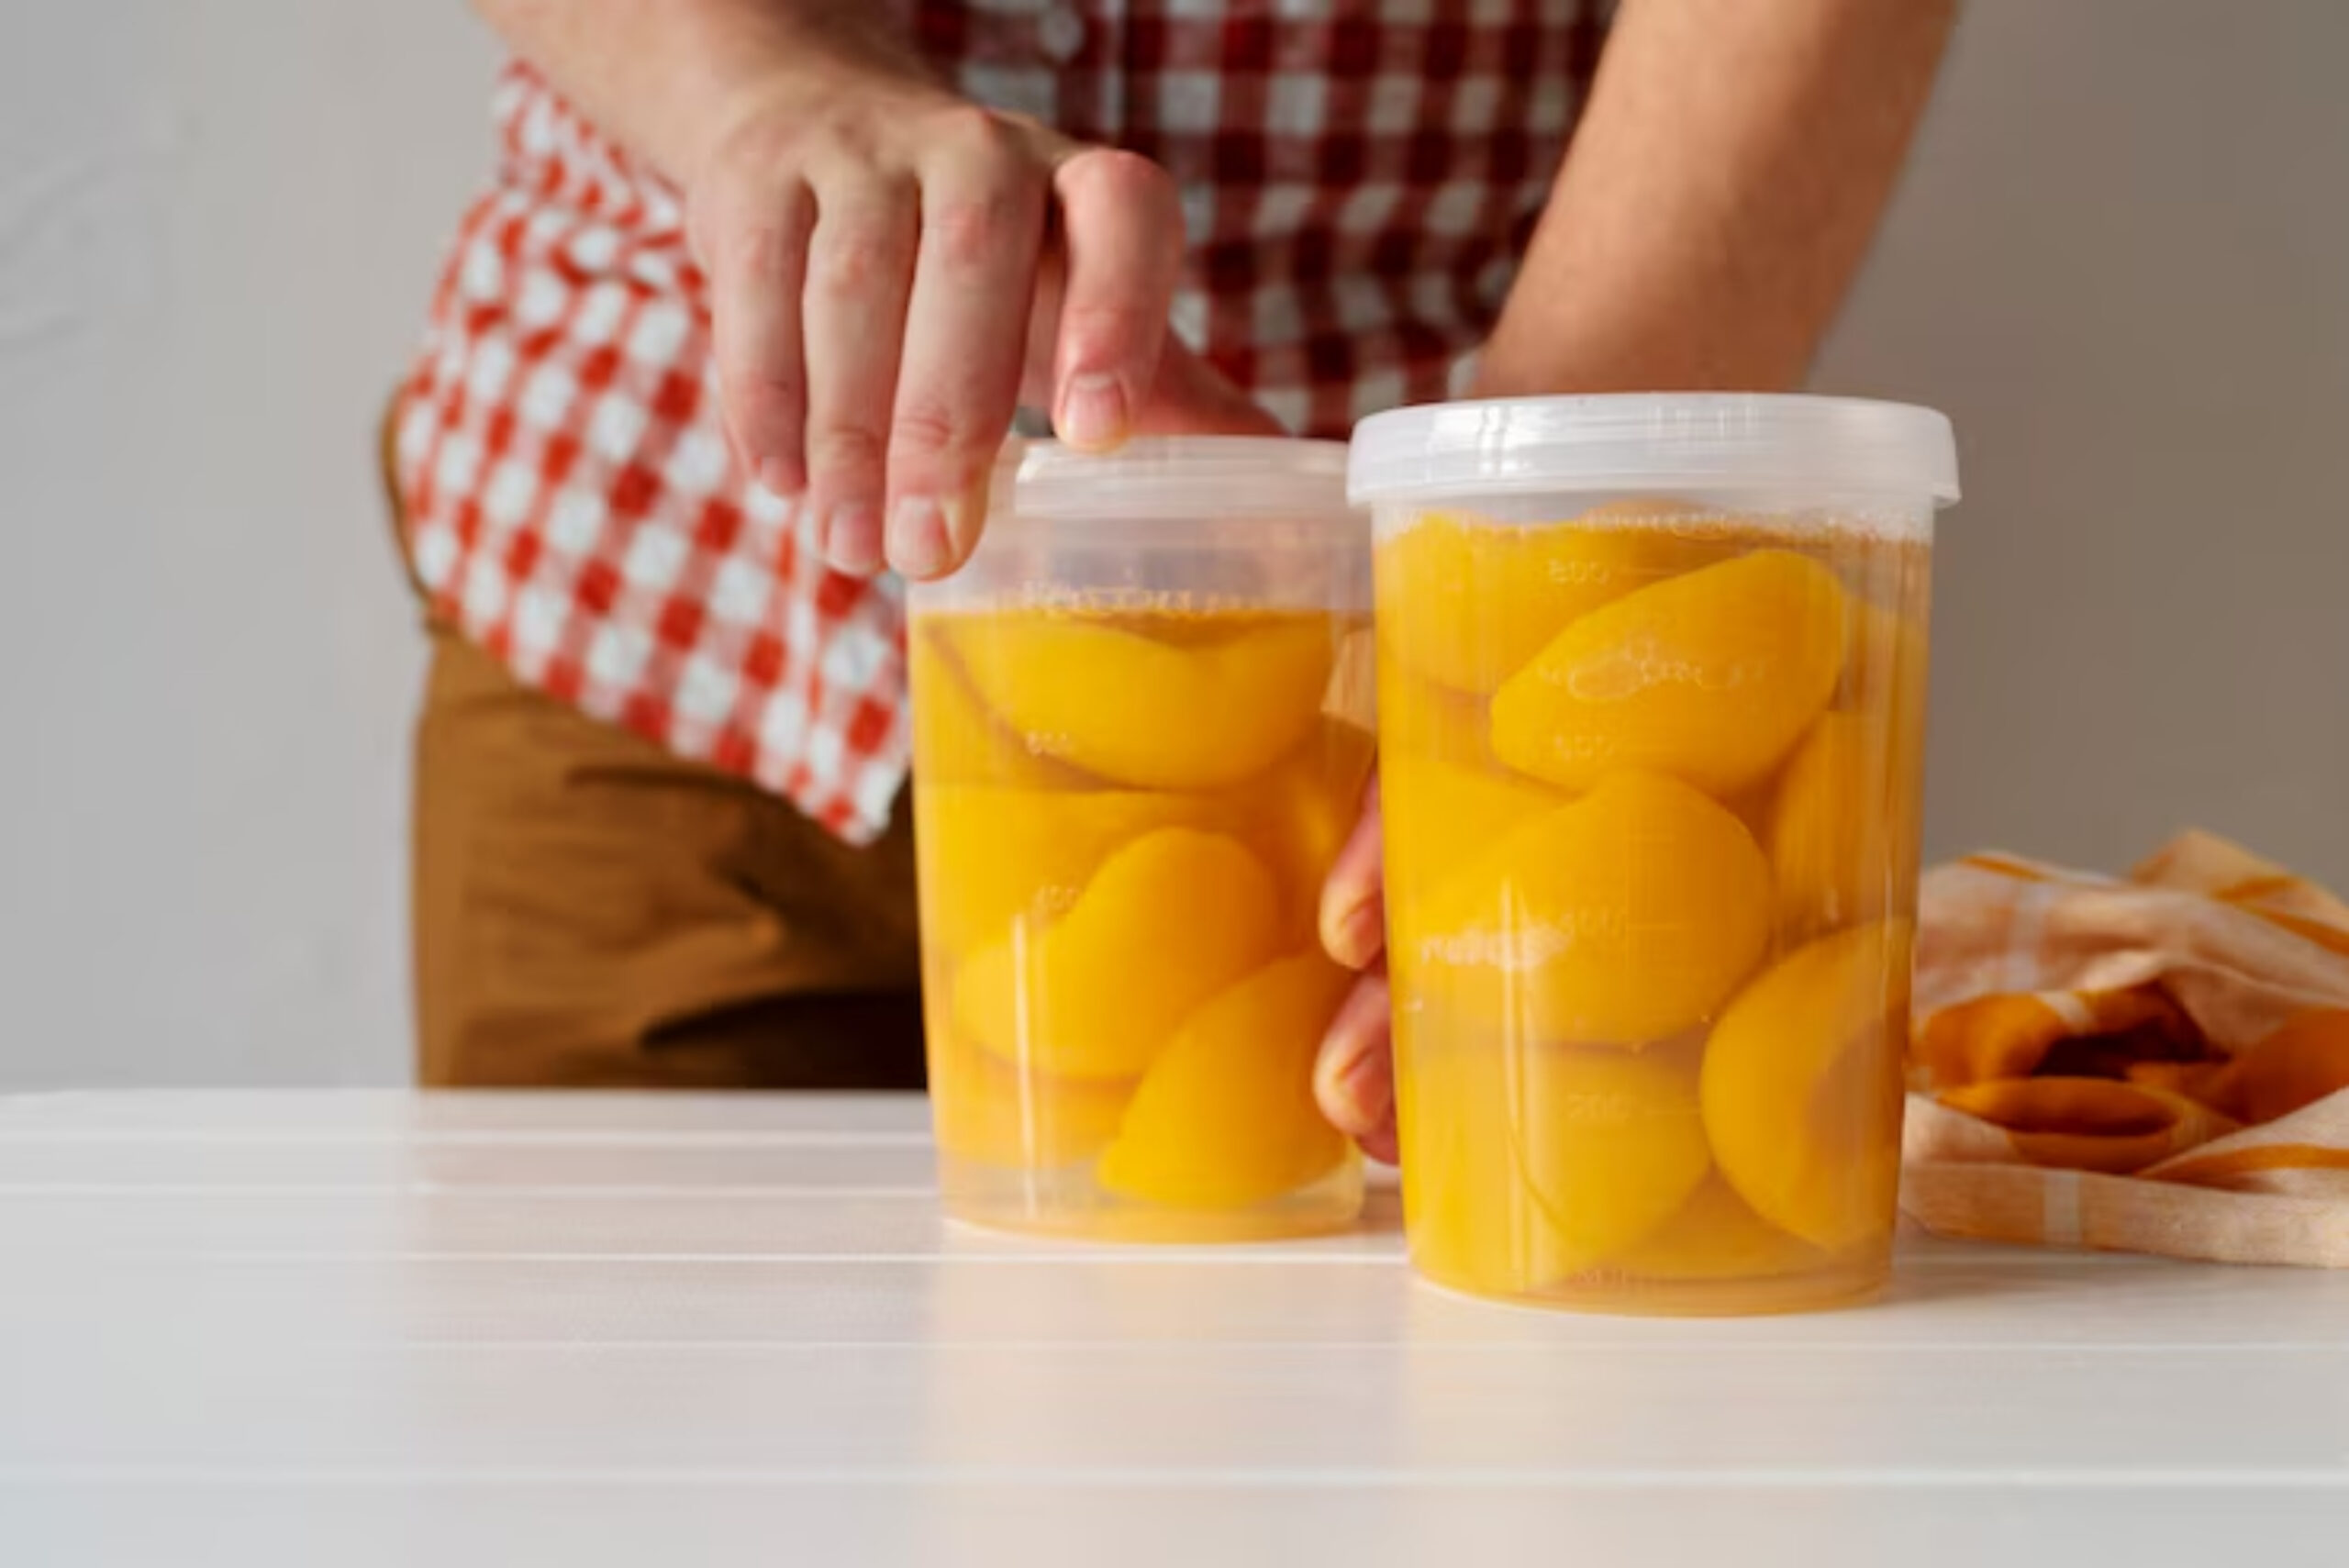
Step-by-Step: How to Keep Ferments Safe and Mould-Free
Step 1: Start With Clean Equipment
Always clean and sanitise everything before you begin.
| Item | Cleaning Tip |
| Glass jars | Wash with hot soapy water and rinse thoroughly |
| Lids and weights | Clean with warm water and vinegar |
| Utensils | Avoid metal once fermentation starts |
| Work surfaces | Wipe down with vinegar solution |
Quick Tip: Use boiling water to sanitise jars before packing your ingredients.
Step 2: Use the Right Salt-to-Water Ratio
Salt inhibits harmful bacteria and mould.
General brine guide:
- 2% salt to water by weight
- Example: 20 grams salt per 1 litre of water
- Always use non-iodised salt (sea salt or Himalayan salt)
Pro Tip: Never skip the salt. Low-salt ferments are much more prone to mould.
Step 3: Keep Everything Submerged
Oxygen encourages mould; submerging your ingredients prevents it.
| Tool | Benefit |
| Glass weights or clean stones | Hold vegetables under the brine |
| Cabbage leaves | Create a barrier layer on top |
| Silicone fermentation lids | Allow gases to escape but prevent air in |
Quick Tip: Check daily to ensure everything remains under the brine.
Step 4: Store in the Right Environment
Fermentation loves consistency.
- Ideal temperature: 18°C to 22°C
- Avoid direct sunlight or temperature fluctuations
- Keep jars loosely covered to let gases escape
Sustainability Note: Use breathable cloth covers with rubber bands to avoid plastic wraps.
Already enjoying quick projects? Check out Quick Ferments You Can Make in 24 Hours for rapid results.
Step 5: Don’t Disturb Your Ferment
Opening the jar frequently introduces new air and bacteria.
- Resist the urge to peek inside too often
- If you must check, do so quickly and reseal immediately
Pro Tip: Keep a fermentation journal to track dates and avoid unnecessary opening.
Step 6: Recognise the Difference Between Mould and Normal Signs
| Appearance | Meaning |
| Bubbles or fizz | Healthy fermentation activity |
| Cloudy brine | Natural by-product of fermentation |
| Thin white film (kahm yeast) | Harmless but can taste unpleasant |
| Fuzzy, coloured patches | Mould; discard the batch immediately |
Quick Tip: Kahm yeast can often be skimmed off, but mould means starting over.
Step 7: Use Smaller Jars for Beginners
Small batches are easier to control.
- Less chance of failure
- Easier to troubleshoot issues
- Less waste if something goes wrong
Pro Tip: Start with 500ml to 1-litre jars to build confidence.
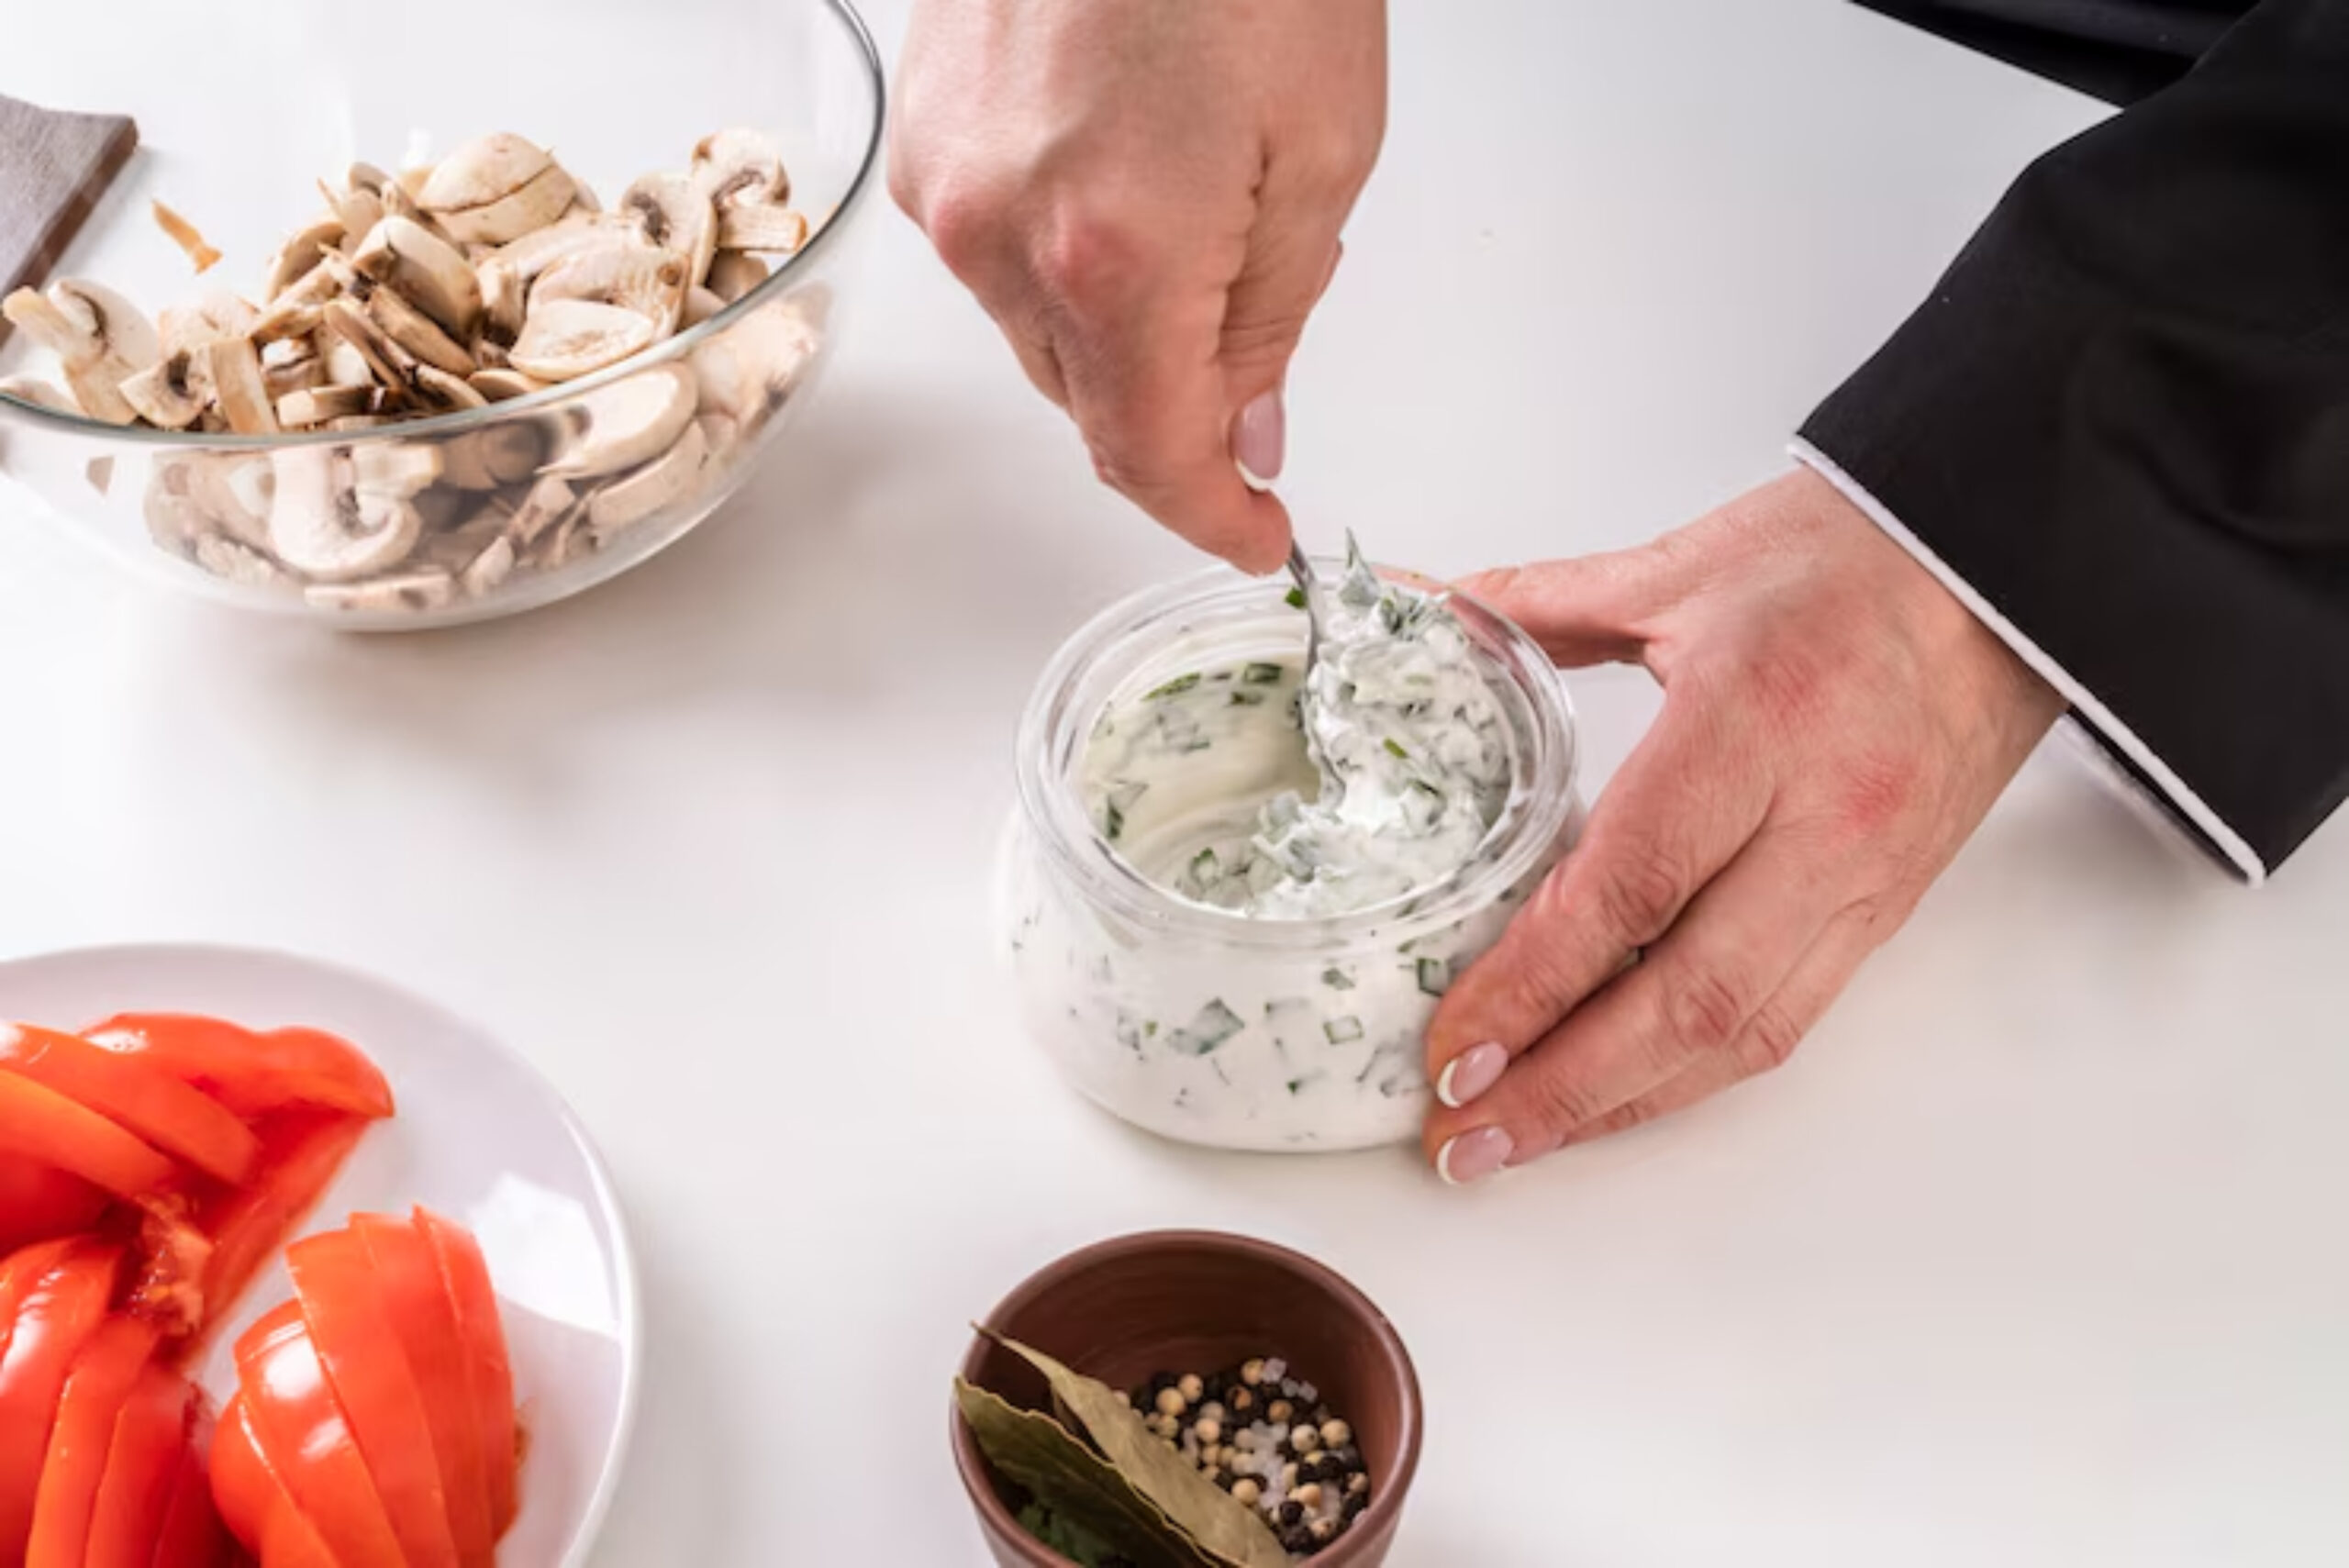
Clean Fermentation Habits to Prevent Mould
| Habit | Benefit |
| Wash hands before handling ingredients | Reduces contamination |
| Rinse vegetables well | Removes dirt and unwanted bacteria |
| Avoid metal utensils during fermentation | Metal may react with acidic brine |
| Use fresh, high-quality produce | Healthier starter for bacteria |
| Avoid chlorinated water | Chlorine inhibits fermentation |
Quick Tip: Let tap water sit for 12 hours before using to allow chlorine to evaporate.
Common Mistakes to Avoid
| Mistake | Solution |
| Using iodised salt | Switch to pure sea or rock salt |
| Skipping weights | Always weigh ingredients down under brine |
| Storing in warm or cold spots | Aim for stable, room-temperature conditions |
| Using dirty equipment | Wash and sanitise thoroughly beforehand |
| Ignoring early warning signs | Trust your nose and eyes to spot problems early |
Frequently Asked Questions
What does mould on a ferment look like?
It’s usually fuzzy and white, blue, black, green, or pink. It forms patches rather than a thin layer.
Can I scrape mould off and continue?
No. Discard the entire batch. Mould spores may have spread below the surface.
Is white film the same as mould?
No. Kahm yeast (white film) is harmless. Mould is fuzzy and coloured.
Why does my ferment keep going mouldy?
Possible causes: not enough salt, air exposure, dirty equipment, or fluctuating temperatures.
How long can I safely ferment foods?
It varies. Most vegetable ferments take 5–14 days. Always taste-test and refrigerate once ready.
Ferment With Confidence
By following these safe fermenting practices, using good ingredients, and sticking to proven clean fermentation tips, you can avoid the disappointment of mouldy ferments.
Fermenting is a rewarding, forgiving process once you understand a few simple rules. Let your kitchen creativity flourish without fear.
Stay clean. Stay patient. Enjoy safe, delicious ferments every time.
Want to turn your bug into soda? Learn how in Sparkling Fermented Fruit Sodas.
