The Food Blog
How to Brew Your First Batch of Kombucha
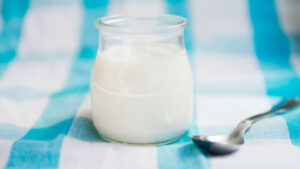
Kombucha is a tangy, refreshing fermented tea packed with probiotics and flavour. Brewing your own kombucha at home is fun, rewarding, and surprisingly simple once you learn the basics.
This guide walks you through a complete kombucha starter guide, provides a step-by-step fermented tea tutorial, and helps you master your first kombucha home brew.
Pro Tip: Patience is key. Kombucha brewing is more about timing than skill.
Quick Guide: Why Brew Kombucha?
- Packed with probiotics that support gut health
- Low in sugar compared to soft drinks
- Customisable flavours to suit your taste
- Cheaper than store-bought kombucha
- An enjoyable and creative home brewing hobby
Important: Kombucha is made by fermenting sweet tea with a SCOBY (Symbiotic Culture of Bacteria and Yeast).
Step-by-Step: How to Brew Your First Batch of Kombucha
Step 1: Gather Your Supplies
| Item | Purpose |
| Glass jar (2–4 litres) | Fermentation vessel |
| SCOBY (can be bought or gifted) | The living culture |
| Starter tea (from a previous batch or store-bought unflavoured kombucha) | Ensures acidity and prevents mould |
| Black or green tea | Base for the brew |
| White sugar | Food for the SCOBY |
| Tight-weave cloth + rubber band | Allows airflow but keeps out dust and insects |
Quick Tip: Never use metal containers or utensils once fermentation starts; metal can damage your SCOBY.
Step 2: Brew Sweet Tea
- Boil 1 litre of water
- Add 4–5 bags of black or green tea
- Stir in 100 grams of white sugar
- Let it cool completely to room temperature
Pro Tip: Avoid flavoured teas (like Earl Grey) as added oils can harm your SCOBY.
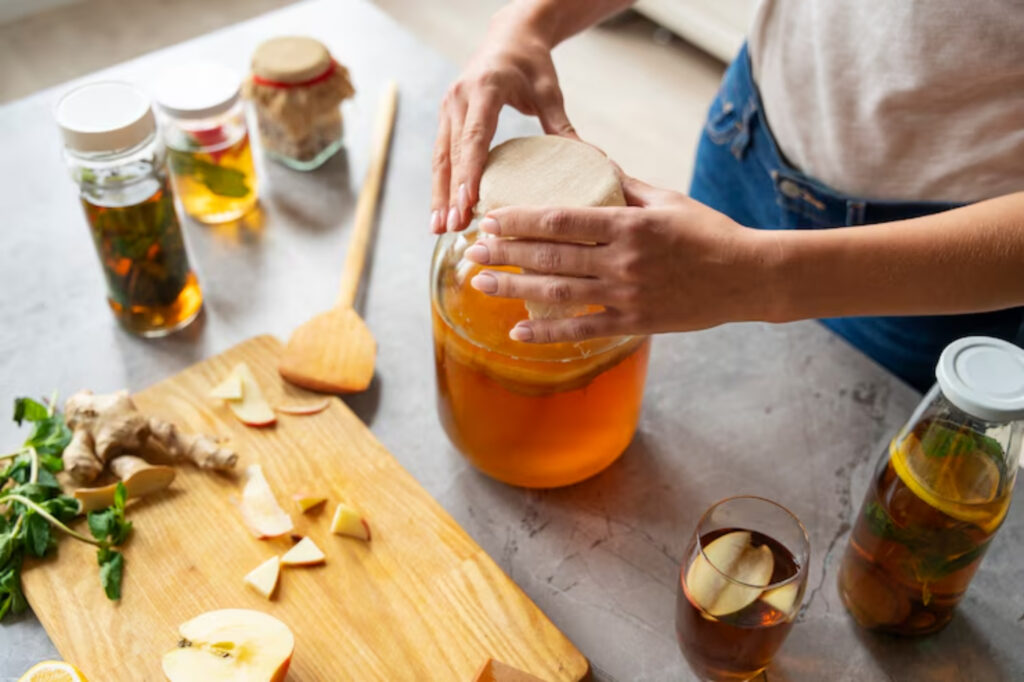
Step 3: Add SCOBY and Starter Tea
- Pour cooled sweet tea into your glass jar
- Add 200–250 ml of starter tea
- Gently place your SCOBY on the surface
- Cover with cloth and secure with a rubber band
Quick Tip: It’s fine if the SCOBY sinks or floats; both are normal.
Step 4: Ferment Your Kombucha
- Store the jar at room temperature (21°C–27°C)
- Avoid direct sunlight
- Let ferment for 7–14 days
Day Range Taste Outcome 7–9 days Lightly sweet and mild 10–14 days More tangy and acidic Pro Tip: Taste every few days after Day 7 to find your perfect flavour.
Learn how to protect your ferments in How to Keep Your Ferments Mold-Free
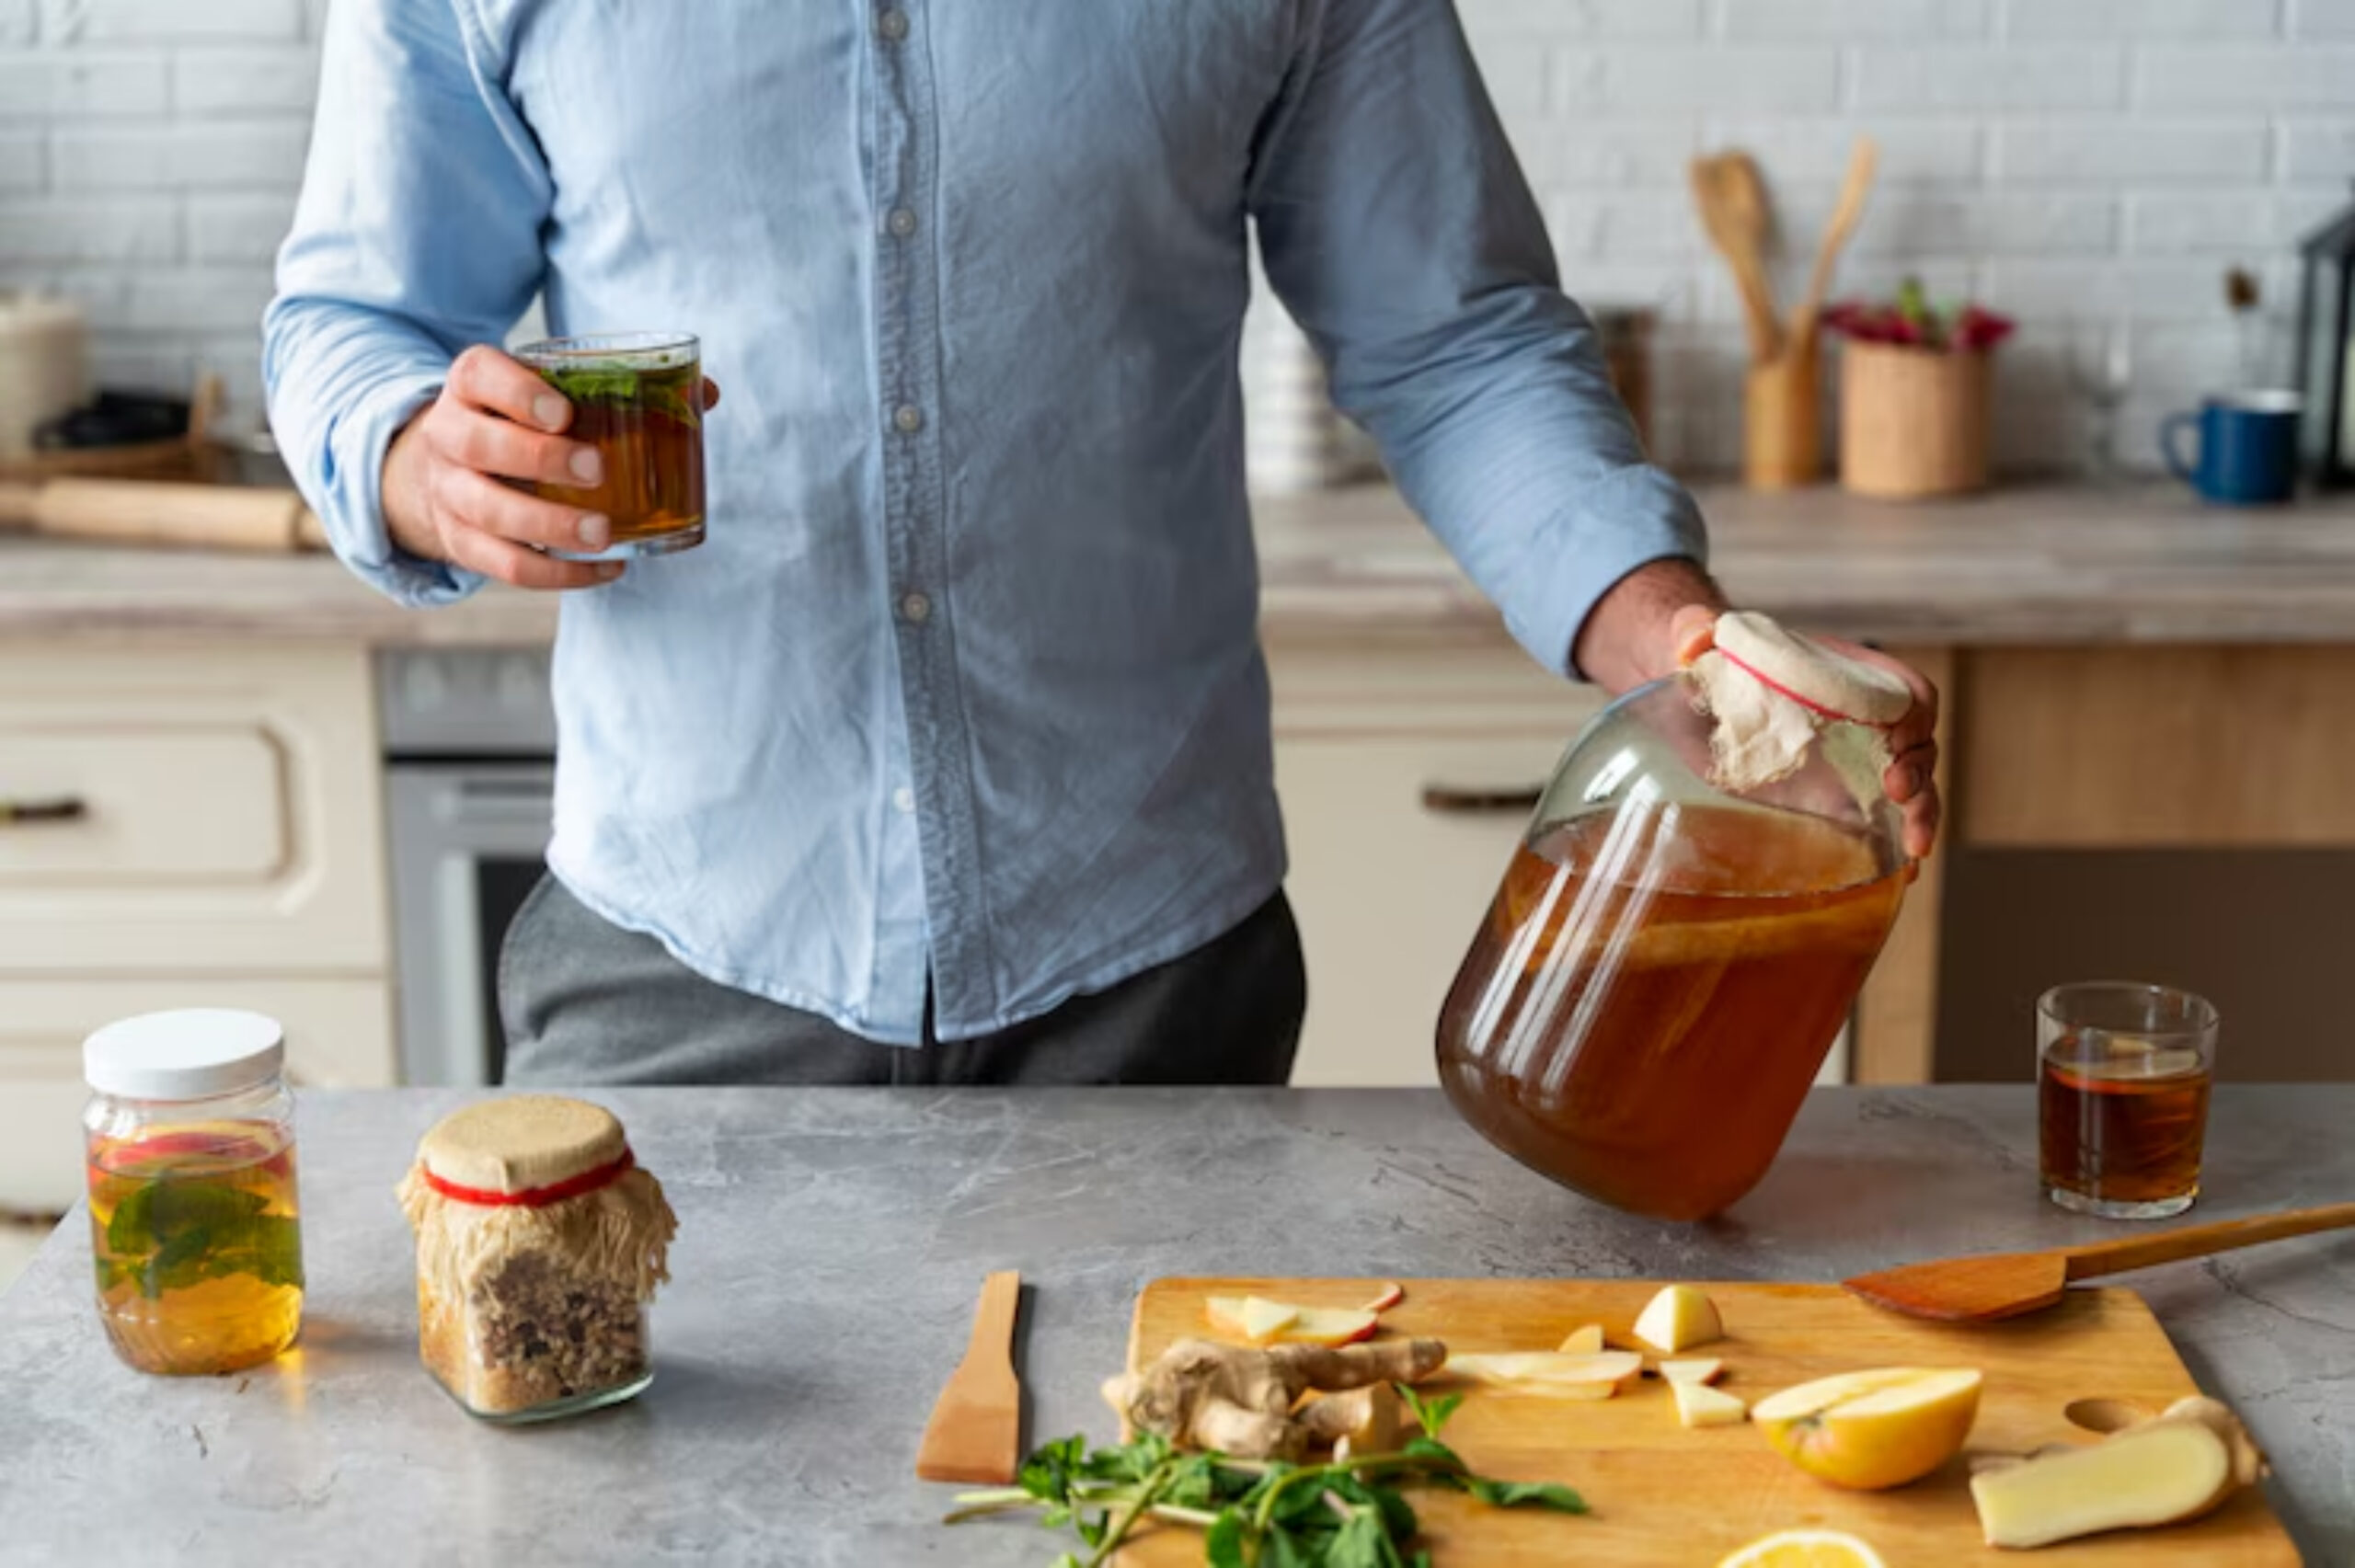
Step 5: Remove SCOBY and Reserve Starter Tea
- With clean hands, lift out the SCOBY and place it in a clean bowl
- Reserve at least 250 ml of kombucha to use as starter tea for your next batch
Sustainability Note: SCOBYs grow new layers. Give extras to friends or compost them.
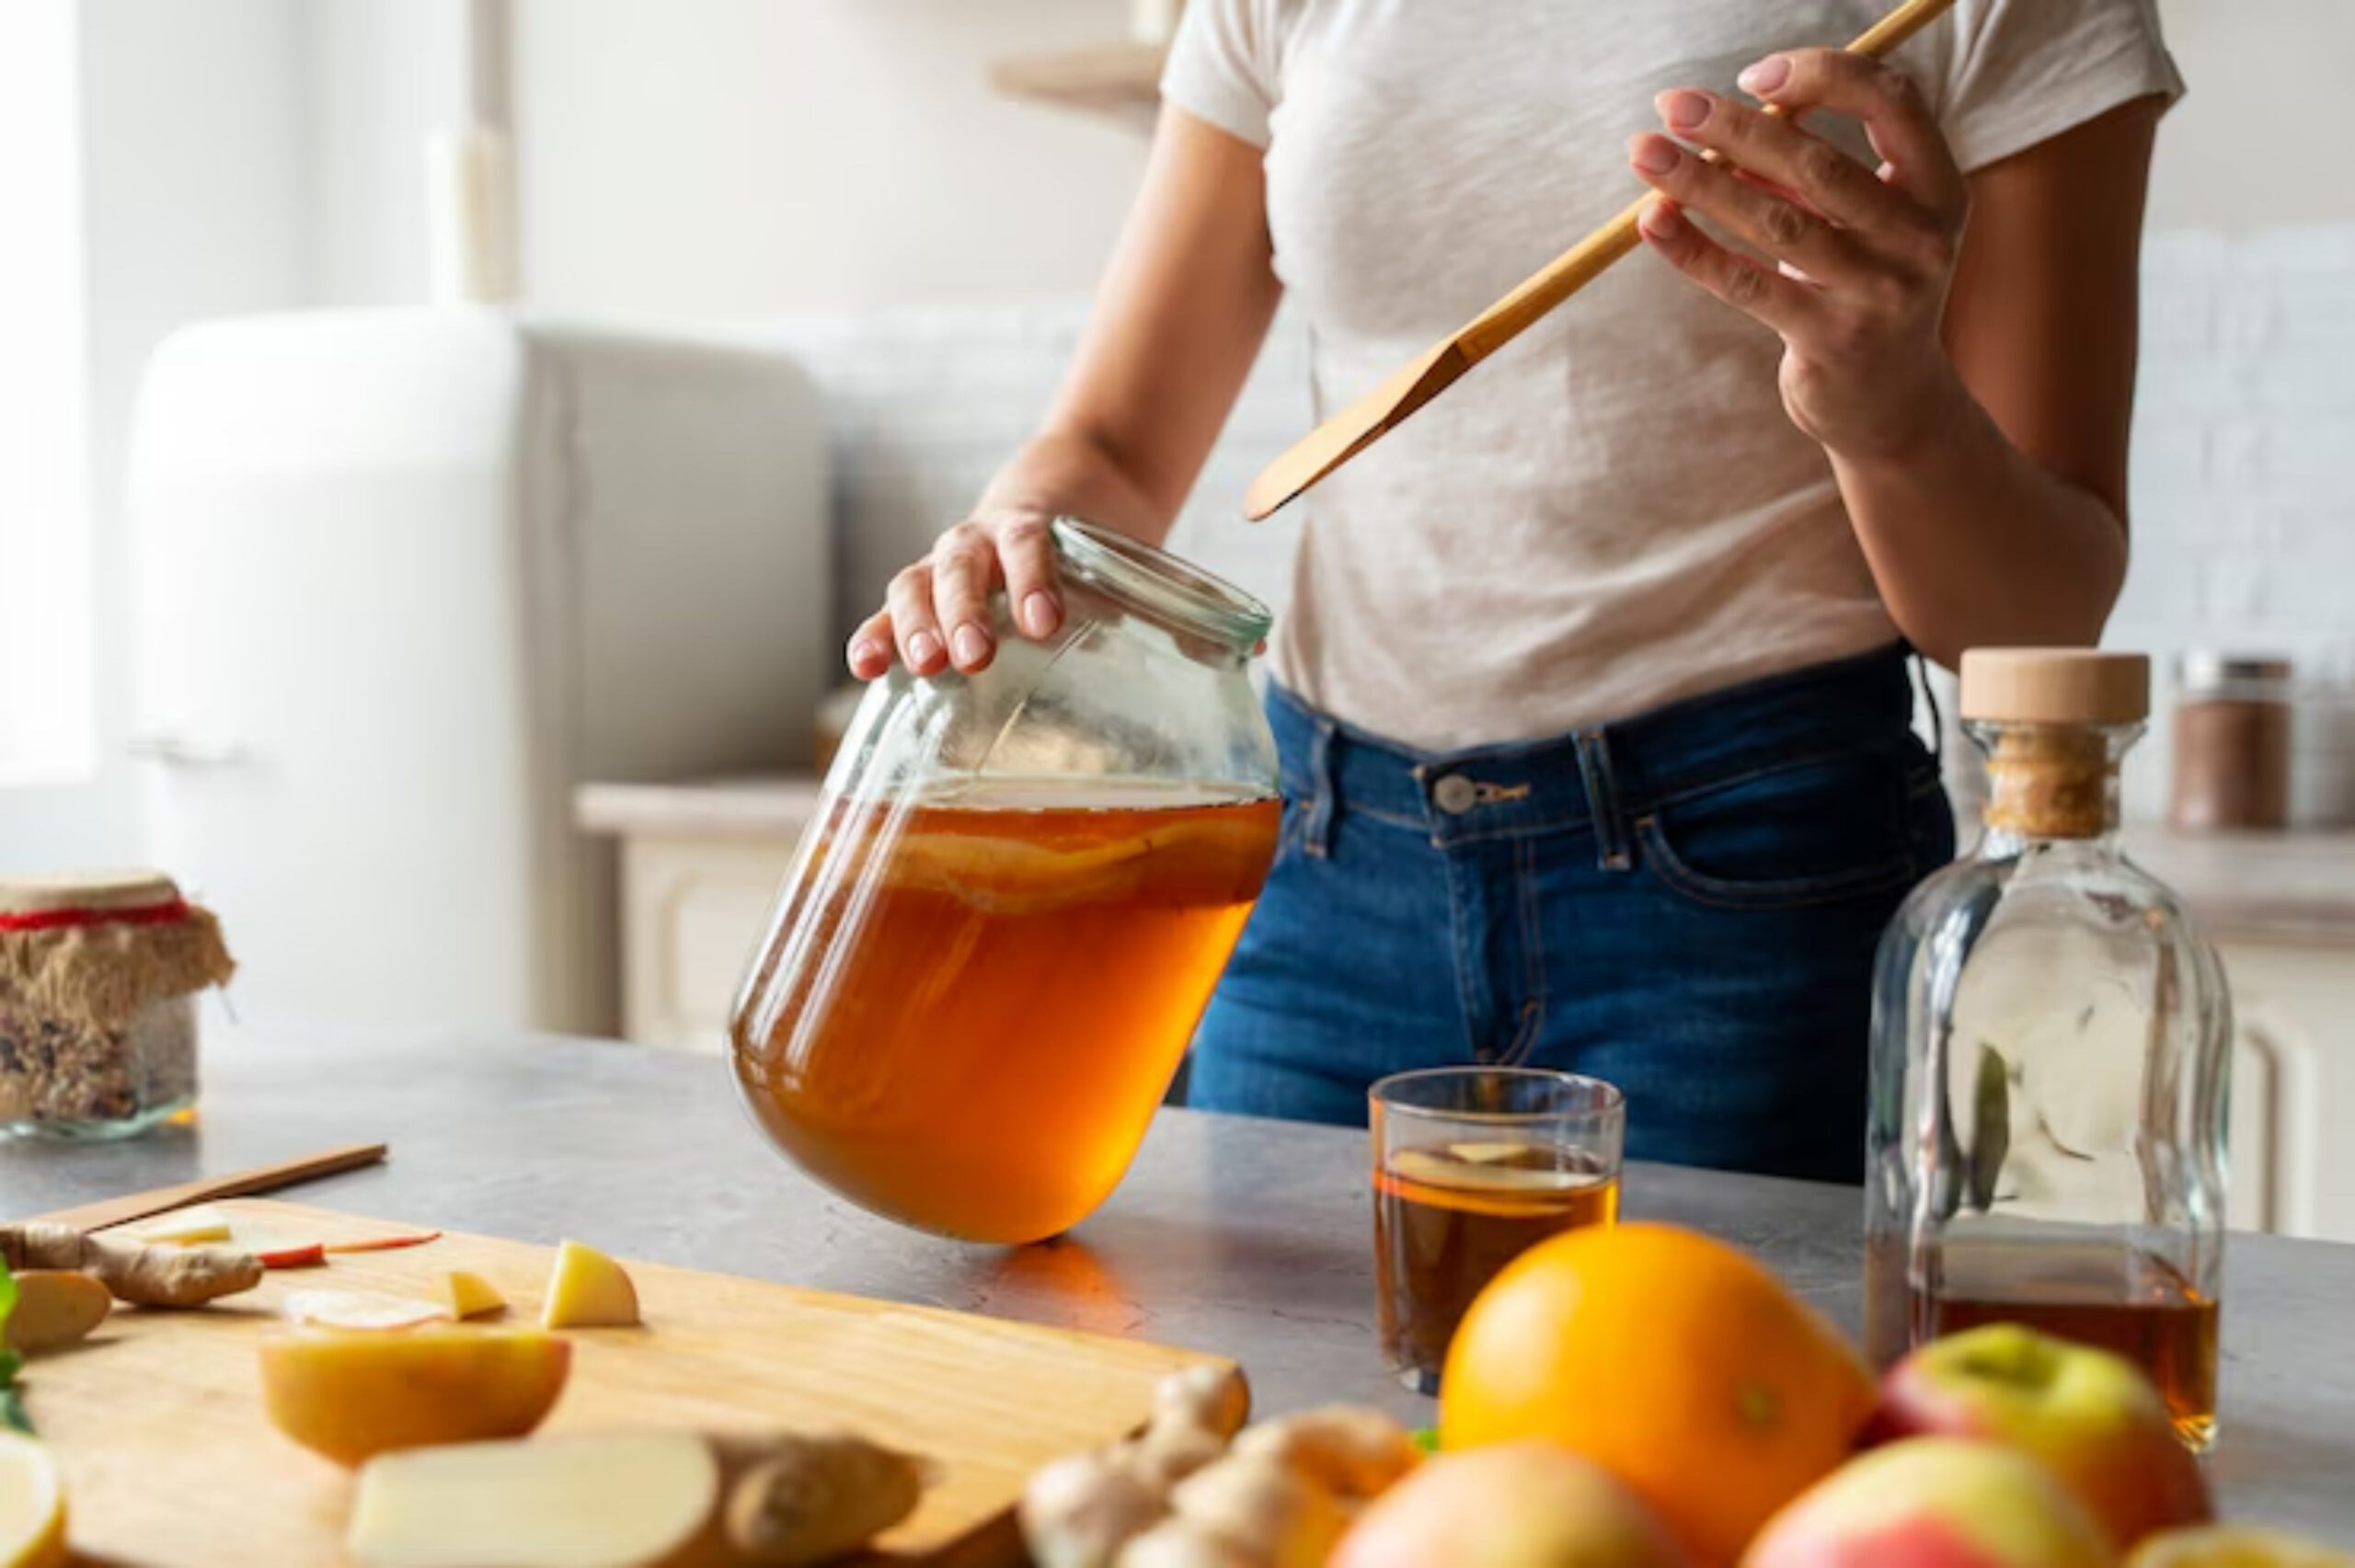
Step 6: Bottle and Flavour (Optional)
- Pour kombucha into glass bottles using a funnel
- Add optional flavour ingredients (e.g., fruit, herbs, spices)
- Seal tightly to begin secondary fermentation for fizz
- Store at room temperature for 2–5 days, then refrigerate
Popular Flavours Ingredients Berry blast Raspberries, blueberries Ginger spice Fresh ginger slices Tropical Pineapple chunks, mint Quick Tip: “Burp” bottles daily to prevent over-carbonation and bottle explosions.
Step 7: Refrigerate and Enjoy
- Once the kombucha reaches your desired fizz level, refrigerate it to slow fermentation
- Enjoy chilled within 1–2 weeks
Pro Tip: Kombucha continues to ferment at room temperature, so always refrigerate to preserve taste.
Troubleshooting Your Kombucha Home Brew
Problem Cause Solution Mould (fuzzy white, blue, or black spots) Contamination or low acidity Discard batch and start again Vinegary flavour Brewed too long Shorten fermentation time next batch No fizz Not sealed tightly during secondary ferment Use swing-top bottles for best carbonation Flat taste Weak tea or not enough sugar Adjust recipe next time Pro Tip: Mould is rare if you use the right starter tea and maintain cleanliness.

Additional Tips for Beginner Kombucha Brewing
- Wash hands and tools thoroughly before starting
- Always use non-metal utensils and containers
- Do not stir kombucha while fermenting
- Keep a brewing journal to track times, flavours, and results
- Label your bottles with dates and flavour combinations
Quick Tip: Don’t rush. The best tasting kombucha often comes from batches that are given time to fully develop.
Common Mistakes to Avoid
Mistake Solution Using flavoured teas Stick with plain black or green tea Neglecting cleanliness Wash all equipment thoroughly Adding sugar substitutes SCOBY needs real sugar for fermentation Sealing your primary ferment Always cover loosely with cloth Leaving bottles at room temperature too long Refrigerate once carbonation is right Frequently Asked Questions
Do I need a SCOBY to make kombucha?
Yes. The SCOBY and starter tea are essential to create the proper environment.How do I get a SCOBY?
You can purchase one online, get one from a friend, or grow one using store-bought unflavoured kombucha.Is kombucha alcoholic?
Home-brewed kombucha contains trace amounts of alcohol (usually under 0.5%).How long does homemade kombucha last?
Stored in the fridge, it’s best enjoyed within 1–2 weeks for the freshest flavour.Can I reuse my SCOBY?
Yes! After every batch, your SCOBY will grow. Just use the newest layer for your next brew.Master the Art of Kombucha Brewing
Brewing your own kombucha is easier than you think and allows full control over taste and ingredients. By following this kombucha starter guide and safe techniques in this fermented tea tutorial, you’ll confidently create delicious kombucha home brew batches to enjoy and share.
Be patient. Get creative. Savour the fizz of homemade kombucha.
Want to dive deeper into fermented drinks? Read Fermented Ginger Beer Without Alcohol


YOU MAY LIKE