Essential Tools You Need for Successful Home Fermentation Projects
There’s something truly magical about transforming everyday ingredients into bubbling, flavourful, probiotic-rich creations. But while fermentation can be wonderfully low-tech, having the right tools makes the process smoother, safer, and far more satisfying. Whether you’re fermenting your first batch of sauerkraut or levelling up your kombucha craft, a reliable fermentation tools list is your best kitchen ally.
Home fermentation is about more than just jars and salt. From keeping your workspace clean to optimising airflow and tracking pH, a well-rounded probiotic equipment kit ensures consistency and confidence. This article walks you through the essential and nice-to-have home fermenting gear, including real-life use cases, product tips, and how each item supports your success.
By the end, you’ll know exactly what tools you need (and what you can skip), so you can spend less time second-guessing and more time fermenting delicious, gut-boosting foods and drinks. Let’s dig in.
Essential Tools for Every Home Fermenter
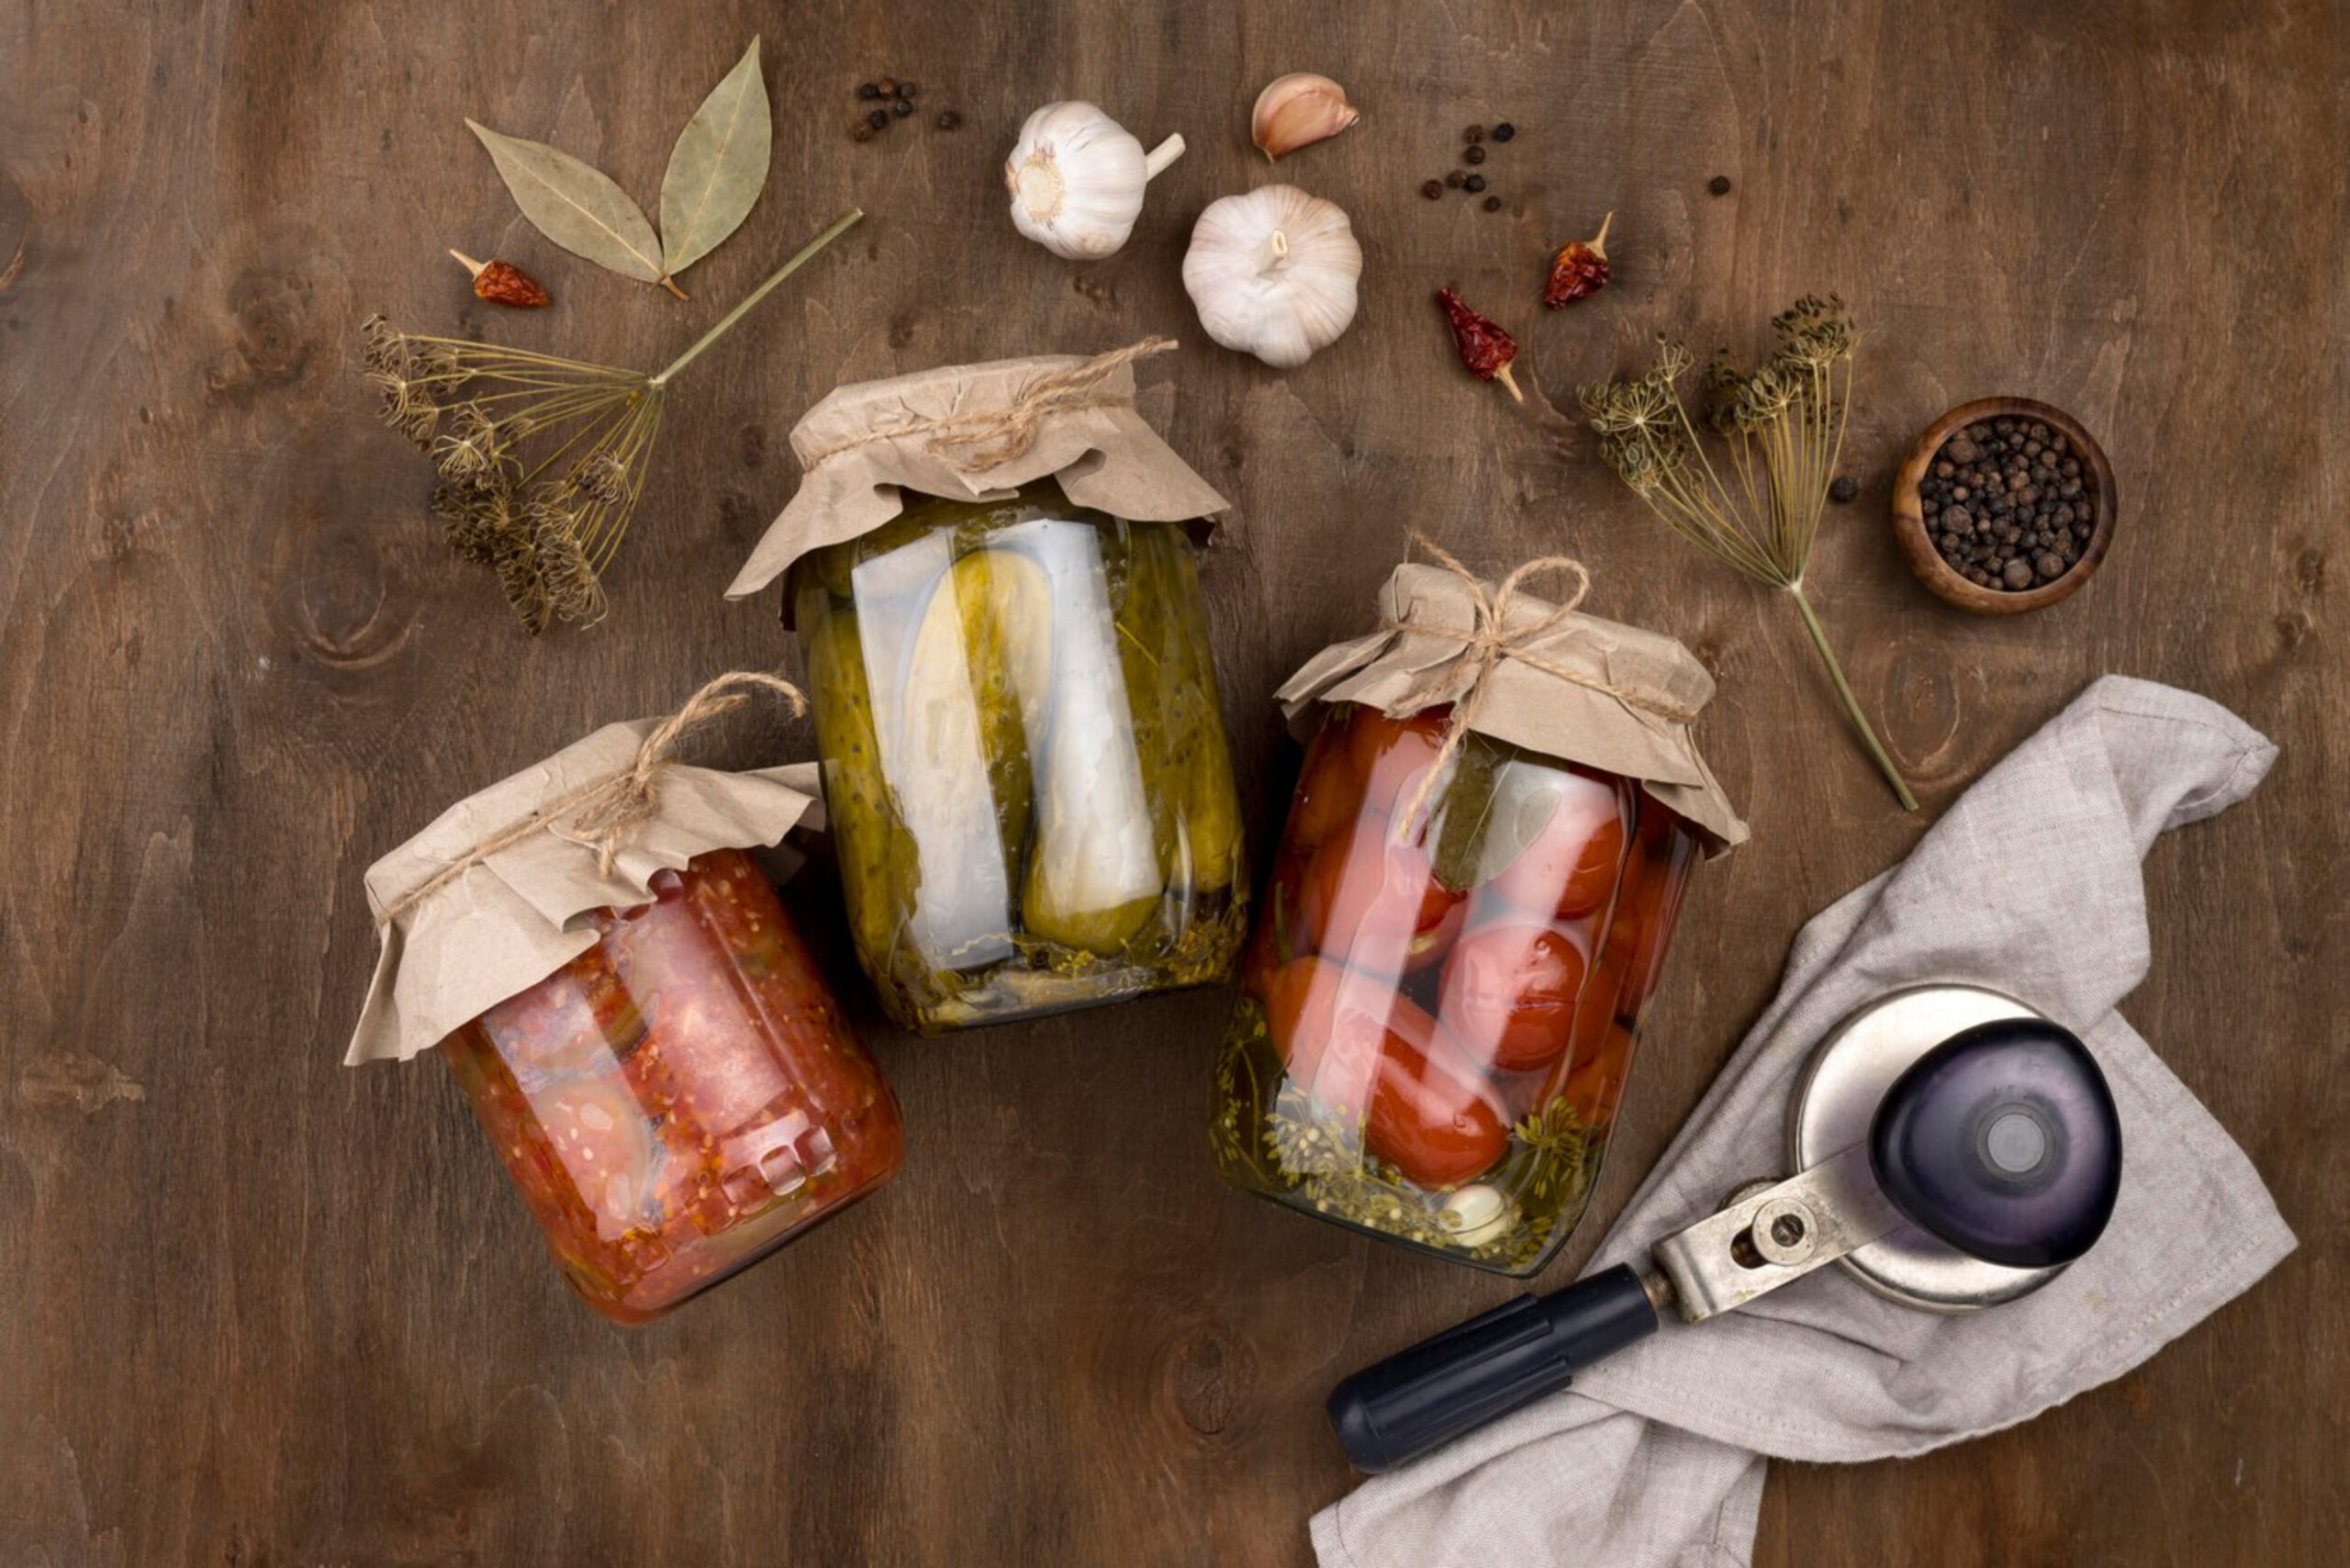
1. Glass Jars (Various Sizes)
Why You Need Them:
- Transparent, non-reactive, and easy to clean
- Perfect for small batches, visible bubbling, and safe storage
Recommended Sizes:
- 250ml for pastes or starter cultures
- 500ml–1L for vegetables or condiments
- 2L+ for kombucha or bulk batches
Pro Tip: Use wide-mouth jars for easier packing and cleaning.
2. Fermentation Weights
Why You Need Them:
- Keep food fully submerged in brine
- Prevent mould and ensure anaerobic conditions
Options:
- Glass disc weights
- Ceramic or stone
- DIY: Small water-filled zip bags
When to Use:
- Lacto-fermented veg (e.g., kimchi, pickles, kraut)
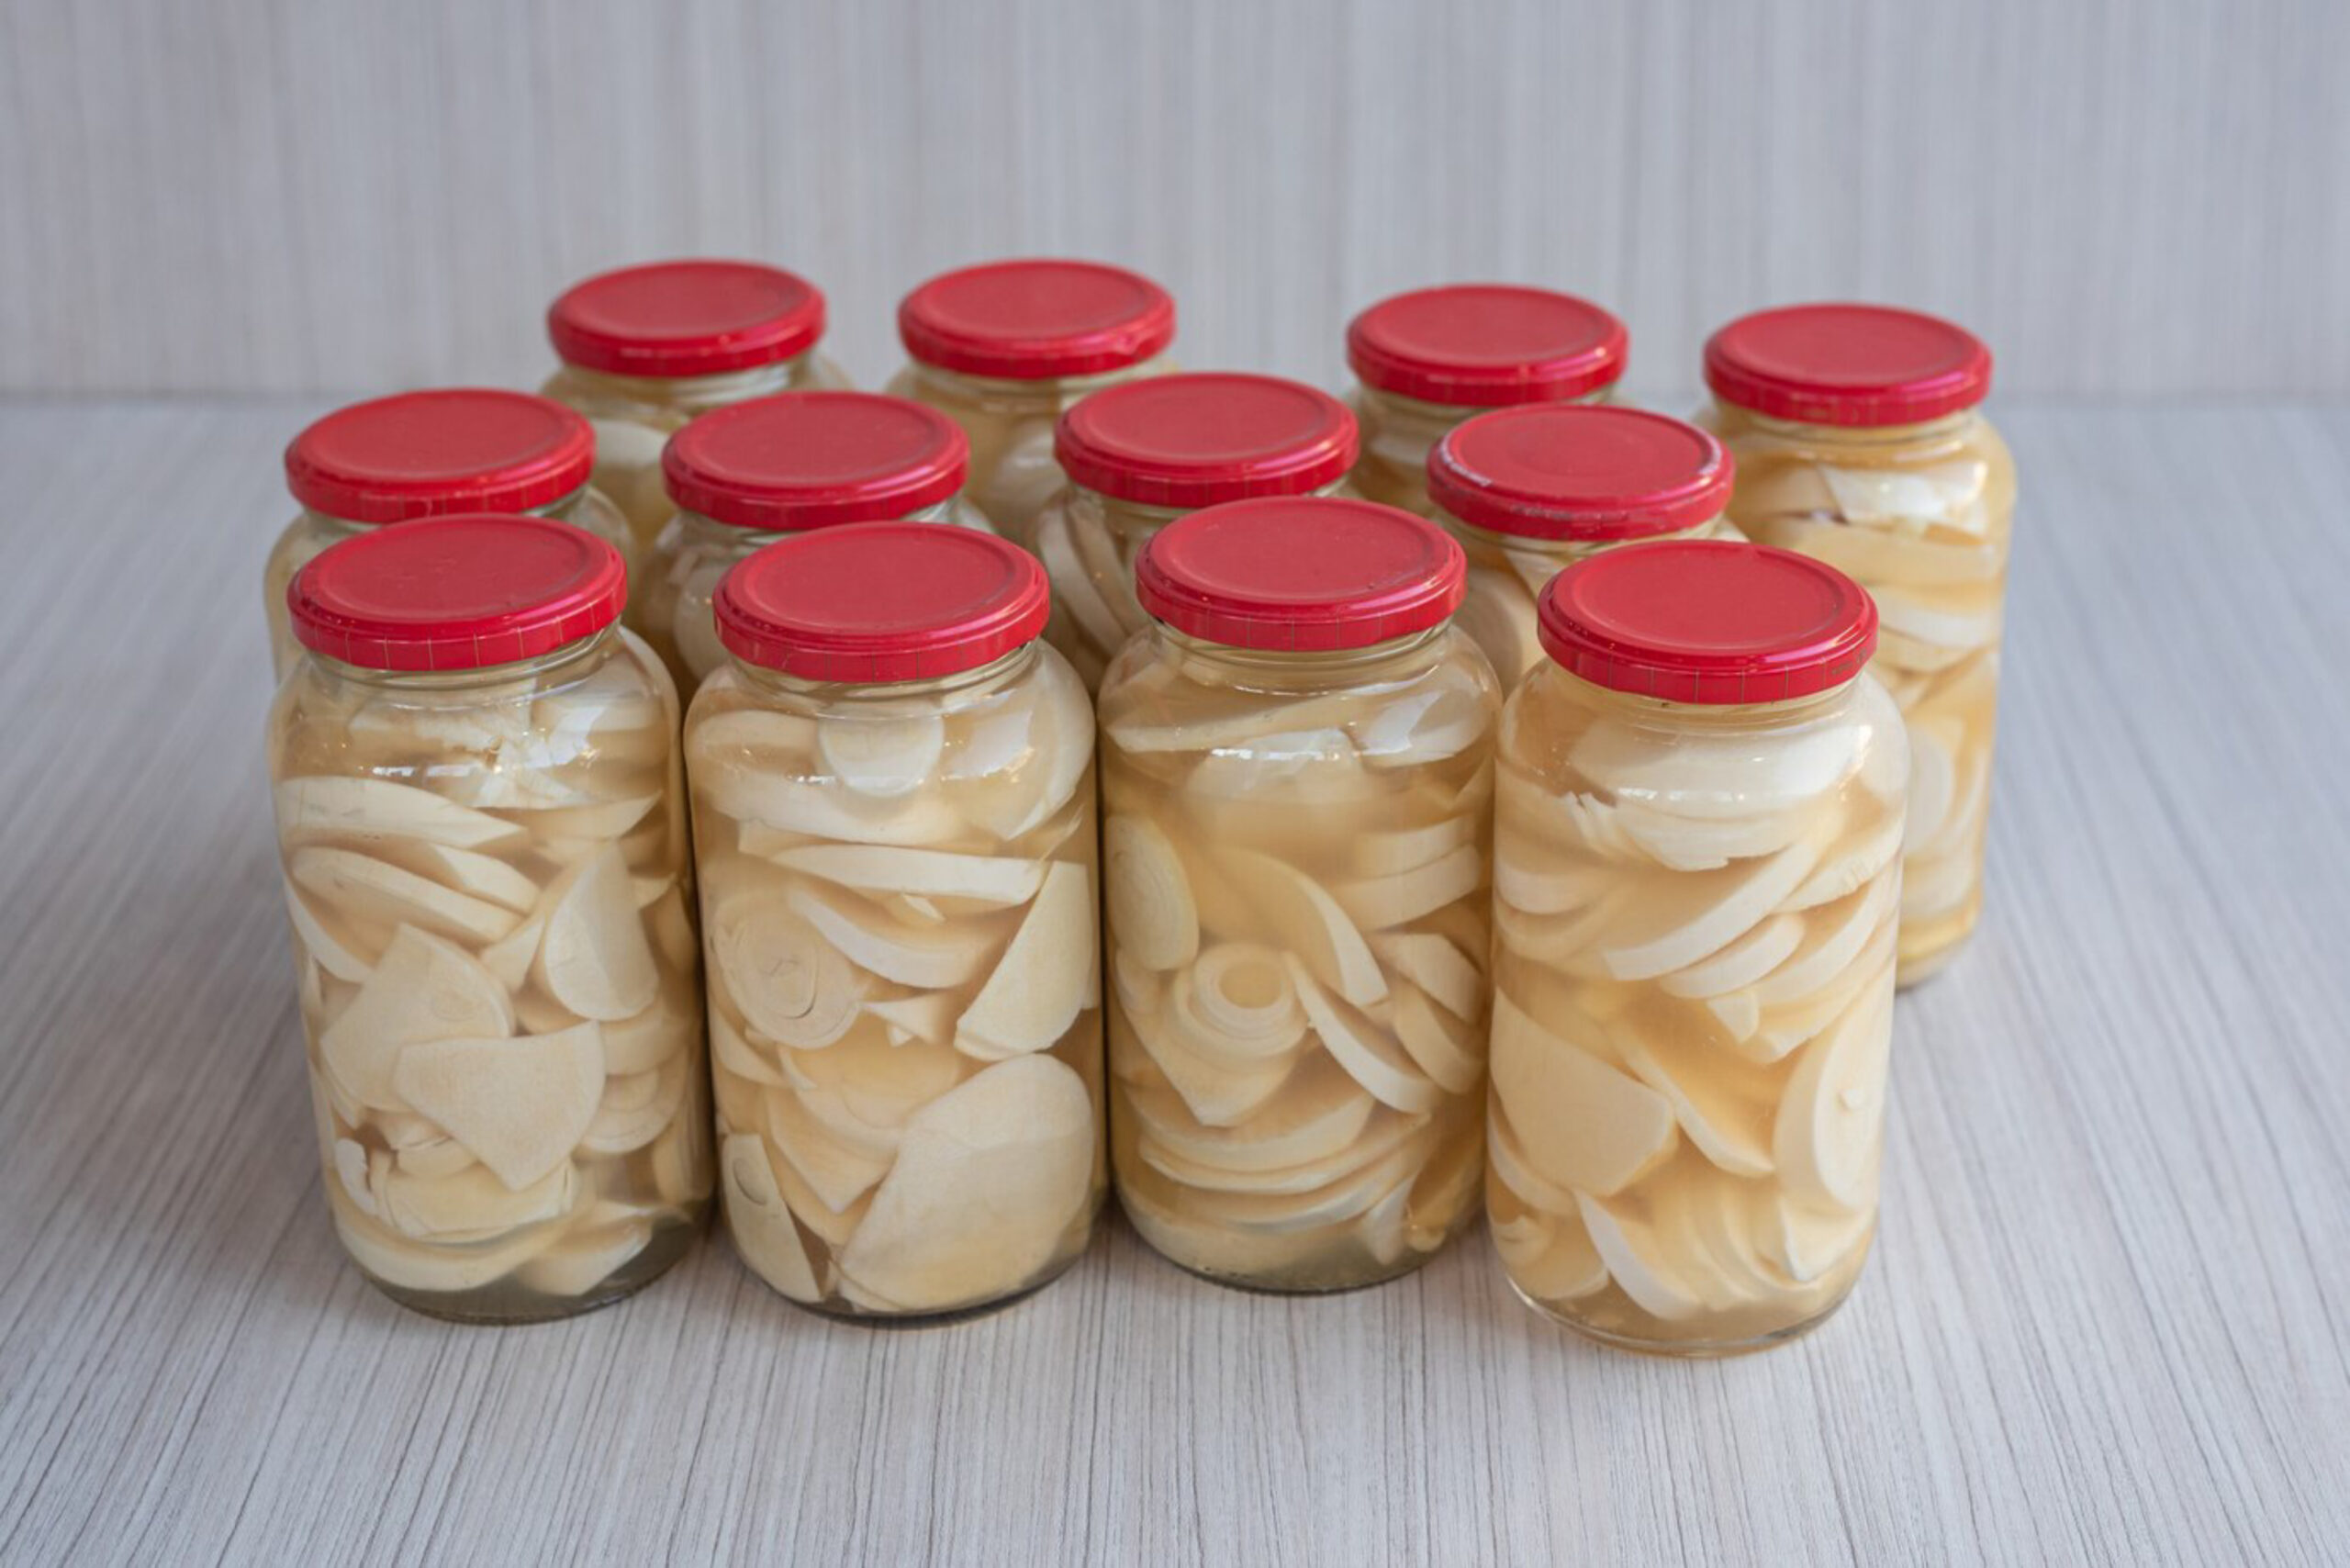
3. Airlock Lids or Fermentation Tops
Why You Need Them:
- Let CO2 escape without letting air (or bugs) in
- Reduce chances of spoilage
Types:
- Water airlock lids
- Silicone vented tops
- One-way plastic lids
Alternative: Loosely screw regular lids (but remember to burp!)
4. Non-Iodised Salt
Why You Need It:
- Iodine and anti-caking agents can interfere with fermentation
Best Options:
- Sea salt
- Himalayan pink salt
- Pickling salt
Use With:
- Sauerkraut, brined veg, ferments that require salting
5. Mixing Bowls (Non-Reactive)
Why You Need Them:
- Useful for salting, massaging, or mixing your ingredients
Materials to Use:
- Glass
- Stainless steel
- Ceramic
Avoid:
- Aluminium or scratched plastic (reactive surfaces)
6. Funnels (Wide-Mouth Recommended)
Why You Need Them:
- Transfer chopped veg, brine, or liquids without mess
- Protects jar rims and helps avoid waste
Materials:
- Stainless steel or food-grade silicone
Ideal For:
- Kombucha bottling, pickle jar filling
7. Wooden or Silicone Pounder (Tamper)
Why You Need It:
- Compact vegetables tightly into jars
- Release liquid from shredded ingredients
Popular Uses:
- Sauerkraut, kimchi, beet kvass base
Additional Tools That Make Fermenting Easier
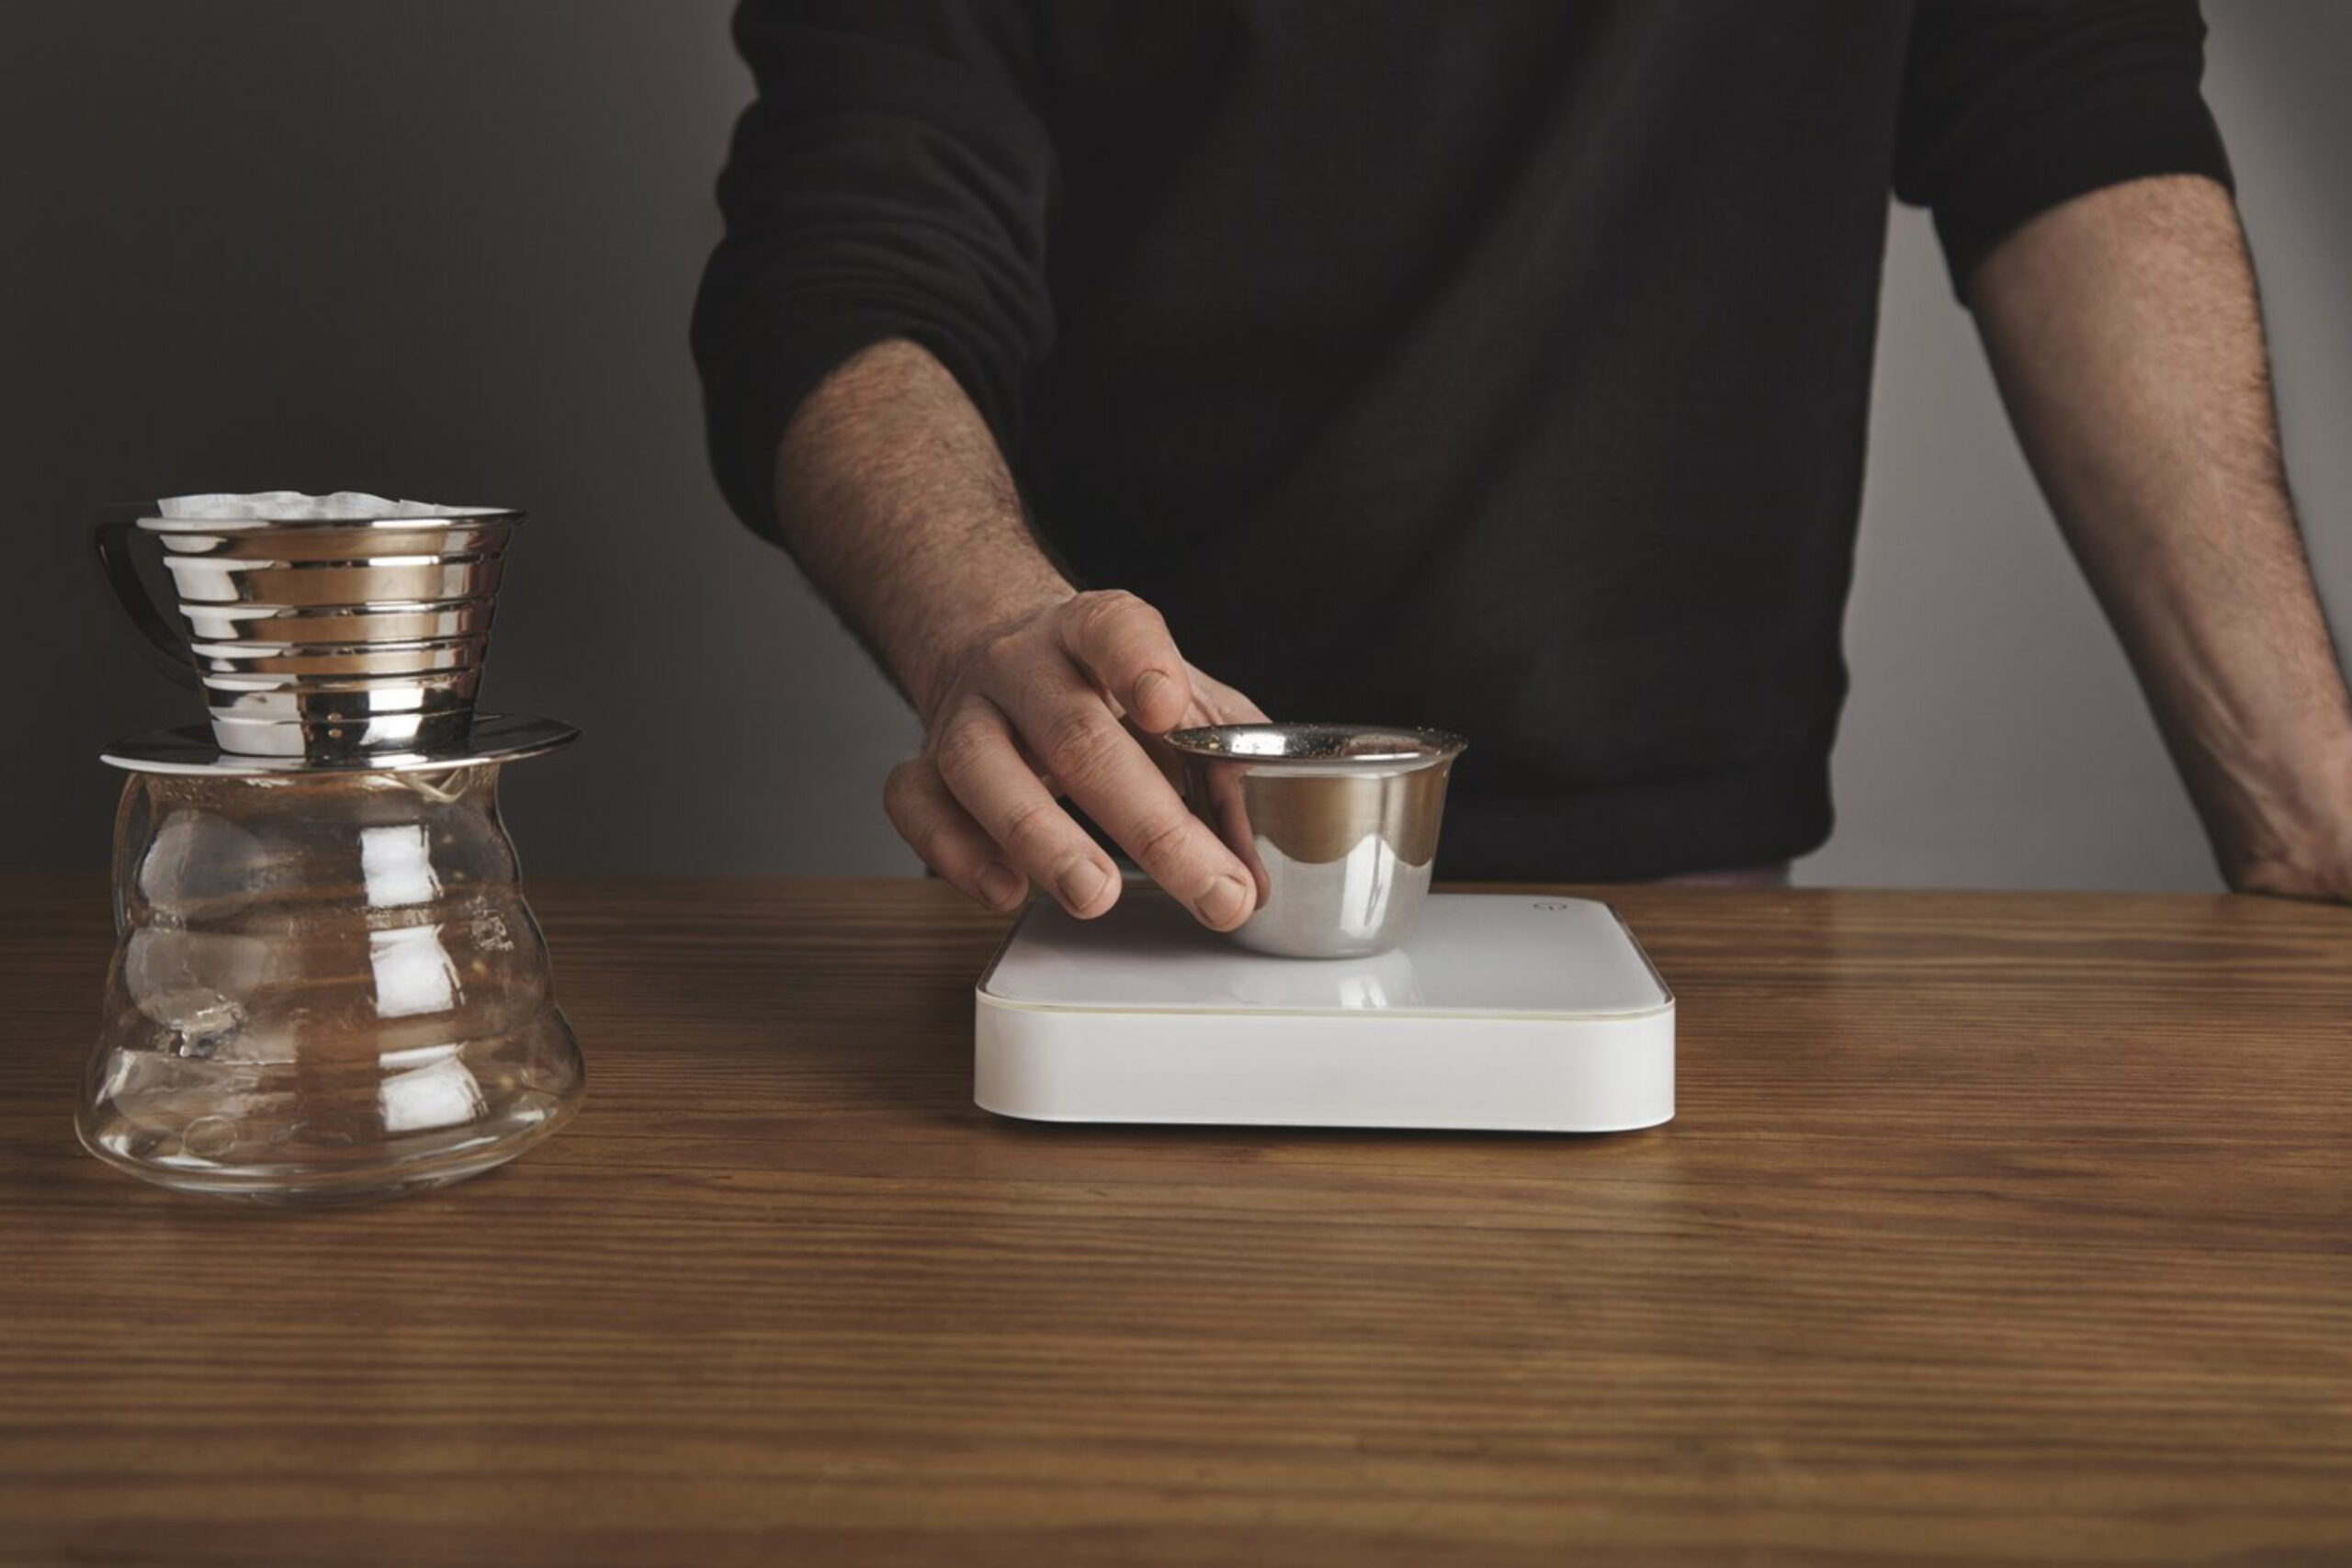
8. Digital Kitchen Scale
Why You Need It:
- Fermentation is a ratio game
- Salt concentration must be precise (typically 2% by weight)
Must-Have For:
- Beginners and anyone scaling up batches
9. Thermometer
Why You Need It:
- Temperature affects microbial activity
- Ideal range: 18–22°C for veg, 24–28°C for kombucha/kefir
Type:
- Instant-read digital thermometers are easiest
10. pH Strips or Meter (Optional but Helpful)
Why You Might Want It:
- Confirms safety (most lacto-ferments should drop below 4.6 pH)
Use Case:
- Experimenting with unusual ingredients or long ferments
11. Clean Labels or Washi Tape
Why You Need Them:
- Track start dates, recipes, and variations
Best Practices:
- Label every jar with contents and date
- Use a colour code if managing multiple ferments
12. Fermentation Log Book
Why It Helps:
- Note what worked (and what didn’t)
- Record environmental conditions, ratios, timings
Great For:
- Learning faster and scaling confidently
For more safety tips, check out how to store fermented foods properly.
Gear for Advanced Fermenters
13. Fermentation Crocks (2L+)
Why You Might Want It:
- Traditional method for large batches
Benefits:
- Deep brine layers
- Natural airlocks
- Works great for large families or serious fermenters
14. Vacuum Sealer
Use Case:
- Long-term storage of fermented meats or kraut
- Works well with freezer-friendly ferments
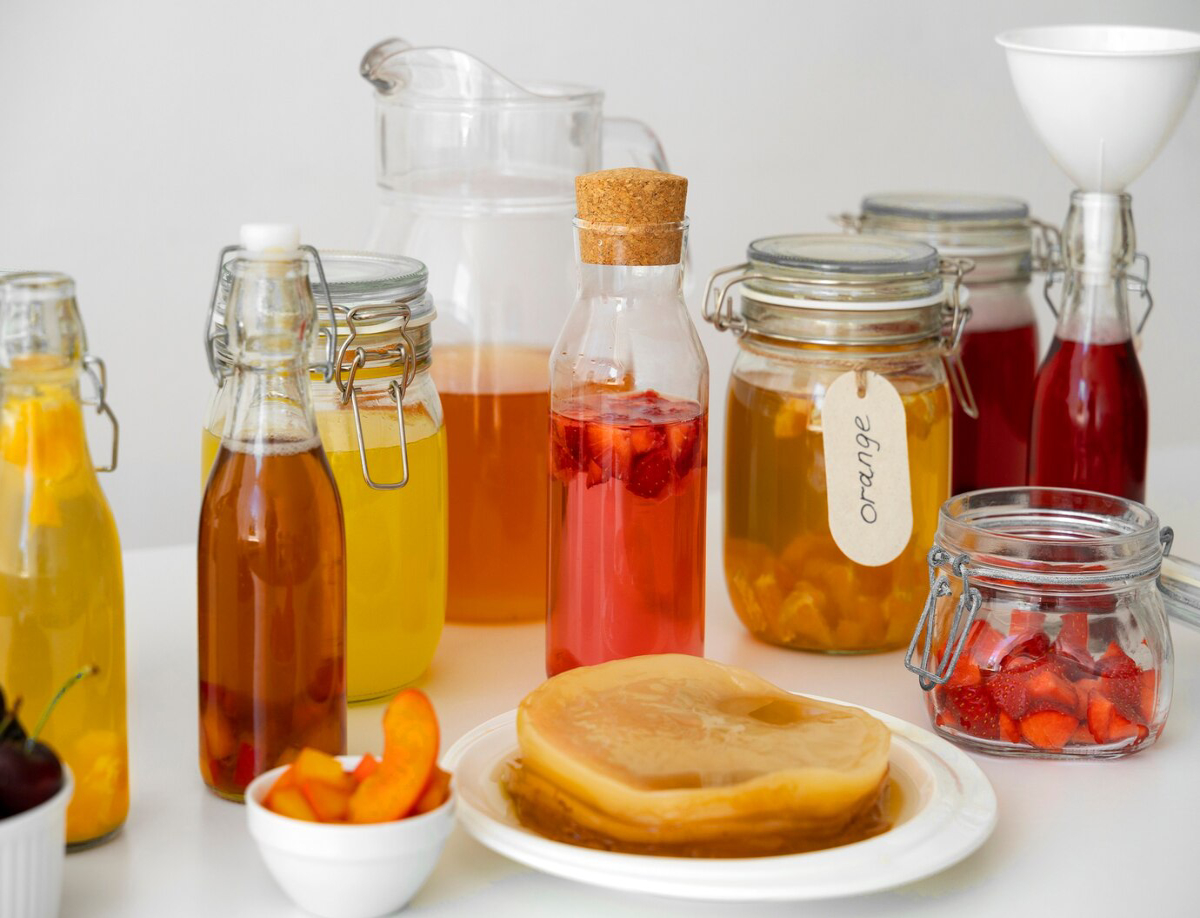
15. Kombucha Bottling Kit
Typically Includes:
- Flip-top bottles
- Funnel with strainer
- Bottle brush
Benefits:
- Capture fizz
- Avoid contamination
- Makes gifting easy!
Cleaning & Maintenance Tools
16. Jar Brush
Why You Need It:
- Regular cleaning avoids cross-contamination
Recommended Type:
- Long-handled silicone or natural bristle
17. Sanitiser or Boiling System
When It’s Useful:
- Before each new batch
- Particularly for dairy or kombucha
Options:
- Star San (no-rinse sanitiser)
- Boiling water
Probiotic Equipment Kit: Build Yours Based on Your Needs
If you’re just starting:
- Jars (500ml + 1L)
- Weights
- Salt
- Pounder
- Labels
If you’re scaling up:
- Airlock lids
- Digital scale
- Thermometer
- Funnel set
If you’re going pro:
- Crocks
- Bottling tools
- pH meter
- Vacuum sealer
Personal Story: Setting Up My Ferment Corner
“When I started, I had just a jar and some salt. Within months, I had a whole shelf with labelled jars, a logbook, and three types of lids. Now I keep a fermenting station with everything in one spot. It saves time and lets me get more creative with each batch.” – Jess, fermenter for 2 years
Troubleshooting Gear-Related Mistakes
Jar explodes or leaks?
- Too full, or lid sealed too tightly (use airlock)
Cloudy brine or floating food?
- No weight; food is exposed to air
Mould on top?
- Use airlocks and ensure clean tools
Salt didn’t dissolve?
- Try fine-grain salt and stir with warm water
The Right Tools for a Healthy, Happy Fermentation Journey
Fermentation is both an art and a science. Having the right home fermenting gear empowers you to explore, experiment, and expand your probiotic pantry with confidence. Whether you’re brewing kombucha, ageing sauerkraut, or trialling your own hot sauce blend, a thoughtful setup helps you get more consistent, tasty, and safe results.
Start simple. Add tools as your interest grows. And above all, enjoy the process—each jar you fill is a small act of connection, patience, and nourishment.
Ready to build your fermentation toolkit? Share your setup, ask questions below, and subscribe for more practical fermentation tips and recipes.
