Fermenting Vegetables Naturally Without Using a Starter Culture
What if you could create delicious, probiotic-rich foods at home without buying a single packet of culture or starter? No powders, no sachets—just vegetables, salt, and time. That’s the essence of starter-free fermentation.
This article dives into the world of wild fermenting vegetables—a technique rooted in generations of tradition across cultures. This method uses natural bacteria found on fresh produce and in the environment. It lets nature help preserve and transform food. You’ll learn the science and safety of this old fermenting method. You’ll also find practical recipes, troubleshooting tips, and stories from modern fermenters who are bringing back ancient wisdom.
This guide helps you start fermenting confidently. You don’t need any starter. Whether you want to boost gut health, cut down on food waste, or enjoy the fun of cooking, you’ll find what you need here.
What Is Starter-Free Fermentation?
No Starter, No Problem
Most people think fermentation requires a commercial starter culture—an added dose of bacteria to kickstart the process. But in starter-free fermentation, you trust the naturally occurring bacteria (especially lactic acid bacteria) already present on raw vegetables and in your kitchen environment.
How It Works
- You create a hospitable environment using salt and anaerobic conditions.
- Beneficial bacteria like Lactobacillus plantarum and Leuconostoc mesenteroides thrive and ferment the sugars in vegetables.
- They convert these sugars into lactic acid, which preserves the food and adds that distinctive tang.
This method has been used for thousands of years across cultures—from Korean kimchi to Eastern European sauerkraut.
Want to learn more about getting started? Visit Getting Started with Wild Fermentation
Why Ferment Without a Starter Culture?
1. Simplicity
No need to hunt for specific cultures. All you need is fresh veg, clean tools, salt, and patience.
2. Cost-Effective
Using what you already have makes this one of the most budget-friendly forms of food preservation.
3. Full-Flavoured and Authentic
Starter-free ferments often develop a broader spectrum of flavours and textures compared to inoculated versions.
4. Microbial Diversity
Capturing wild bacteria introduces a variety of microbial strains, enhancing gut flora diversity.
The Science Behind Wild Vegetable Fermentation
The Microbes
- Lactic acid bacteria (LAB): Primary fermenters; produce lactic acid and lower pH
- Yeasts: May add subtle flavours
- Other wild microbes: Usually present early but die off as acidity increases
Why Salt Is Crucial
Salt:
- Inhibits bad bacteria
- Draws water out of the vegetables to form brine
- Encourages LAB growth
Typical ratio: 2% salt by weight (i.e. 20g of salt per 1kg of vegetables)
Equipment You’ll Need
Must-Have Items:
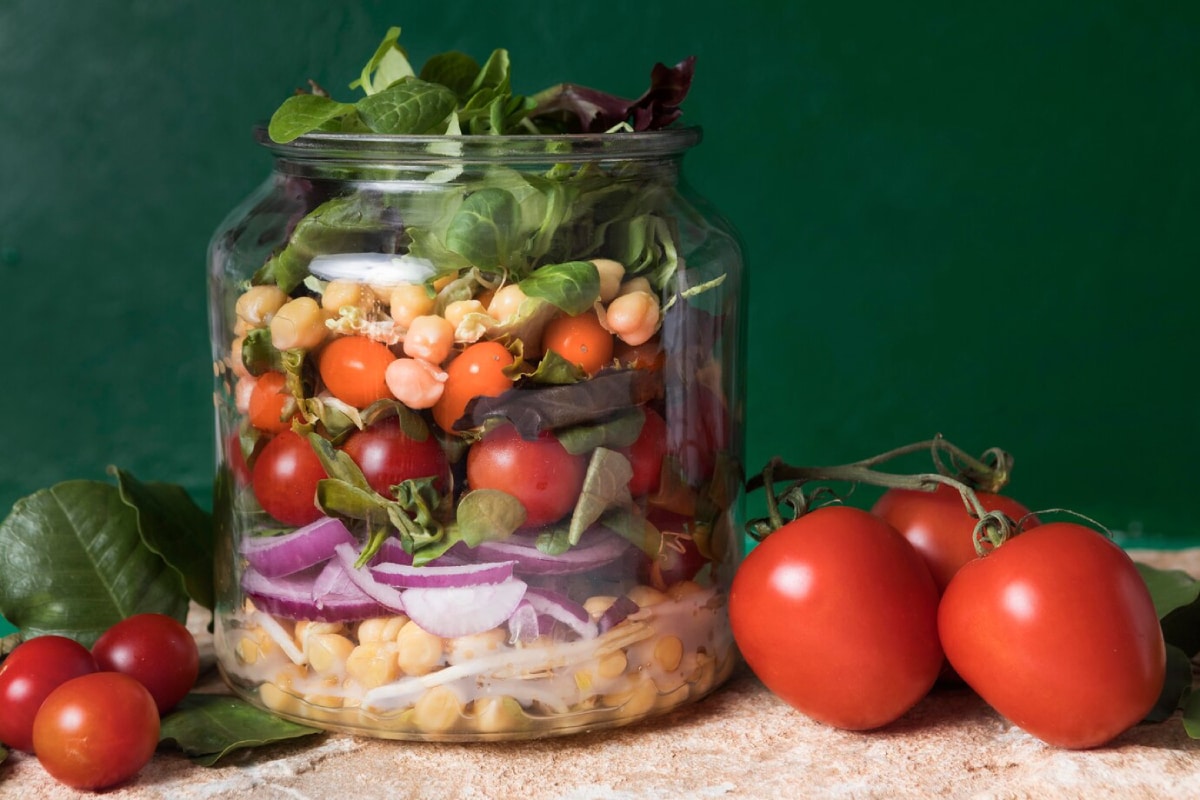
- Glass jars or ceramic crocks
- Sea salt or Himalayan salt (non-iodised)
- Weights (to keep veg submerged—e.g., glass weights or a small jar)
- Cloth and rubber band or loose-fitting lid
- Wooden spoon or tamper
Nice-to-Have:
- pH strips (for checking acidity)
- Fermentation lids or airlocks
- Label or masking tape to track date
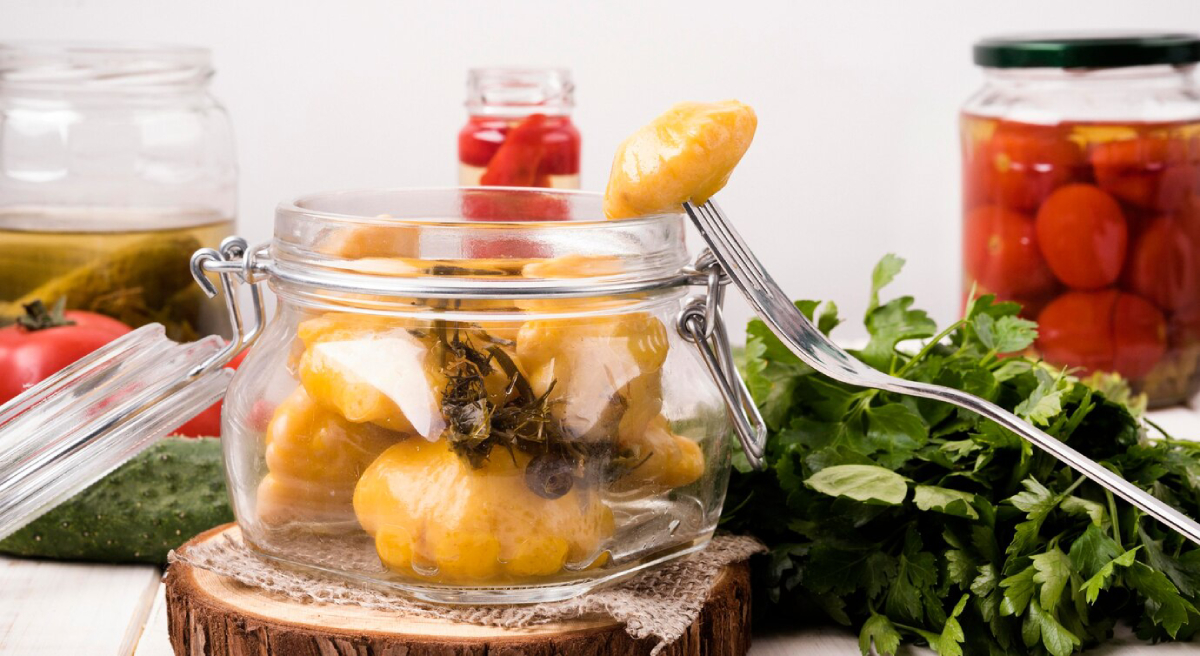
Wild Ferment Vegetables Without a Starter
Recipe: Classic Starter-Free Sauerkraut
Ingredients:
- 1 medium green cabbage (about 1kg)
- 20g sea salt
- Optional: caraway seeds, juniper berries, garlic
Instructions:
- Remove outer leaves and core. Finely shred the cabbage.
- Mix cabbage and salt in a bowl. Massage until it releases liquid.
- Pack tightly into a clean jar, pressing down to release more brine.
- Place a weight to keep the cabbage submerged.
- Cover with a cloth or lid. Leave at room temperature (18–22°C).
- Ferment for 5–14 days. Taste daily after day 3.
- Once sour to your liking, refrigerate to slow fermentation.
Other Starter-Free Ferment Ideas
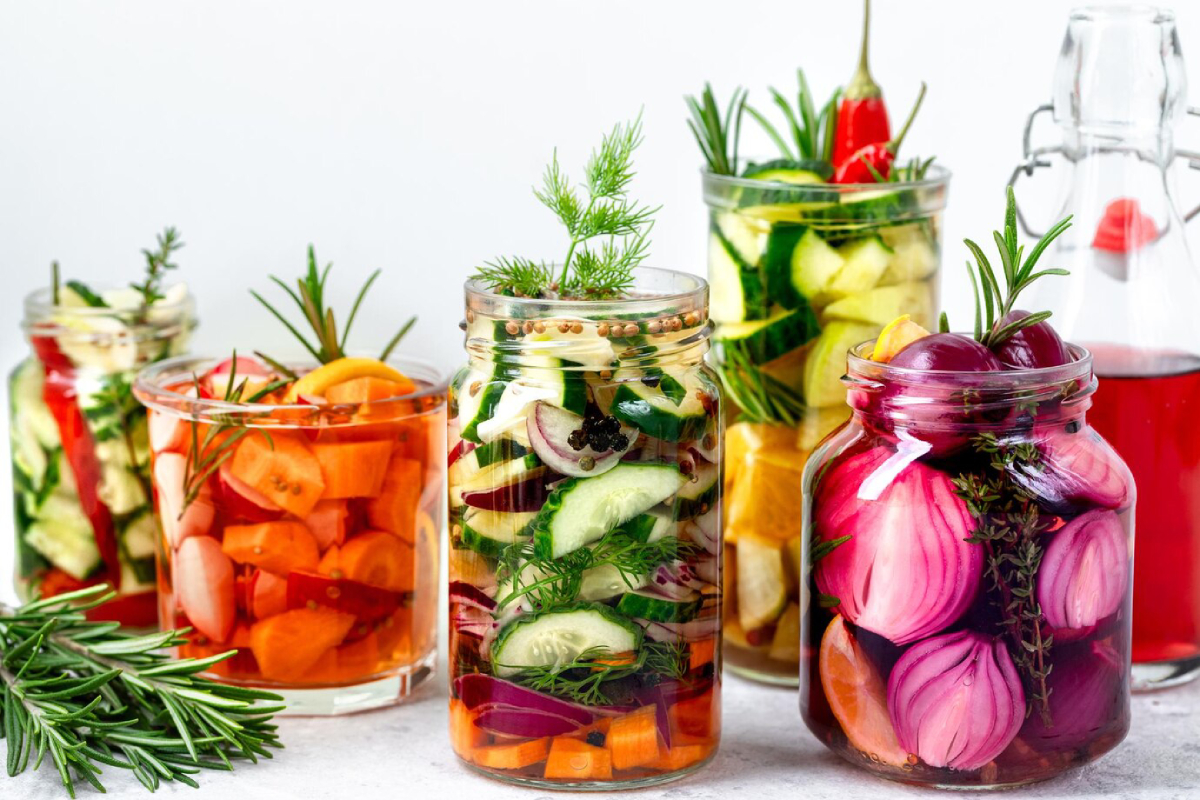
1. Fermented Carrot Sticks
- Slice carrots into sticks
- Submerge in 2% salt brine
- Add garlic and dill for flavour
2. Beet Kvass
- Dice raw beets
- Cover in salted water
- Ferment 4–7 days; drink the tangy, blood-red liquid
3. Cucumber Spears
- Use pickling cucumbers
- Add grape leaves (to maintain crunch)
- Ferment in brine with garlic and dill
How to Know It’s Working
Signs of a Healthy Ferment:
- Bubbles rising in the jar
- A tangy, sour aroma
- Brine becoming cloudy
- Slight fizz when opening
What’s Not Normal:
- Mould (fuzzy green/black growth)
- Rancid or rotten smell
- Slimy vegetables
Real-Life Fermenter Stories
“Started with sauerkraut, now I ferment everything” “I was nervous about going starter-free, but it’s worked every time. Now I make carrot sticks, beetroot kvass, and even fermented salsa!” — Tom, 41, Norwich
“My fridge is full of experiments” “I love the creative side of fermentation. Different spices, veg, even mixing fruits and herbs—it’s like edible chemistry!” — Hema, 33, Manchester
“The taste is so much better than store-bought” “I was shocked by how flavourful homemade kraut is. Way more depth than the vinegar stuff from supermarkets.” — Lucas, 29, Bristol
Tips for Success Without a Starter
- Use fresh, organic produce—less likely to have been sprayed or waxed.
- Avoid chlorinated water—let tap water sit out 24 hours, or use filtered.
- Keep vegetables submerged—use a weight and watch brine levels.
- Don’t skip the salt—too little salt = risk of spoilage.
- Be patient—fermentation isn’t instant. Trust the process.
Common Questions About Starter-Free Fermentation
Can I ferment vegetables without salt?
Not safely. Salt is crucial for preventing harmful microbes. Low-salt options exist but require careful control.
How long do wild ferments last?
Once moved to the fridge, they typically last 2–6 months.
Is bubbling or fizzing normal?
Yes! It’s a sign of active fermentation.
What if I see white film?
That’s likely kahm yeast—harmless, but skim it off to keep things tidy.
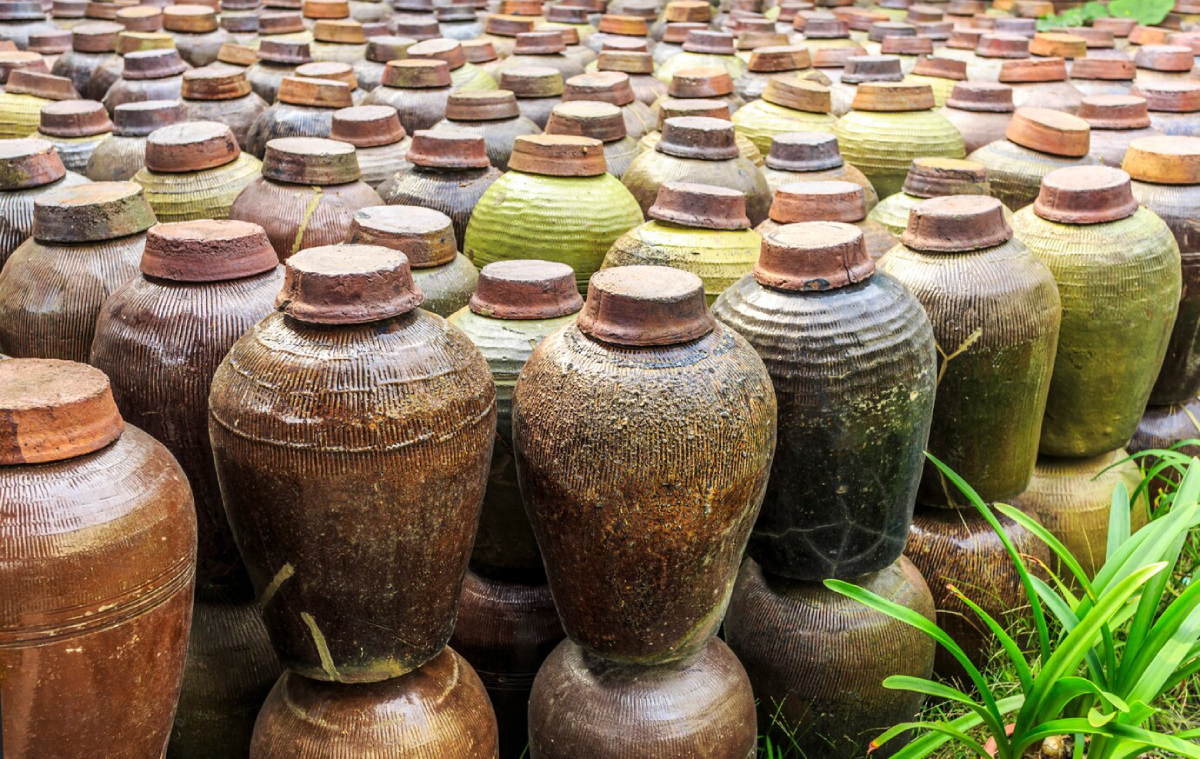
Embrace the Power of Wild Fermentation
Starter-free fermentation invites you to trust nature and yourself. With no fancy ingredients or lab-grown cultures, you can preserve vegetables, enhance their nutrition, and create bold, delicious flavours using a process as old as civilisation itself.
By mastering this traditional fermenting method, you’re not only reclaiming a lost art—you’re building gut health, reducing food waste, and reconnecting with real food.
Ready to get started? Grab a cabbage and a jar. Let the microbes do the rest. Share your wild fermenting wins in the comments, or subscribe to our newsletter for more recipes and kitchen inspiration.
Want to learn more about the science behind fermentation? See The Science Behind Fermented Probiotics
