How to Make a Sourdough Starter from Scratch
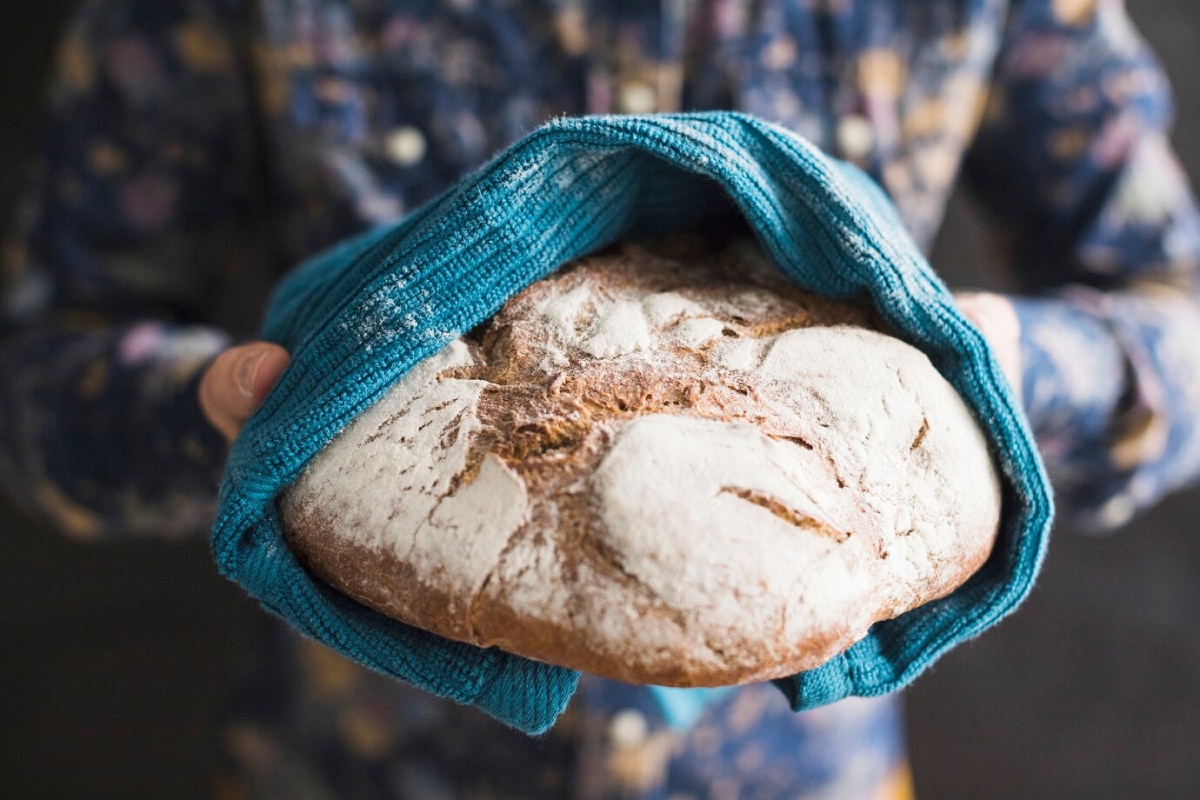
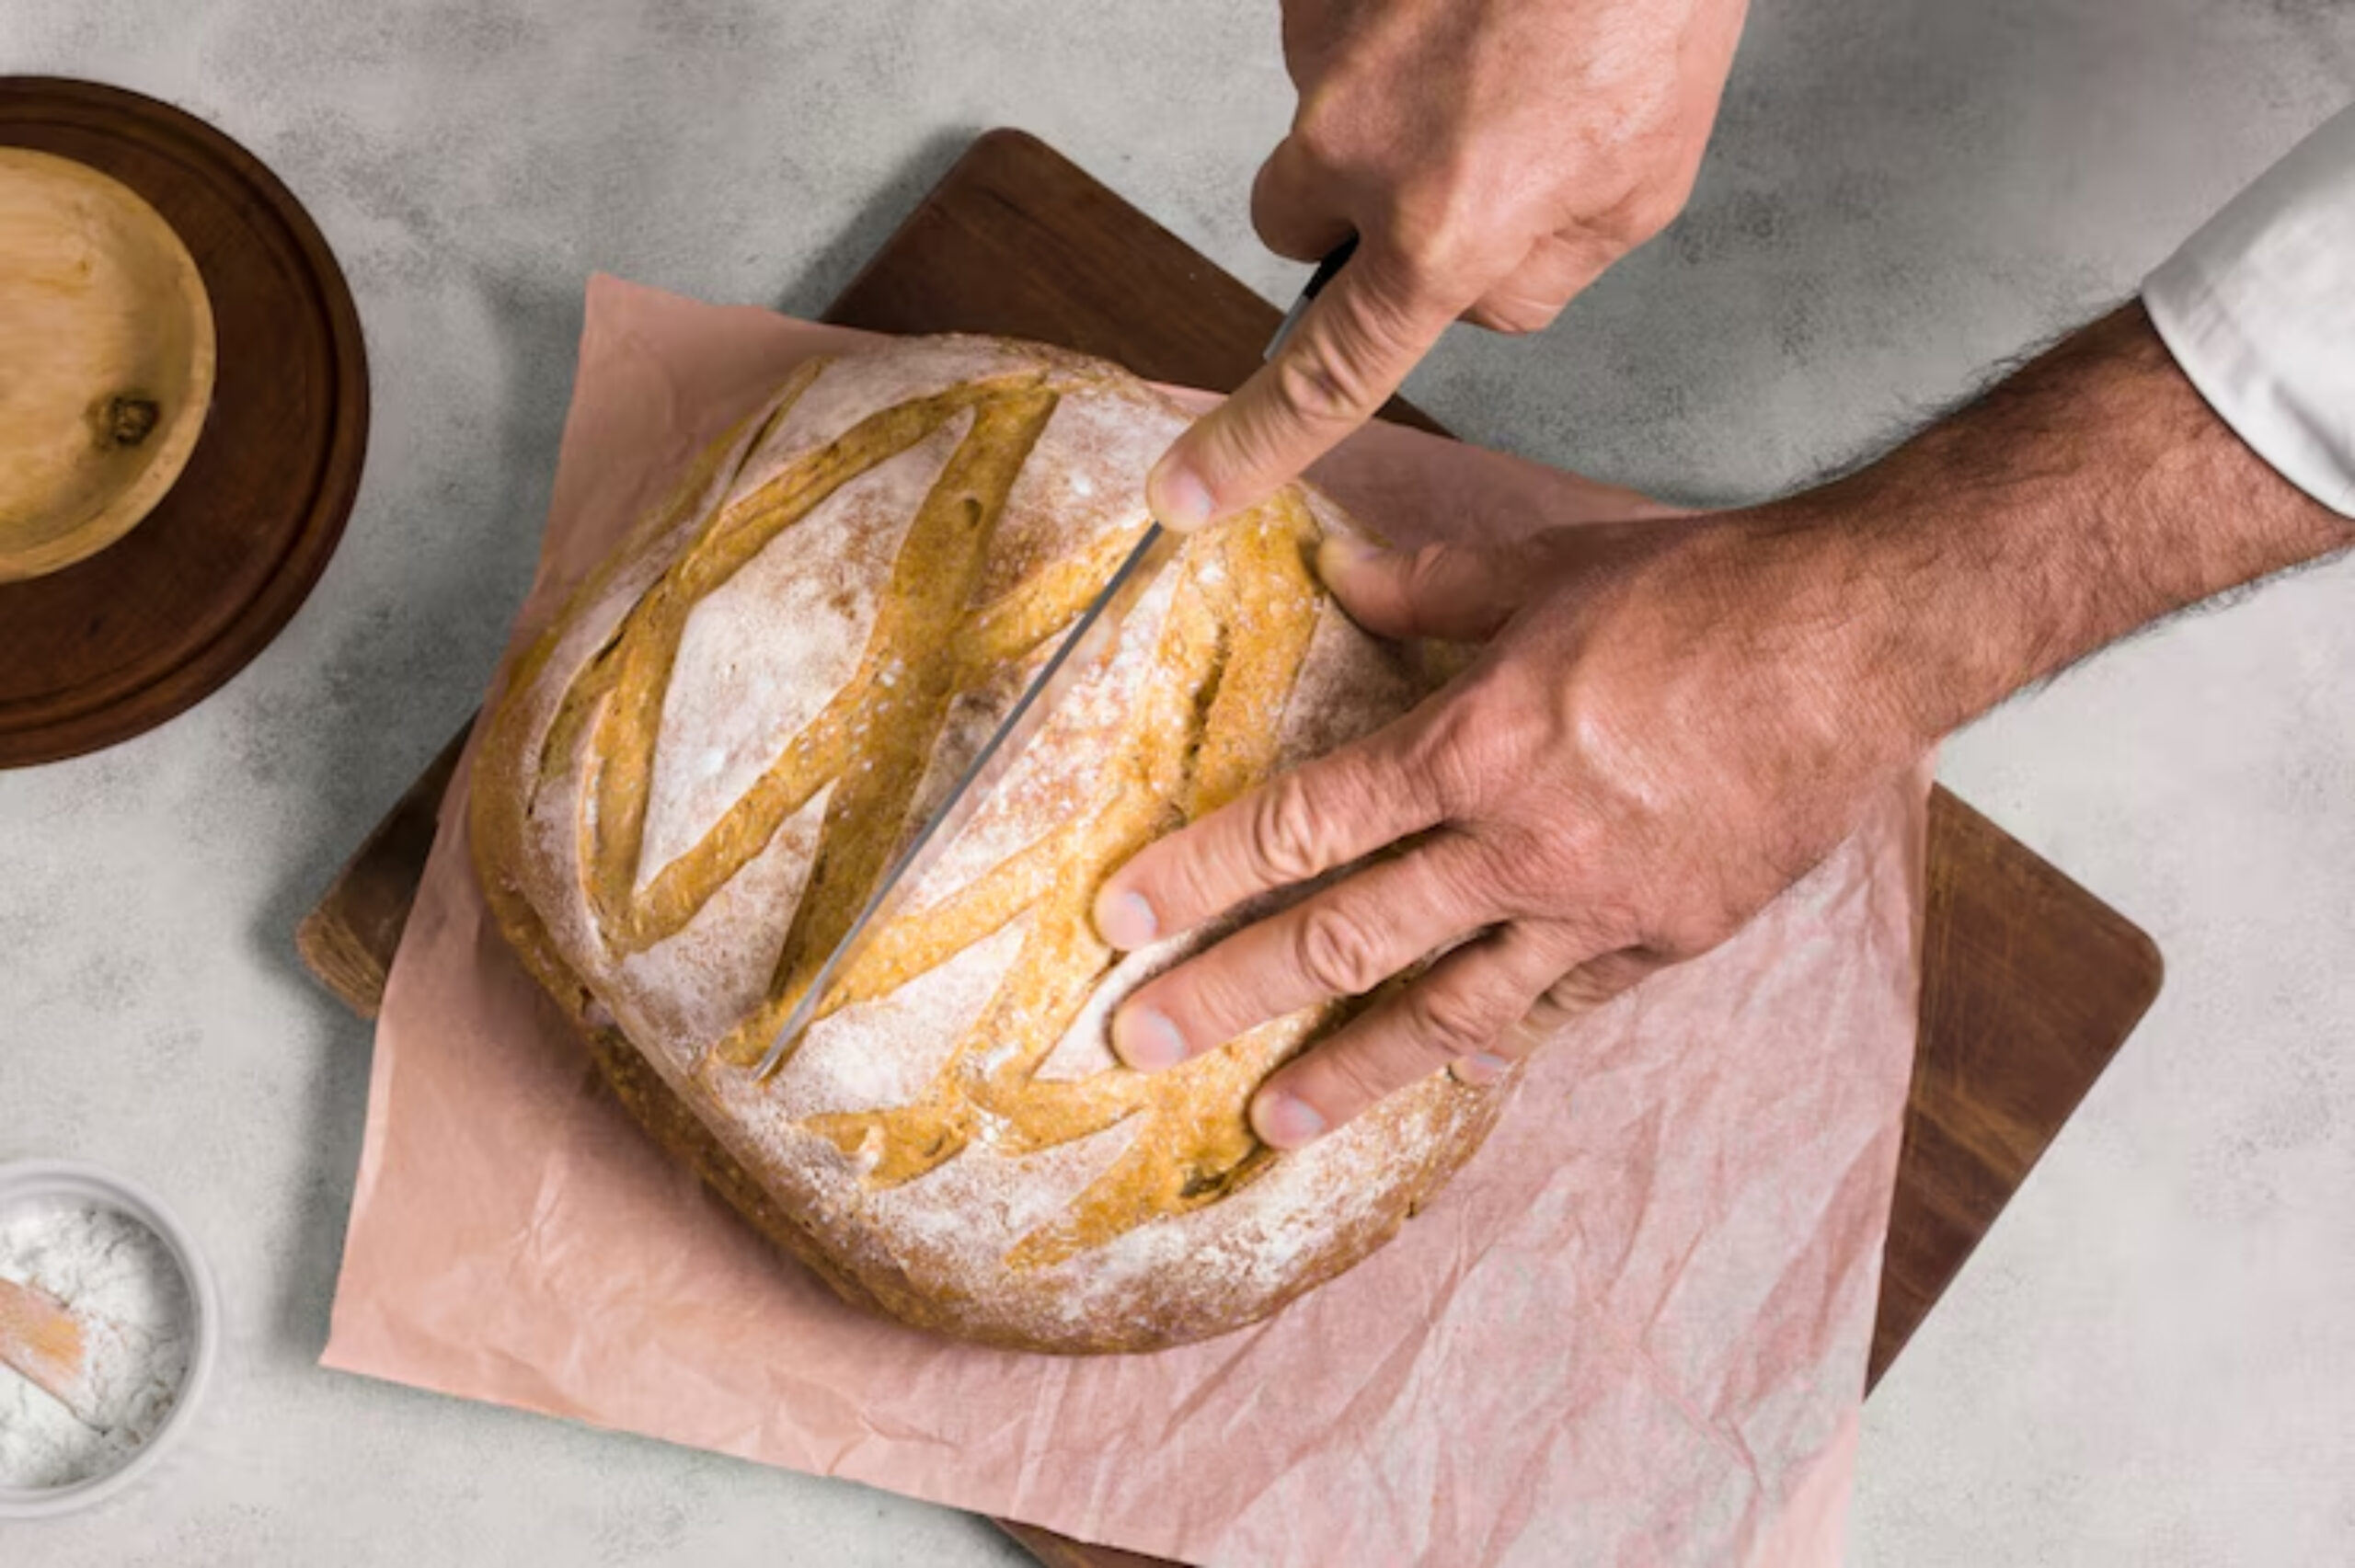
There’s something truly special about baking bread with a natural sourdough starter. The flavours are richer, the crust has the perfect crunch, and the health benefits of wild fermentation add an extra layer of satisfaction.
This guide will show you how to cultivate your own wild yeast culture using simple ingredients. Follow this DIY sourdough guide to start your home-baking journey confidently.
Pro Tip: Creating a sourdough starter takes patience, but the results are worth every day of care.
Quick Guide: Why Sourdough?
- Uses natural wild yeast instead of commercial yeast
- Creates complex flavours and texture
- Contains probiotics that may aid digestion
- Gives bread a longer shelf life without preservatives
- Offers a rewarding baking experience
Important: You only need flour, water, time, and care to build your starter.
Step-by-Step: How to Make a Sourdough Starter
Step 1: Gather Your Equipment and Ingredients
| Item | Purpose |
| Glass jar (minimum 500ml) | Fermentation container |
| Kitchen scales | Accurate flour and water measurement |
| Wooden or plastic spoon | Stirring (avoid metal) |
| Tea towel or breathable cover | Allows airflow while keeping dust out |
| Plain flour (whole wheat or rye recommended to start) | Food for your wild yeast |
| Water (filtered or dechlorinated) | Essential for fermentation |
Quick Tip: Chlorine can inhibit wild yeast growth. Let tap water sit for a few hours or use filtered water.
Step 2: Start the Culture (Day 1)
- Mix 50 grams of whole wheat or rye flour with 50 grams of water in your jar
- Stir until smooth
- Scrape down the sides
- Cover with a breathable cloth and secure with a rubber band
Pro Tip: Whole grain flours work best at the start because they have more natural microbes to kickstart fermentation.
Step 3: Feed the Starter (Days 2–7)
The routine is simple: discard and feed.
- Each day at the same time, remove half of the starter (about 50g)
- Add 50g fresh flour + 50g water
- Stir, scrape, and cover again
Day What to Expect 2–3 Few bubbles, mild sour smell 4–5 More bubbles, stronger aroma 6–7 Very bubbly, volume doubles between feedings Quick Tip: If using white flour after the first few days, your starter will become smoother and more stable.
For more on the science behind probiotics, check out The Science Behind Fermented Probiotics.
Step 4: Observe the Signs of Readiness
Your starter is ready when:
- It doubles in size 4–6 hours after feeding
- Bubbles appear throughout the mixture
- It has a pleasant tangy smell (not unpleasant or rotten)
Pro Tip: Do the “float test.” Drop a spoonful of starter in water. If it floats, it’s airy enough for baking.
Step 5: Store and Maintain Your Starter
Once active, you can keep your starter alive indefinitely with regular feeding.
Storage Feeding Schedule Room temperature Feed once a day Fridge Feed once a week To feed: discard most of the starter, keeping about 50g. Add 50g flour + 50g water.
Quick Tip: Label your jar with the last feeding date to stay organised.
Troubleshooting Common Starter Problems
Problem Cause Solution No bubbles after 4 days Water too chlorinated, flour too refined Switch to filtered water or whole grain flour Smells bad or rotten Contamination Start over with clean tools Pink or orange streaks Unhealthy bacteria Discard immediately and begin again Too thin or watery Incorrect flour ratio Add more flour during next feeding Pro Tip: Most issues resolve by sticking to a regular feeding schedule and using clean utensils.
Tips for a Strong, Healthy Starter
- Keep starter in a warm spot (20°C–24°C is ideal)
- Feed at consistent times daily
- Use whole grain flour occasionally for an extra boost
- Always use a clean spoon and container
Sustainability Note: Use your daily discard in pancakes, waffles, crackers, or flatbreads to avoid waste.
Common Mistakes to Avoid
Mistake Solution Using chlorinated tap water Use filtered or dechlorinated water Neglecting feedings Set reminders or alarms Closing the jar too tightly Cover with cloth or loose lid Discarding the whole starter accidentally Always save at least a spoonful Using metal utensils Stick to wood, silicone, or plastic during fermentation Frequently Asked Questions
How long does it take to create a sourdough starter?
Most starters are ready between 5–7 days, but colder environments may take longer.Can I use all-purpose white flour from the start?
Yes, but whole grain flour helps speed up the early stages.What happens if I forget to feed it?
A hungry starter can often be revived with consistent feedings. If it smells bad or shows mould, start again.Can I use discard for baking?
Absolutely! Discard works well for recipes like pancakes, muffins, or crackers.How long can I keep my starter?
With regular feedings, a starter can live indefinitely. Some bakeries have maintained starters for decades!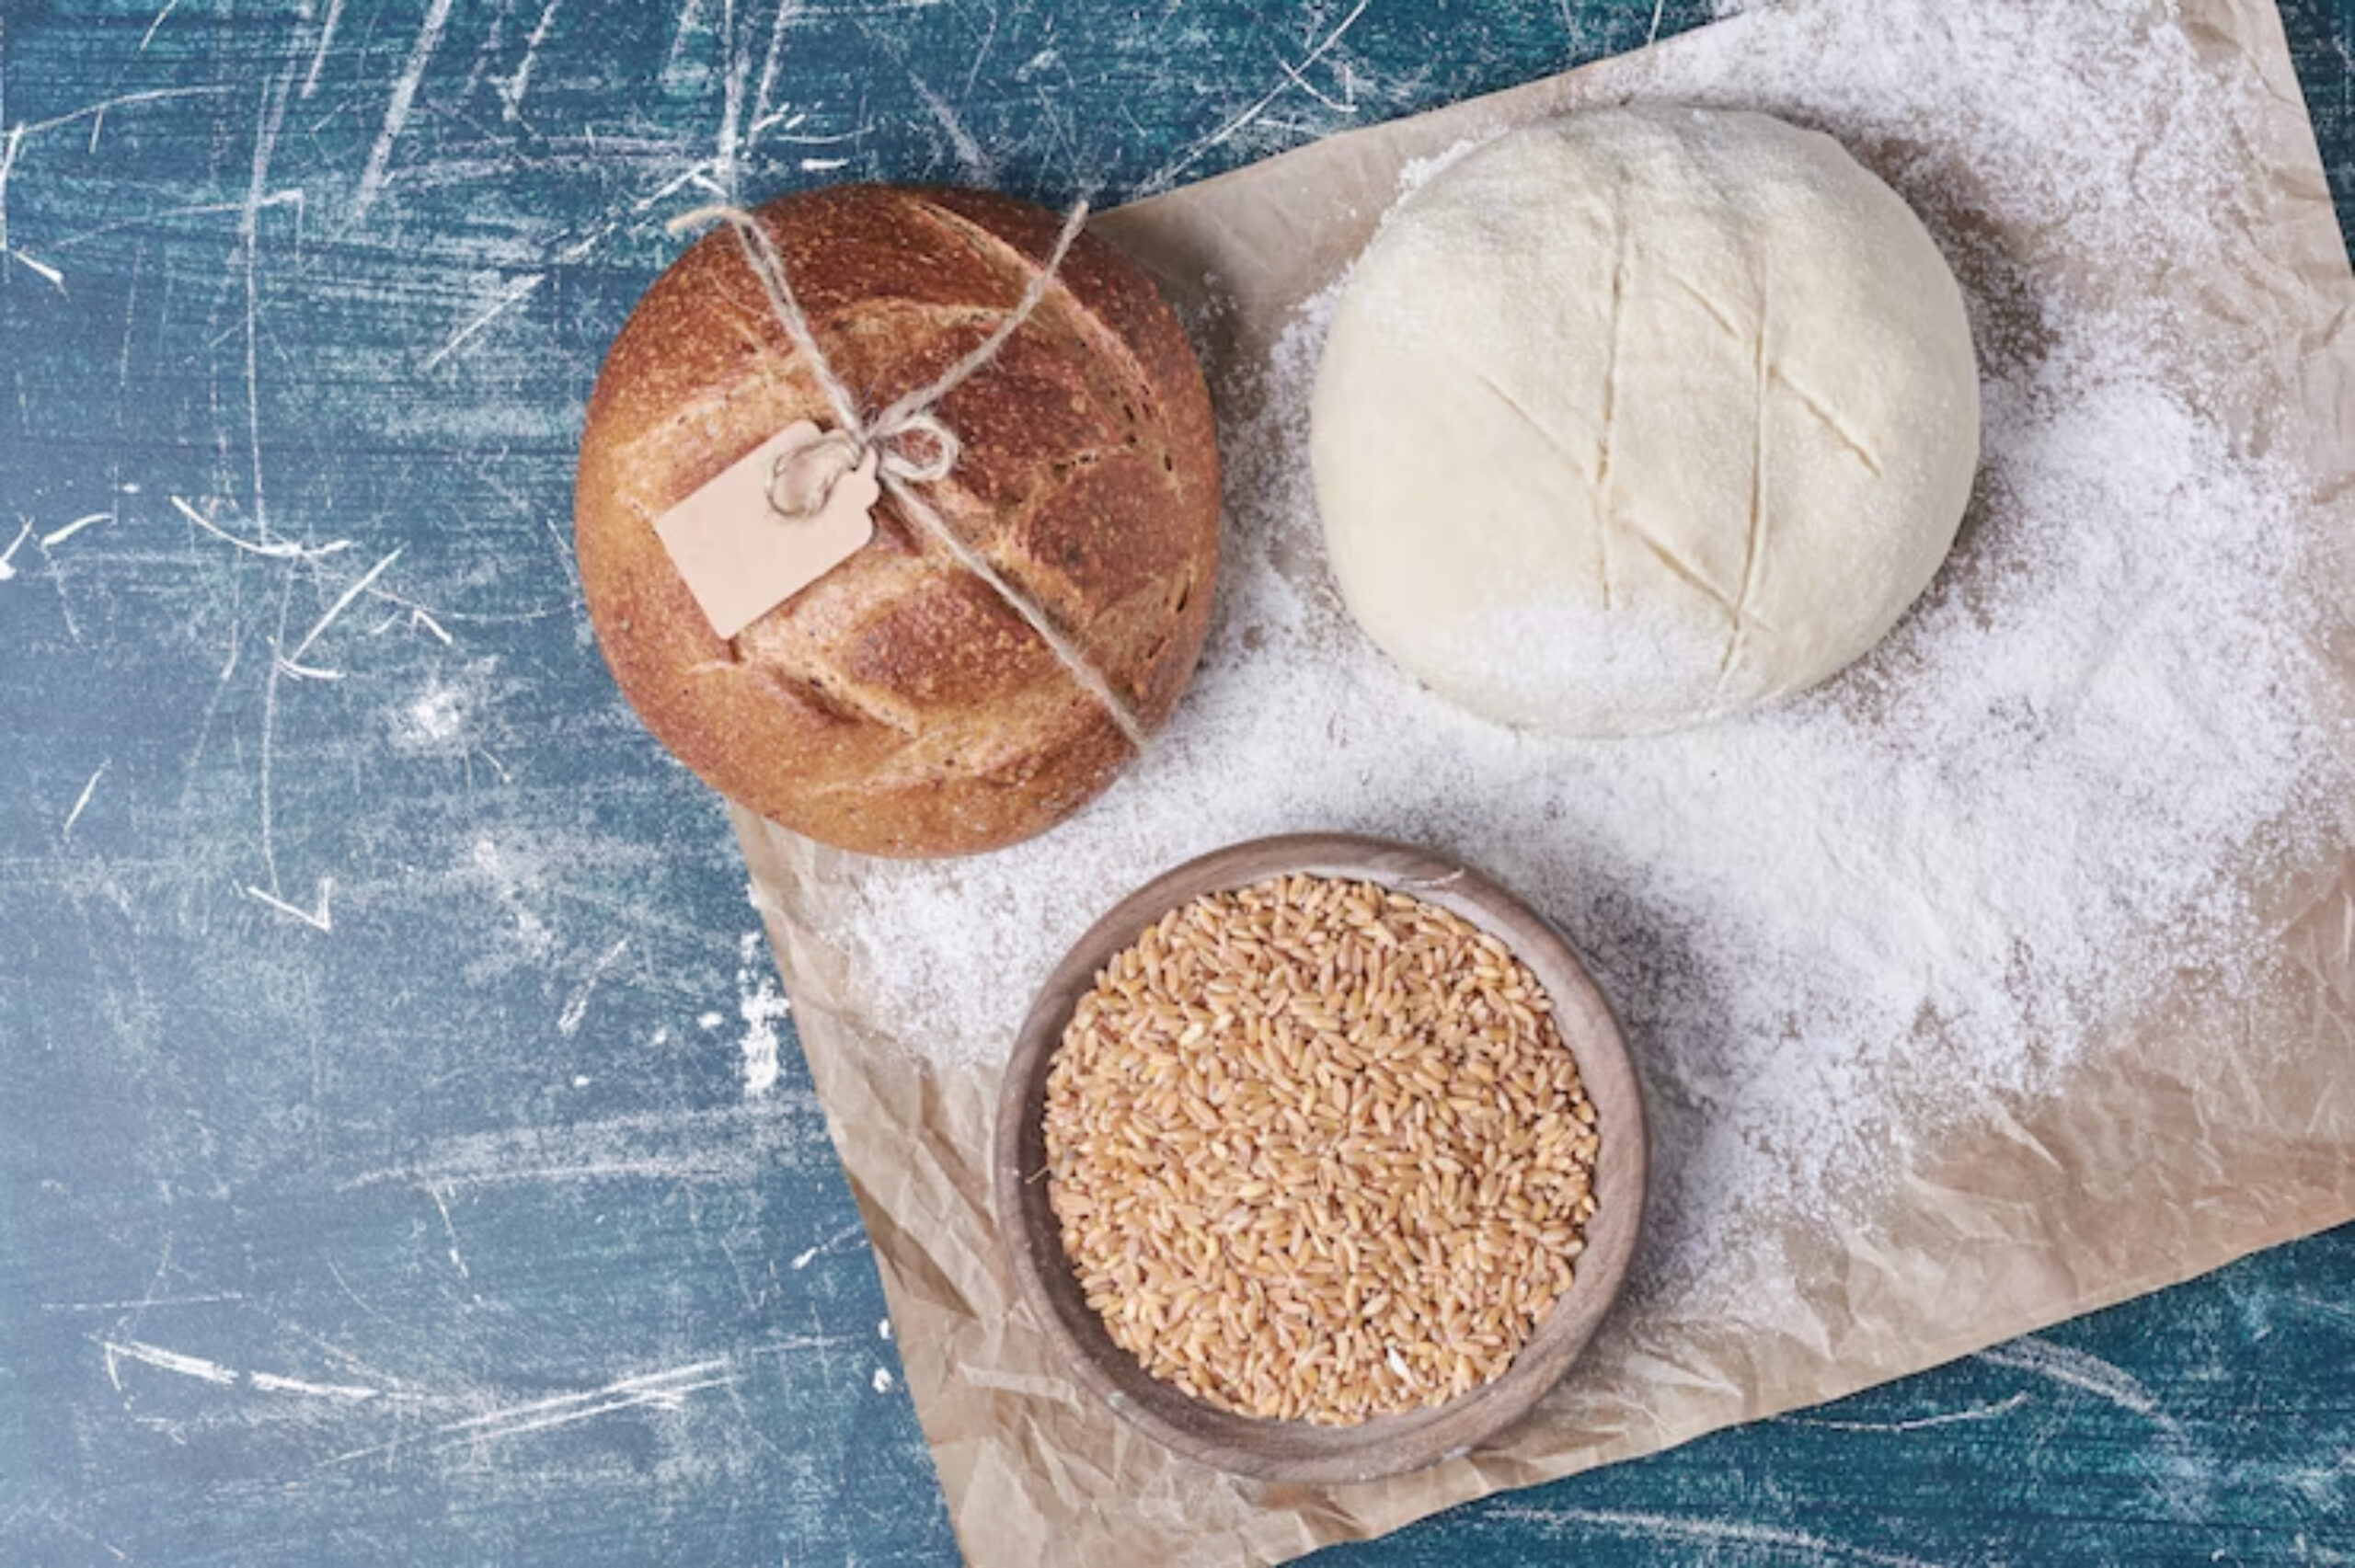
Enjoy the Reward of Homemade Sourdough
There’s something magical about baking bread with your own starter. With this natural sourdough starter and easy DIY sourdough guide, you’ll learn the rhythm of fermentation and enjoy the delicious results.
With care and practice, your wild yeast culture will become a treasured kitchen companion for years to come.
Want to make your own gut-friendly condiments? Explore DIY Mustard with Natural Fermentation.
