How to Start Fermenting Vegetables at Home
Fermenting vegetables is a simple, rewarding way to preserve food and improve gut health. The tangy flavours, crunchy textures, and probiotics are just a few of the many reasons why home fermentation is growing in popularity.
This guide explains beginner fermentation techniques, walks you through a safe lacto-fermentation guide, and helps you confidently master the art of home vegetable ferment recipes.
Pro Tip: You don’t need expensive equipment to get started. A few kitchen basics will do.
Quick Guide: Why Ferment Vegetables?
- Preserves vegetables for months naturally
- Adds tangy, complex flavours to your meals
- Supports healthy digestion and gut flora
- Reduces food waste
- Requires no electricity or fancy tools
Important: Lacto-fermentation relies on good bacteria converting sugars into lactic acid, which preserves the vegetables.
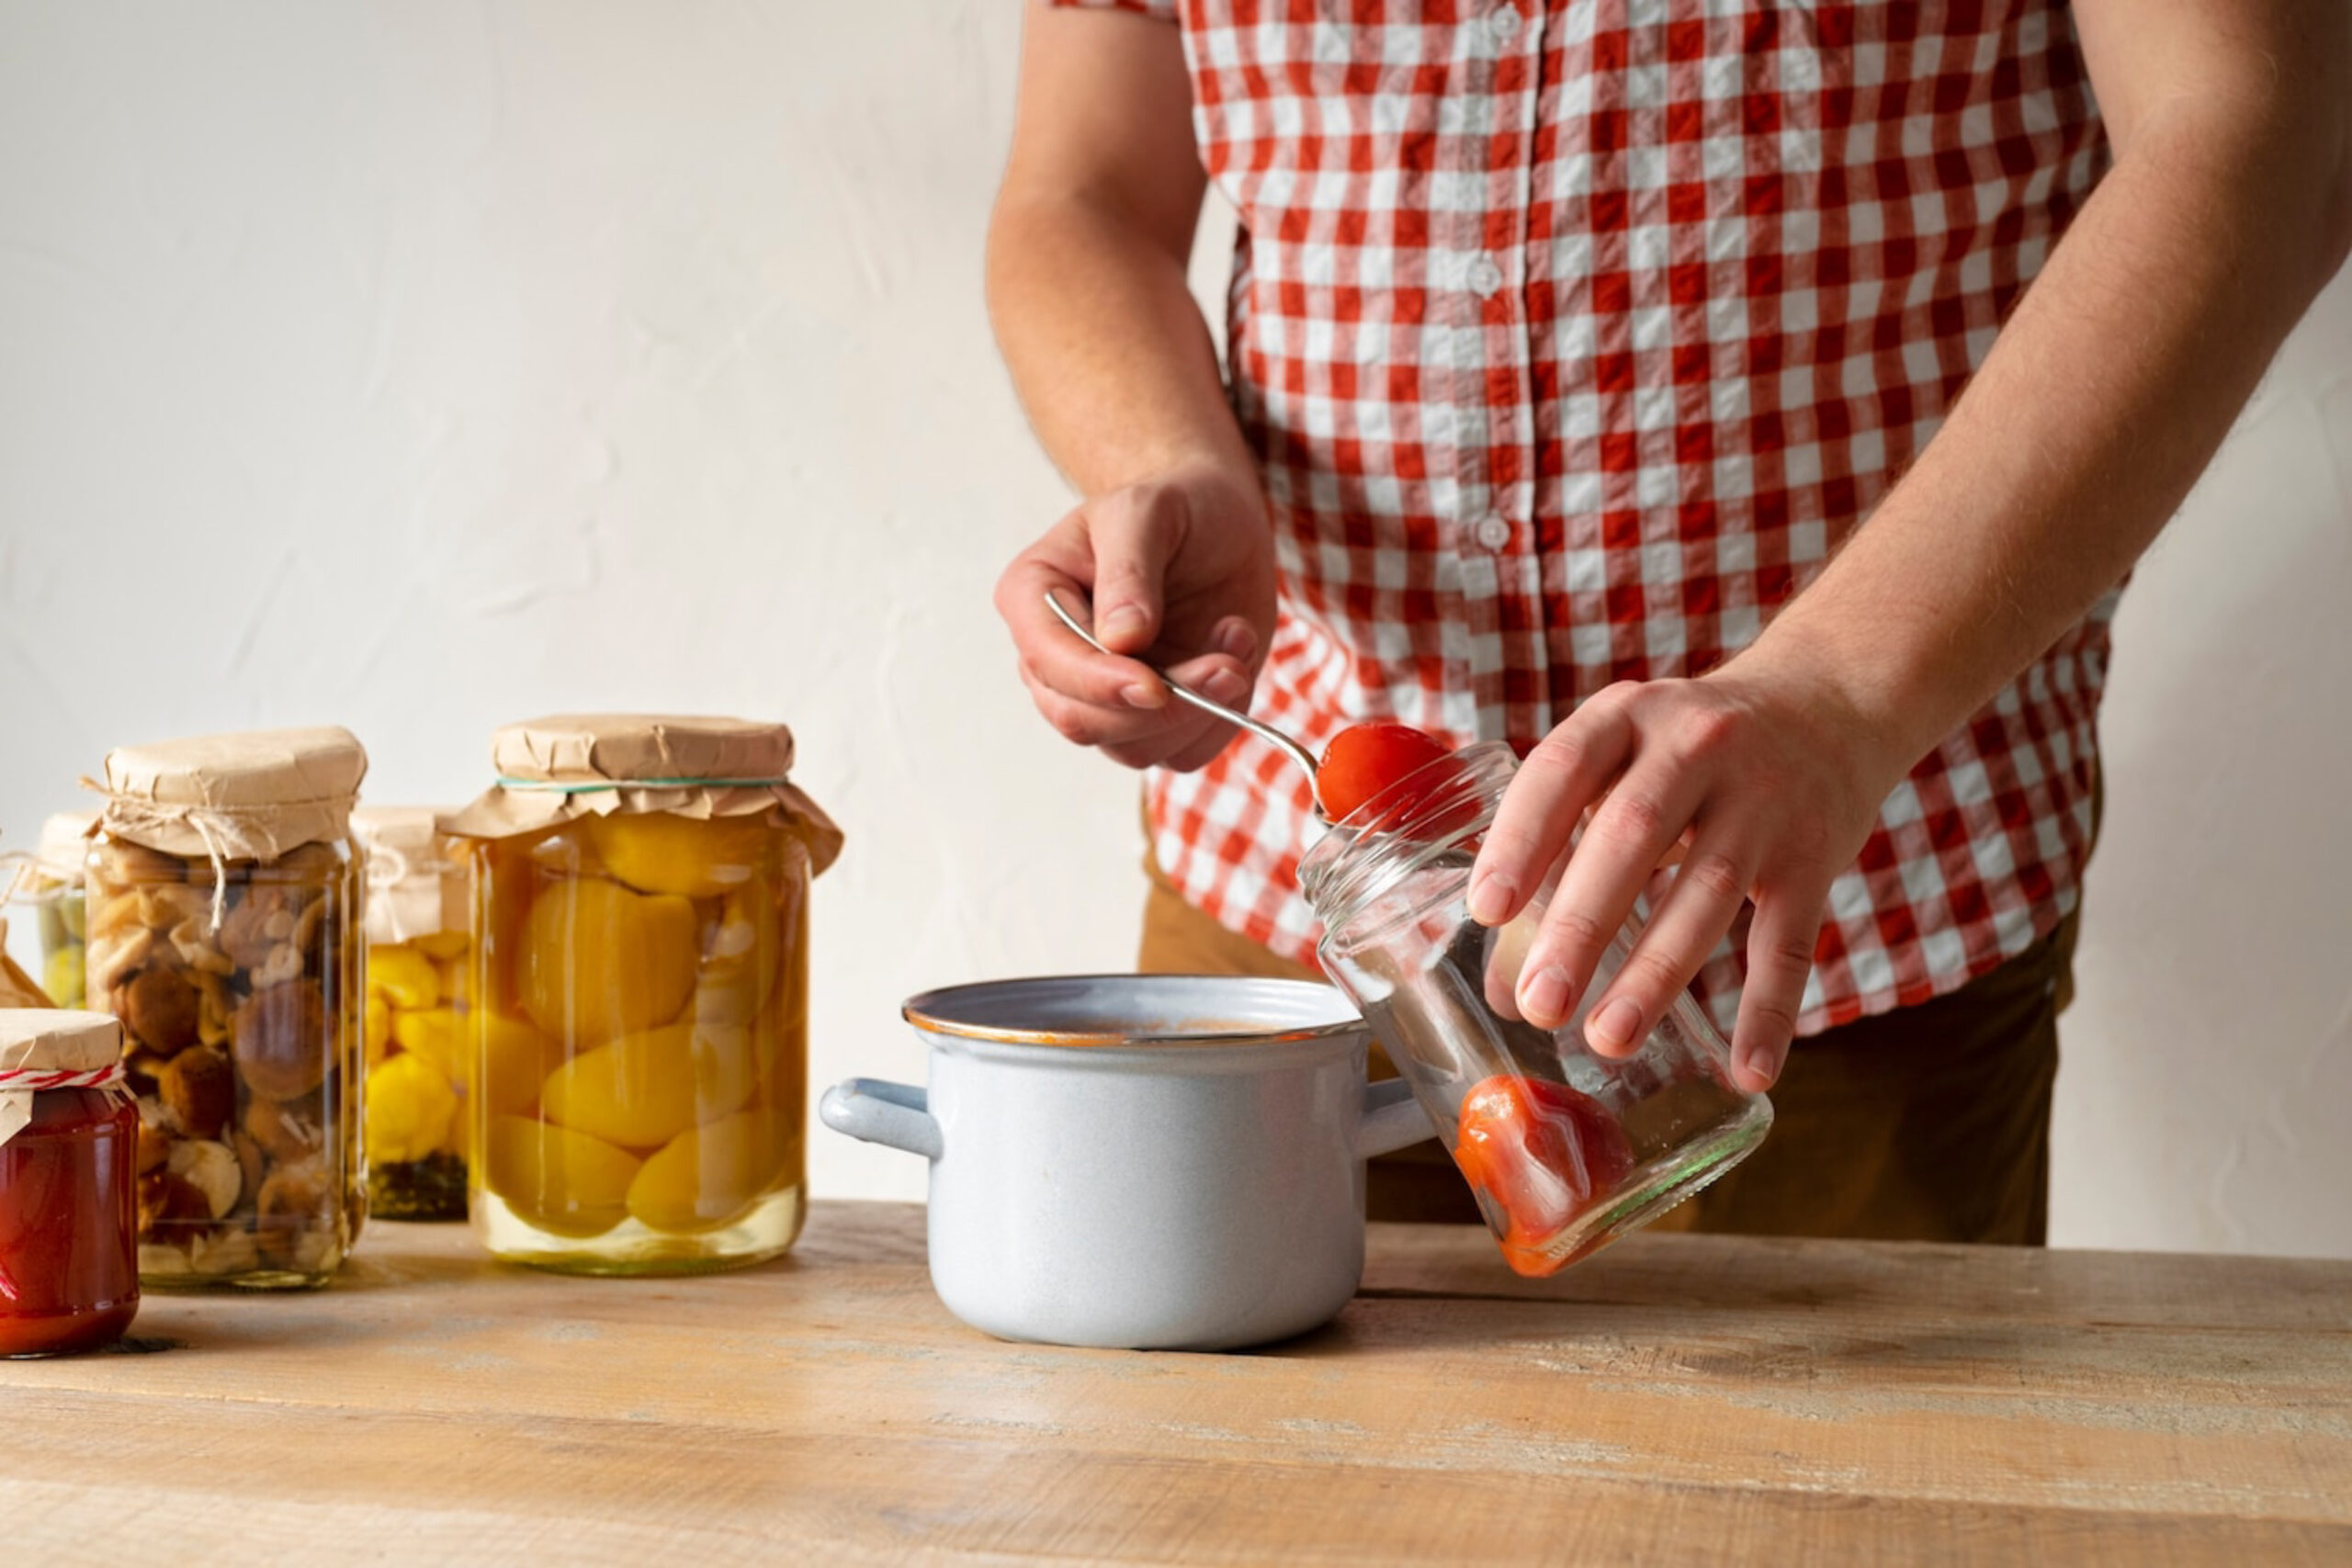
Step-by-Step: How to Ferment Vegetables at Home
Step 1: Gather Your Equipment
| Item | Purpose |
| Glass jars (Mason jars work well) | Fermentation vessel |
| Non-metallic lids or weights | Keeps vegetables submerged |
| Large mixing bowl | For preparing the vegetables |
| Sharp knife or mandolin | For uniform slicing |
| Sea salt or Himalayan salt | Essential for fermentation |
| Wooden spoon or tamper | To press vegetables into jars |
Quick Tip: Avoid metal tools once fermentation starts, as they can react with the brine.
Step 2: Choose Vegetables to Ferment
Popular options for beginners:
- Cabbage (sauerkraut)
- Carrots
- Radishes
- Cucumbers (for pickles)
- Cauliflower
- Green beans
Pro Tip: Fresh, organic vegetables work best as they have the most natural bacteria.
Step 3: Prepare a Salt Brine
Salt is vital for safe fermentation.
- General rule: use 2% salt to water by weight
- Example: For 1 litre of water, add 20 grams of salt
- Use non-iodised salt to avoid interference with fermentation
Vegetable Salt Method Cabbage Mix salt directly with shredded cabbage Whole vegetables Submerge fully in salted water brine Quick Tip: Stir until all salt dissolves before adding to the jar.
Learn more about The Science Behind Fermented Probiotics.
Step 4: Pack Your Jars
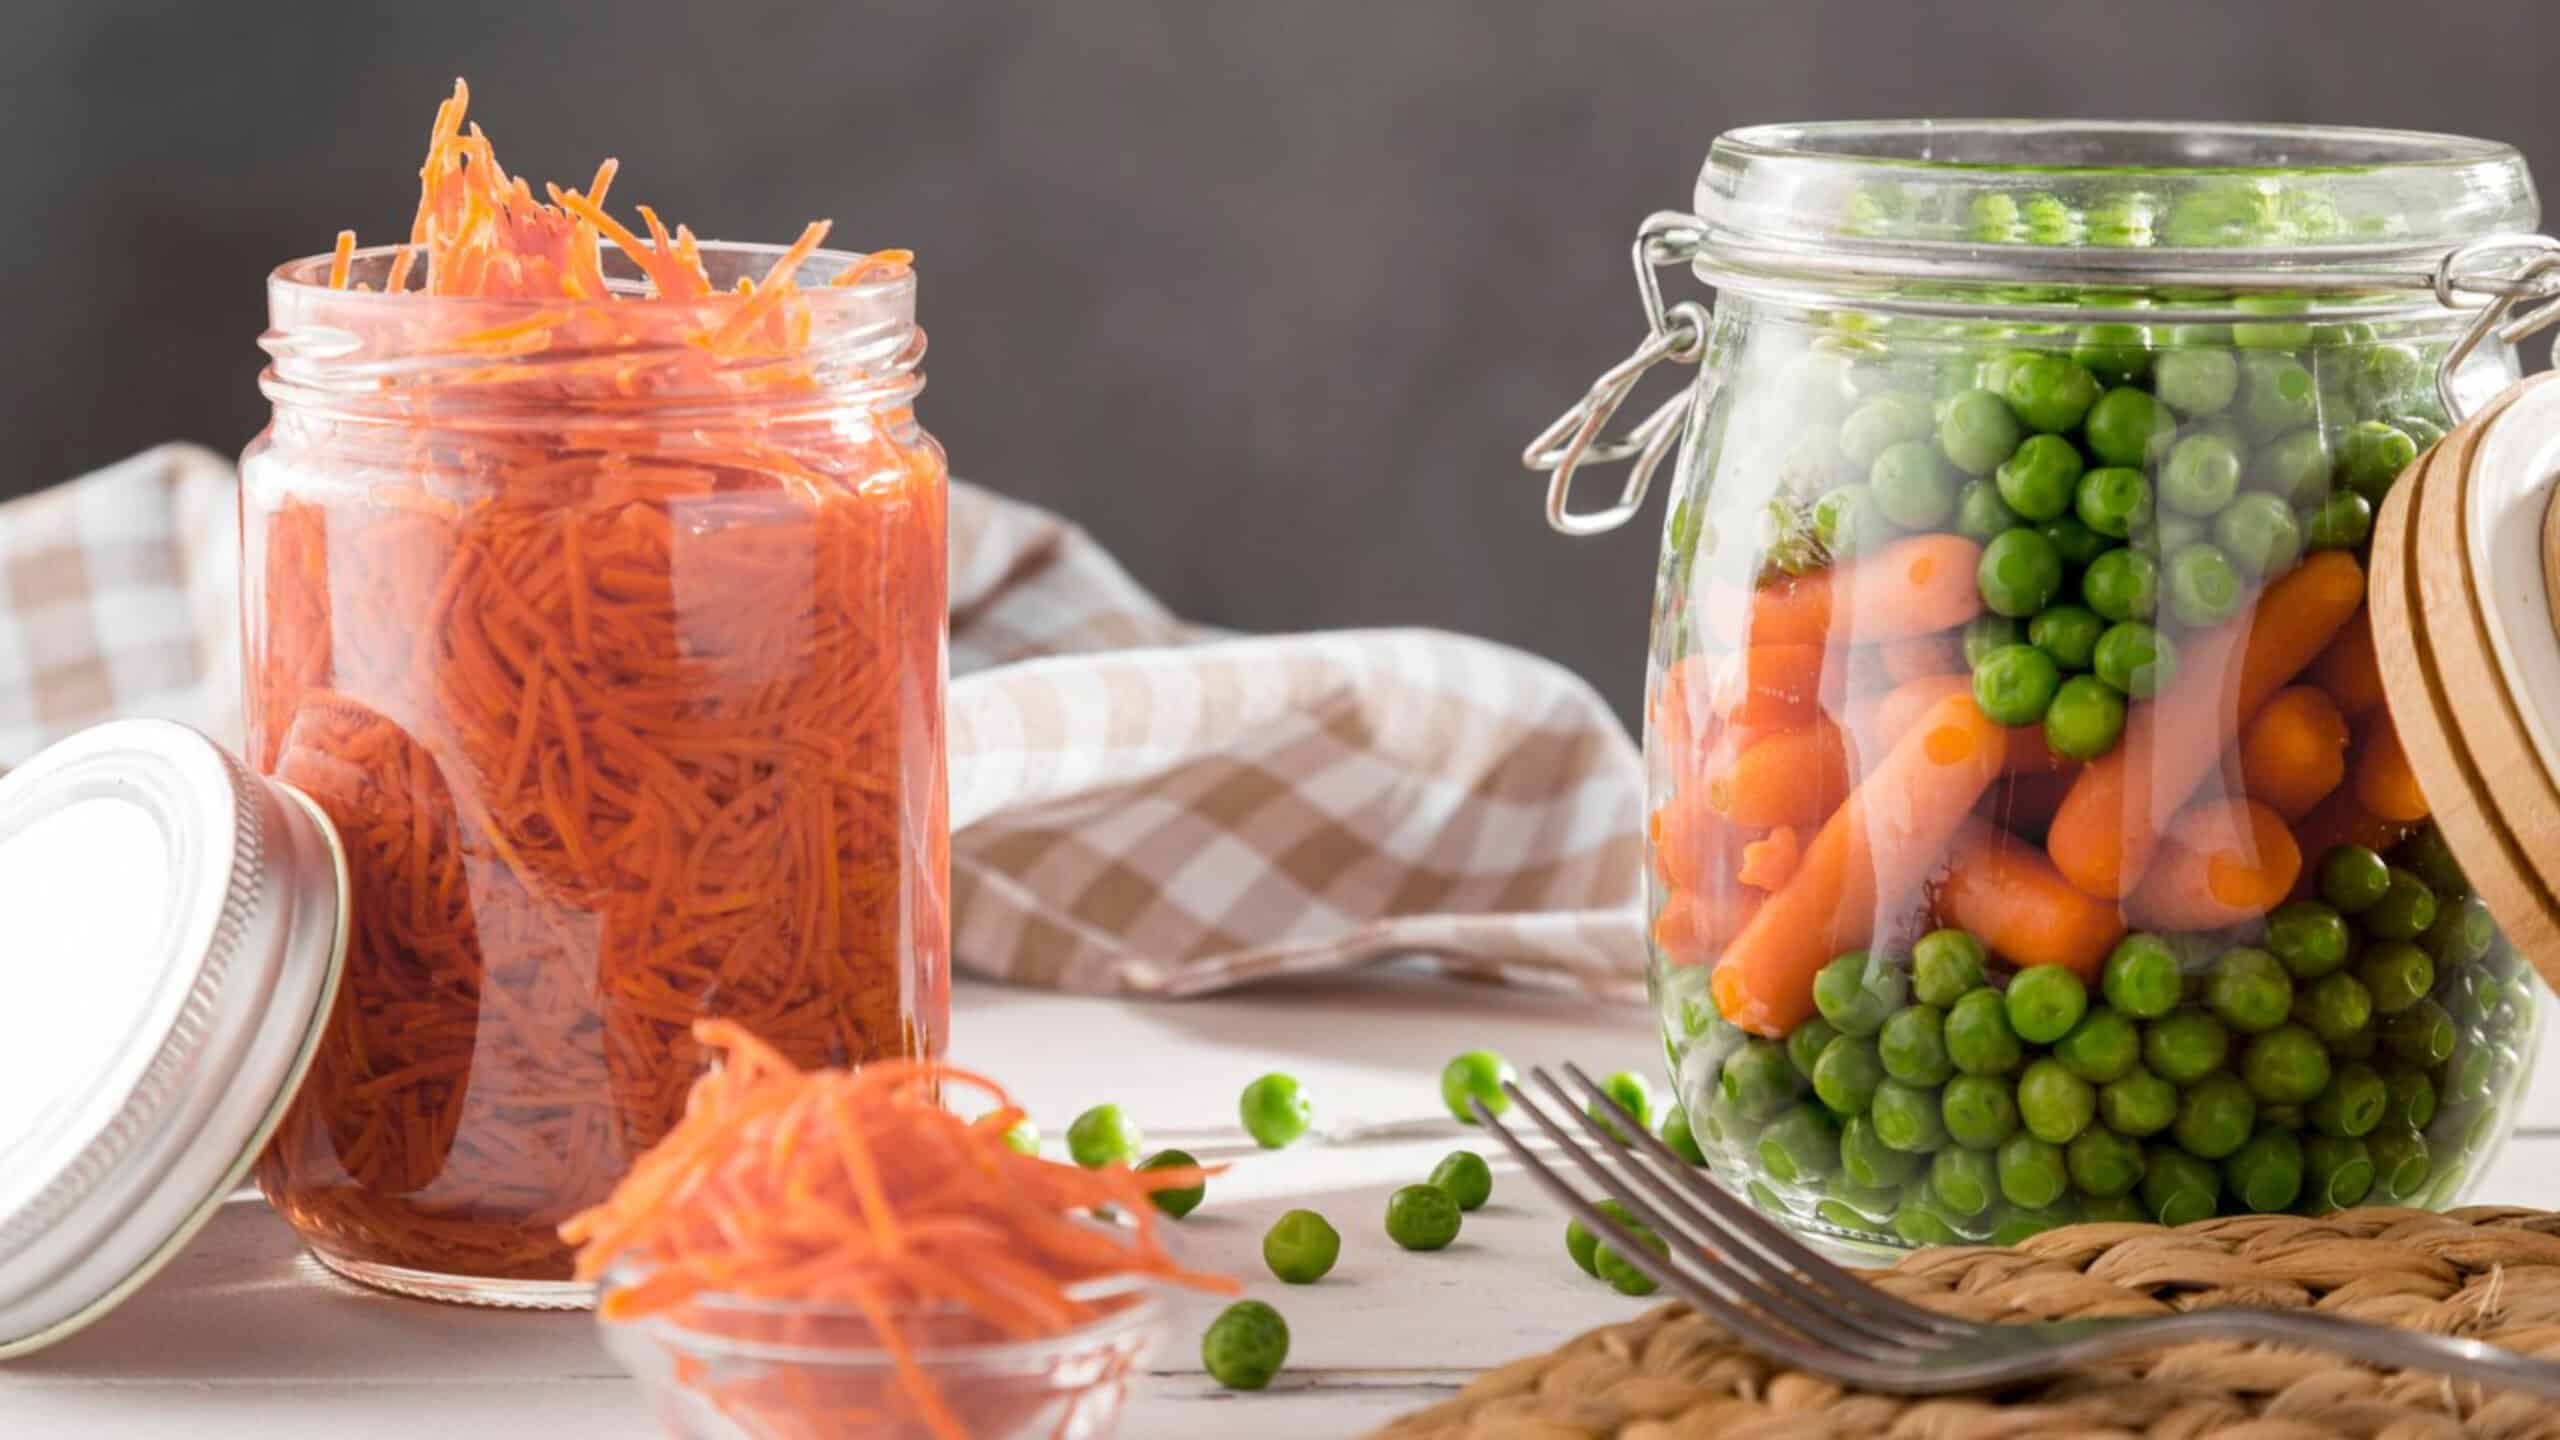
- Place prepared vegetables tightly into clean jars
- Leave at least 2–3 cm of space at the top
- Cover with brine so vegetables are fully submerged
- Weigh vegetables down with a glass weight or a clean cabbage leaf
- Seal loosely with a lid to allow gases to escape
Sustainability Note: Reuse old glass jars to reduce waste.
Step 5: Let the Fermentation Begin
Ideal fermentation conditions:
- Store at room temperature (18°C to 22°C)
- Keep jars out of direct sunlight
- Check daily to ensure vegetables remain submerged
Typical fermentation times:
Vegetable Fermentation Time Sauerkraut 5–14 days Pickles 5–7 days Carrots 5–10 days Mixed vegetables 7–10 days Pro Tip: Taste after 5 days. Stop when flavour and texture suit your preference.
Step 6: Store Your Fermented Vegetables
Once fermentation is complete:
- Transfer to the fridge to slow the process
- Tightly seal the jar
- Fermented vegetables can last for months when refrigerated
Quick Tip: Label your jars with the date you started the ferment.
Troubleshooting Common Fermentation Problems
Problem Cause Solution Vegetables float above brine Not weighed down properly Use weights or extra leaves Cloudy brine Natural, harmless bacteria No action needed Mould on the surface Exposure to air Remove mould and add more brine Soft or mushy vegetables Too warm or too little salt Use recommended salt ratio and temperature Pro Tip: Never eat fermented vegetables that smell rotten or have an unusual slimy texture.
Additional Tips for Beginner Fermentation
- Use clean hands and equipment to avoid unwanted bacteria
- Don’t over-pack jars as gas needs space to escape
- Always keep vegetables fully submerged under the brine
- Experiment with spice blends (e.g. garlic, dill, coriander seeds)
- Keep notes of your process to learn what works best for you
Quick Tip: Small batch ferments allow you to test different flavours and textures easily.
Common Mistakes to Avoid
Mistake Solution Using table salt with additives Use pure sea or rock salt Closing lids too tightly Loosen slightly to allow gas escape Storing in hot temperatures Keep between 18°C and 22°C Ignoring daily checks Spot problems early by checking every day Giving up after a failed batch Learn and try again—practice makes perfect Frequently Asked Questions
Do I need special equipment to start fermenting?
No. A clean jar, vegetables, salt, and water are enough to begin.Is fermented food safe?
Yes, if done properly. Lactic acid prevents harmful bacteria from growing.Can I ferment different vegetables together?
Yes, as long as they require similar fermentation times.What does it mean if I see bubbles?
Bubbles are a sign of active fermentation. It’s completely normal.How long do fermented vegetables last?
If stored in the fridge, most ferments last several months.Start Your Fermentation Journey Today
Fermenting vegetables at home is simple, satisfying, and surprisingly fun. By following this beginner fermentation guide and using safe methods outlined in this lacto-fermentation guide, you’ll soon master the craft of home vegetable ferment recipes.
Explore, experiment, and enjoy the delicious results of your efforts.
Be patient. Be curious. Taste the tradition of fermentation.
Curious about essential equipment? Check out Must-Have Tools for Home Fermentation.
